Search, filter, and sort alert and incident data
The search and filter tools let you focus on the type of data you're looking for, or find specific items by searching for their specific attributes.
Searching and filtering are combined to help you investigate and locate incidents and alerts faster. APEX AIOps Incident Management combines text-based searches and non-textual searches, so you can even filter by tags and location to return meaningful data results. User-defined tags and location can help identify useful correlations, but they can also be used to help you investigate incidents or alerts faster. This means you can search using keywords, filter the results, and save any query for later reuse at the click of a button. Note that you can use filters in combination to narrow down your results.
Search and filter options are available for the Alert and Incident views as well as on the Details tab in the Situation Room.
You can build incident views with custom filters, column ordering, sorting, and visibility, and save and share those views with other users and groups. See Create and share incident views for more information.
Changing data display settings
Changes to these settings persist for the duration of a user session:
Column filters
Column selection and order
Sorts
Time range selection
Your session ends when you log out or refresh a page, or when your session length exceeds 8 hours and you are automatically logged out. Your display changes are then lost.
To permanently save changes, either re-save your current view or create a new view. Use the settings under Save for the Alerts page, or the Save As and Options settings for the Incidents page. You can tell if there are unsaved display changes in the current view when an asterisk is appended to the name of the view.
Filter
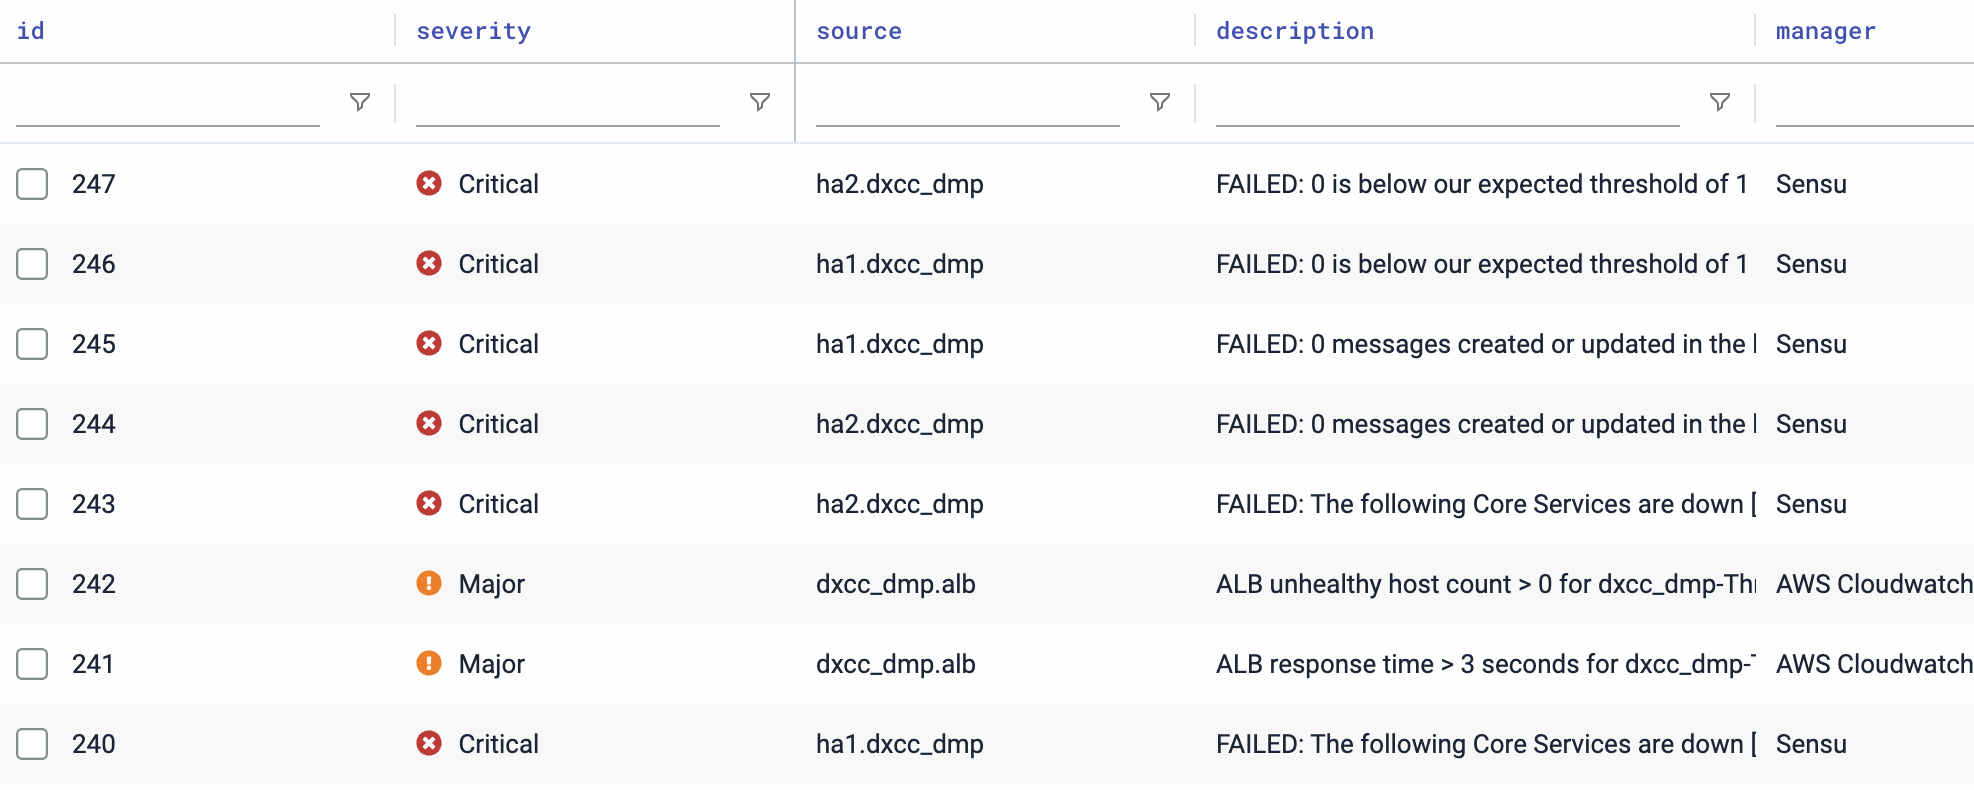
You can filter your data in the Incidents and Alerts views by building a grid filter.
If you want to filter all data without search constraints, click the X at the right of the search box to clear any current searches.

Note that you can filter and sort your search results.
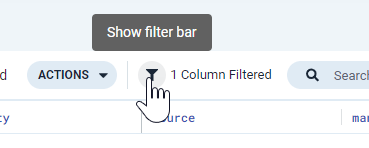
Click the filter icon above the grid to display the filter bar if it is not already visible.
Clicking the filter icon hides the filter bar under the column headings if it is currently displayed, and displays it if it is currently hidden.
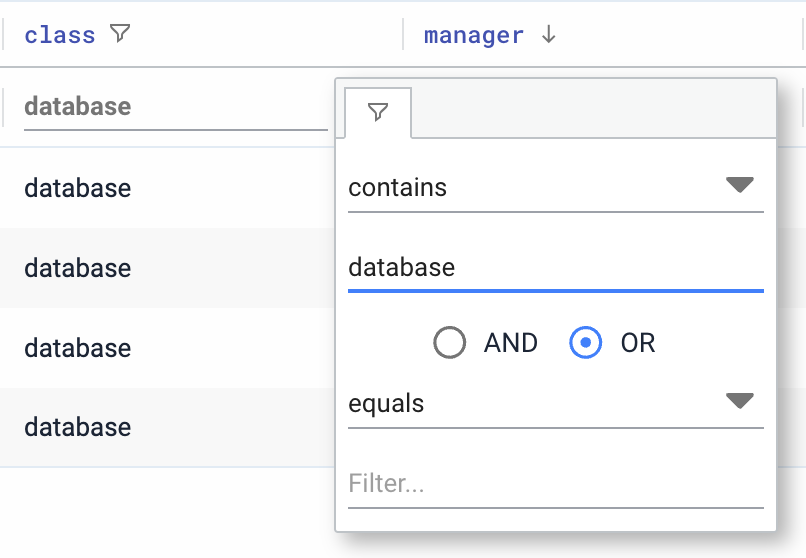
Access the filter for each column by clicking the filter icon under the column header.
Click the Filters tab at the far right of the search bar.

In the filter panel, click the name of the column to filter and add the filter terms.
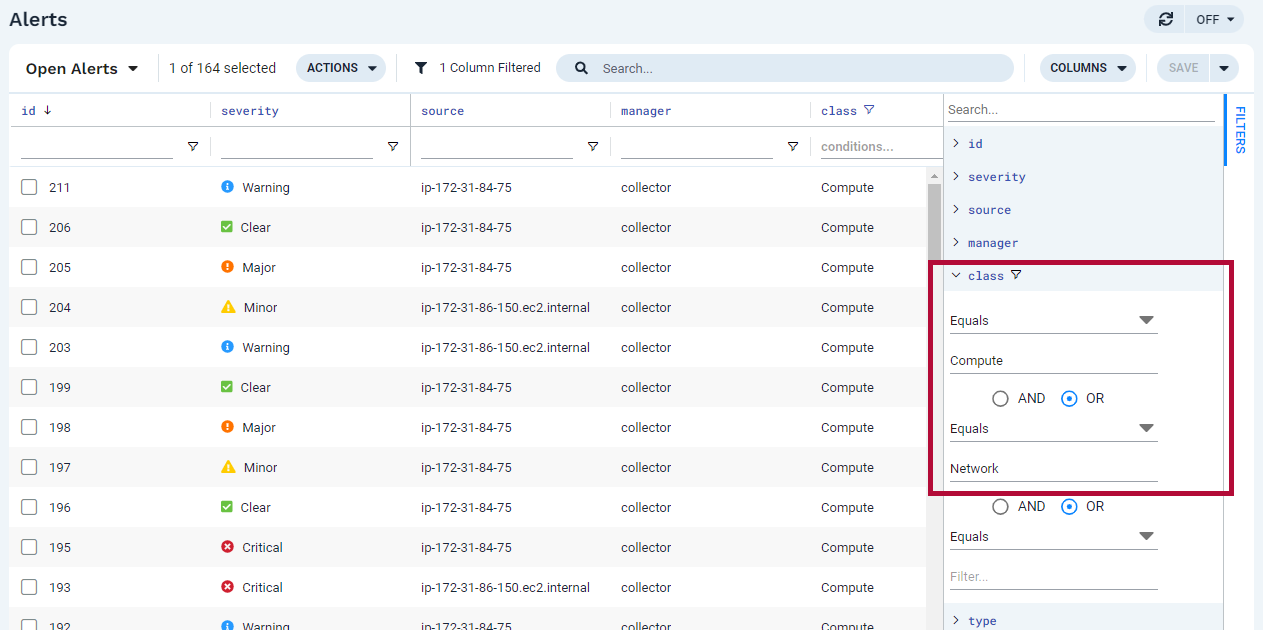
Use the Equals operator when you want to find matching words in a string, and use Exact Match when you want to find precisely the same value.
The Equals operator matches full words (strings separated by spaces or punctuation) in order in strings.
Example 1. The Equals operatordescription equals
software updates configuration validation checksMatches:
Confirm that software updates, configuration validation checks are includedSoftware updates, configuration, validation checks and other information are complete.Perform the software updates, configuration-validation checks.
Does not match:
Validation checks for configuration after updates to softwareMatching words are not in order
The software which updates the configuration failed validation and multiple checksMatching words have other words between them
Software and validation checksSome of the words are missing
Exact Match looks for values that are exactly the same.
Example 2. The Exact Match operatordescription exact match
network access policy reviewMatches:
network access policy review
Does not match:
Schedule the network access policy review for next week
To filter using dates and times, you can either type out the value or click the calendar icon to open the date and time selector.
For incidents, you can also use a time selector in the upper right of the page to specify the time period displayed. If you combine the time selector with a date and time filter, the most restrictive combination of the two is applied.
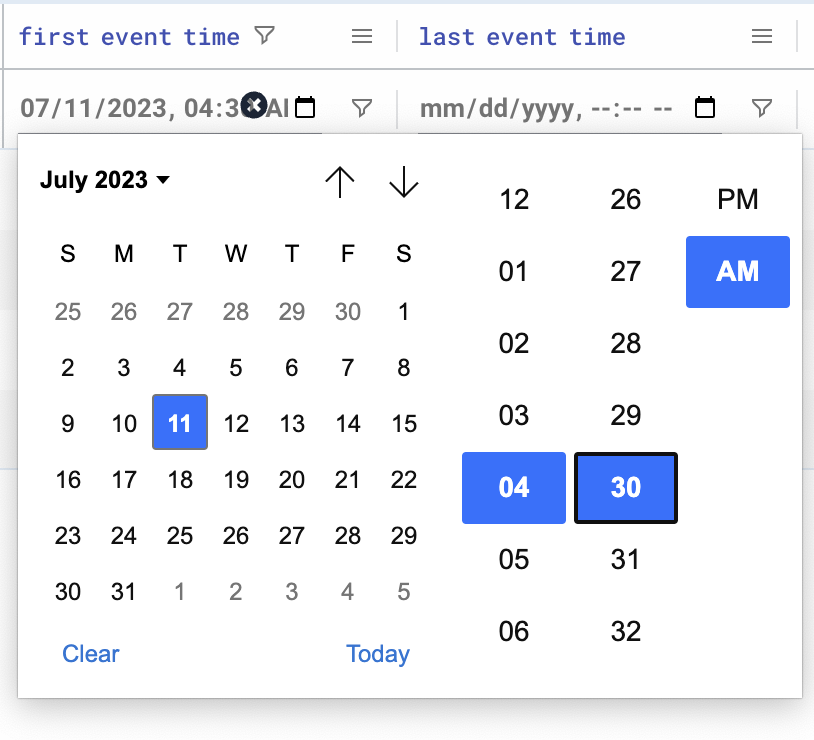
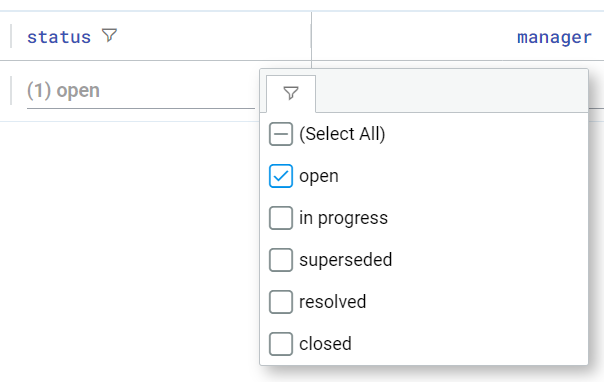
For columns that are limited to a list of possible values, select the values to display.
For information on filtering using the API, refer to the API documentation.
contains filter behavior
By default, the contains filter term will only match whole words and not substrings of a word. This means that if you are filtering the description column of the incidents page with a query such as contains data, an incident with the following description would match the filter:
"No data from source 432.northwest"
However, incidents with the following descriptions would not match the filter, because "data" is not a word on its own:
"Located in 432.northwest datacenter"
"Located in 432.northwestdatacenter"
"Located in 432.northwestdata center"
To define a column filter that matches substrings of a word, use contains along with a wildcard (*) character placed before and after the term you want to match.
Example: The column filter query contains *data* will successfully match all the example descriptions listed in this section.
Filter for blank or not blank values
In addition to filtering for specific column values, you select Blank or Not blank to filter for the presence or absence of values in the column. Note that an empty space counts as a "blank" value.
Any column can be filtered for blank or not blank values except for fields like severity and status (which always have values), and tags. Support for filtering tags this way is planned for a future release.
To filter for incidents with unset priority, simply uncheck all of the available values for the column.
Save a filtered view
For information on saving incident filters, see Create and share incident views.
Clear filters
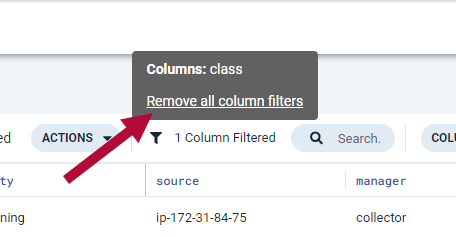
To clear your current filters, hover over the text showing the number of columns filtered and click Remove all column filters.
Grid columns
You can add, remove, and reorder grid columns to use for filtering.
Modify columns
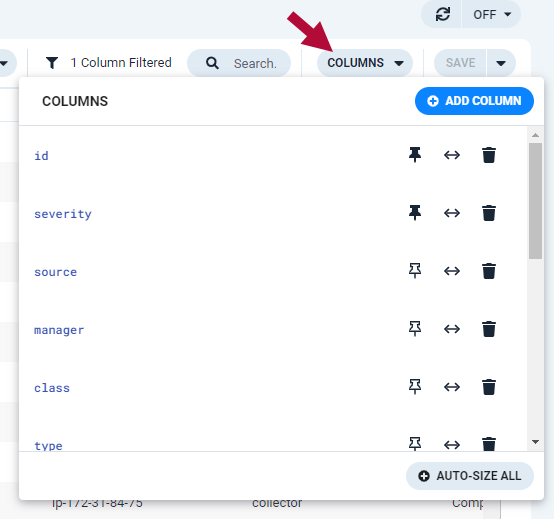
Click Columns at the top of the page to access the following column options:
Add a column
In the Columns dialog, click Add Column and select a column to add to the view by clicking Add Column (+ icon) to the right of the column name. The column is added to the grid display.
If the column you want to add isn't in the list of recent columns, use the search box at the top of the dialog to locate it.
Pin (or unpin) a column
Pinning moves the column to the first position in the grid (or within the pinned group, if other columns are already pinned), "freezes" it in place, and allows the columns to the right of it to continue to scroll.
To pin a column, click the pin icon to the right of the column. This pins the column and all columns to the left of it.
If the column is already pinned, then clicking the pin icon unpins it.
Auto-size a column
To make a column as wide as the widest item in the column, click Auto-size this Column ( ↔ icon ) to the right of the column name.
Remove a column
Click Remove Column (trashcan icon) to the right of the column name.
Auto-size all columns
To change the width of all the columns to the width of the widest item in each column, click Auto-size All at the bottom of the dialog.
Reorder columns by dragging the column headers to new locations.
 |
Search
Use the search boxes to locate data using keywords.
NOTE: Incident Management has a 10,000 row limit on all search queries. If your list of results exceeds this limit, consider adding filters.
 |
Sort
You can display alert and incident data using both single- and multi-column sorts.
Click the heading of the column you want to sort. By default, the arrow points up, indicating an ascending sort. Click the heading again for a descending sort.
 |
To sort by additional columns, press and hold the Shift key, then click additional column headings. The first column click is the primary sort, second is the secondary sort, and so on. Column headings indicate the sort level and the direction.
 |
To clear a multi-column sort, click a column heading without pressing the Shift key.
Tips
Make sure you are using the latest data: use automatic page refreshing to update incidents and alerts as often as you need.
Choose the auto refresh interval from the list to enable auto refreshing.
Manually click the refresh button to refresh on demand.
To reload the default filter, refresh your browser tab.
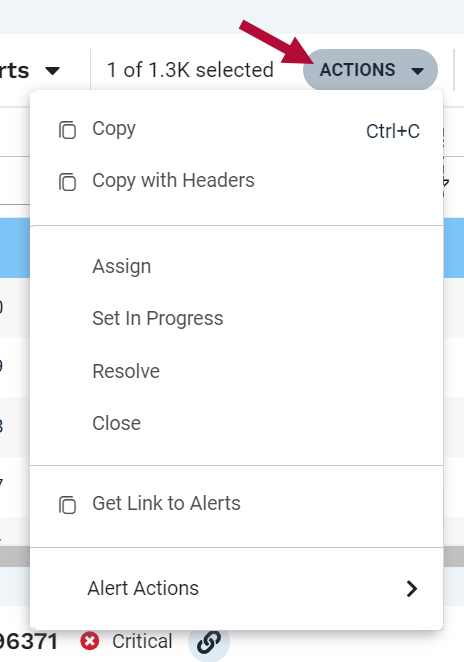
Click the Actions menu to access copy and paste options as well as shortcuts to change incident or alert status.
You can also right-click within the grid to access the Actions menu.
