Demo video: How to install a collector using a forward proxy ►
This video explains how to install and run an APEX AIOps Incident Management Collector using a forward proxy on a Linux system.
*Please note Moogsoft is now part of Dell's IT Operations solution called APEX AIOps, and changed its name to APEX AIOps Incident Management. The UI in this video may differ slightly but the content covered is still relevant.
Hello everyone! My name is Robert Pomichter and I'm a backend engineer on the Jawa team at Dell Technologies. Today, I will explain and demonstrate how to install and run a collector on a Linux machine using a forward proxy.
This tutorial assumes that a forward proxy is already in place. As we can see, currently, there is a Squid web Proxy Server actively running on this machine.

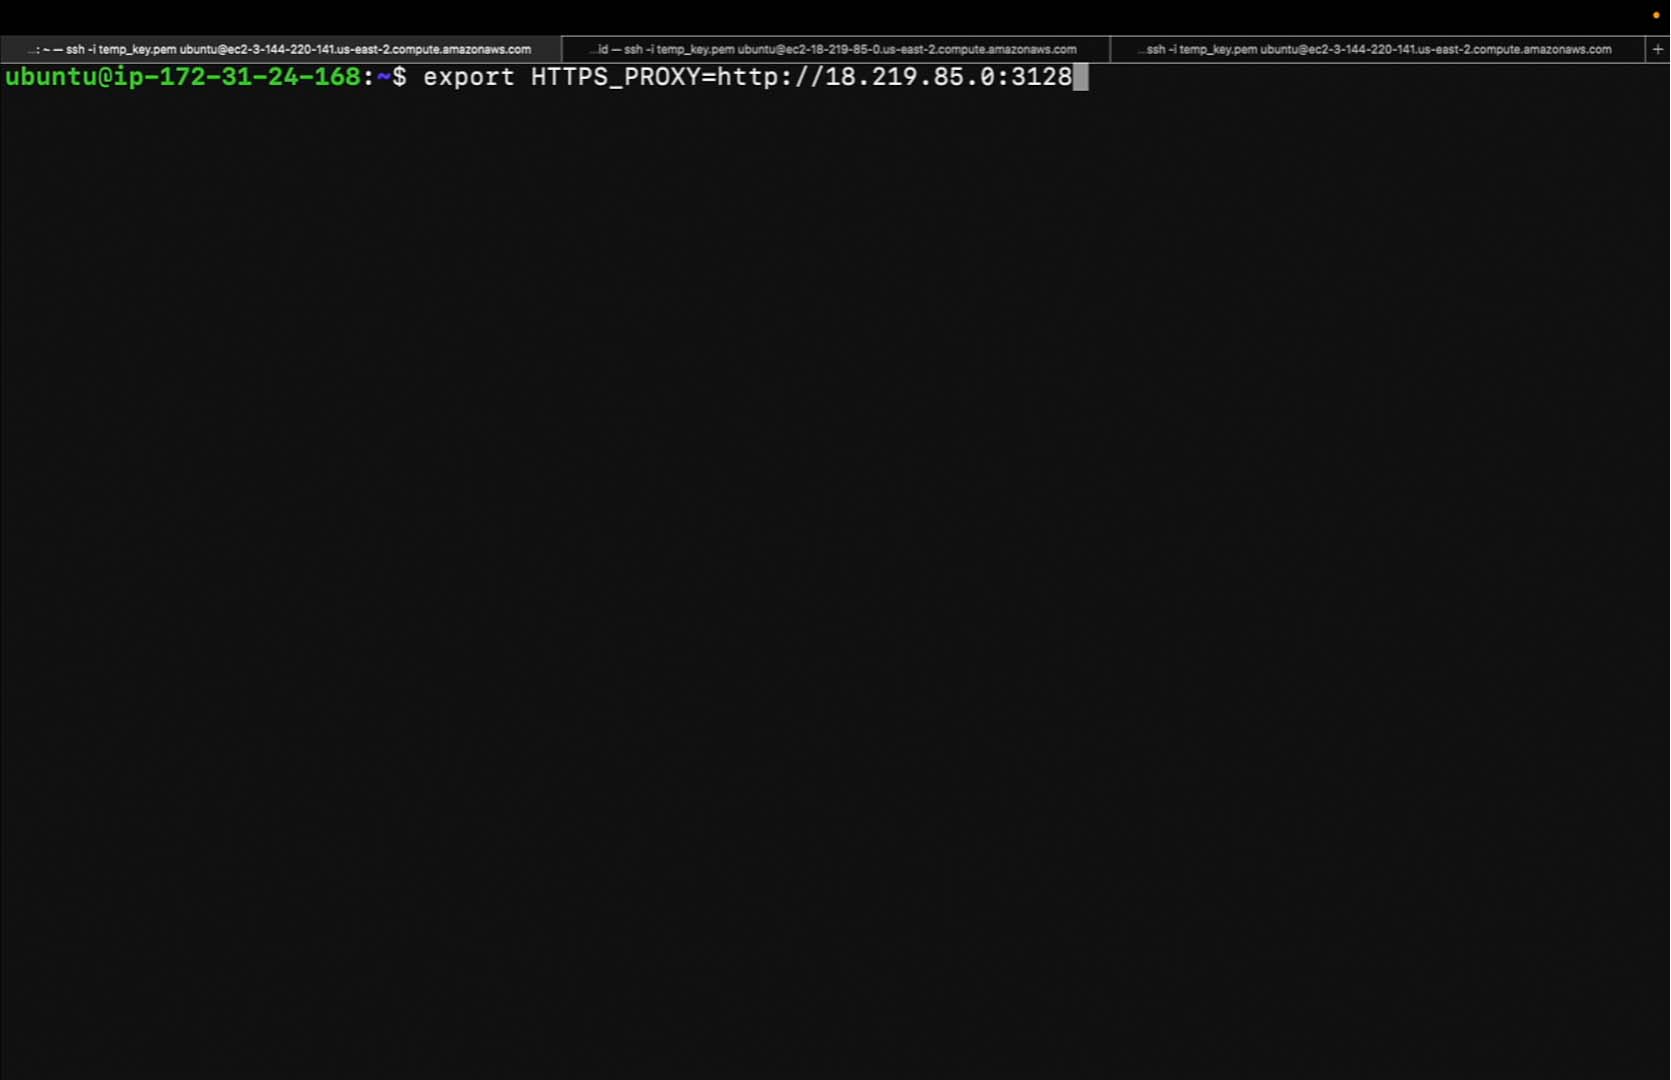
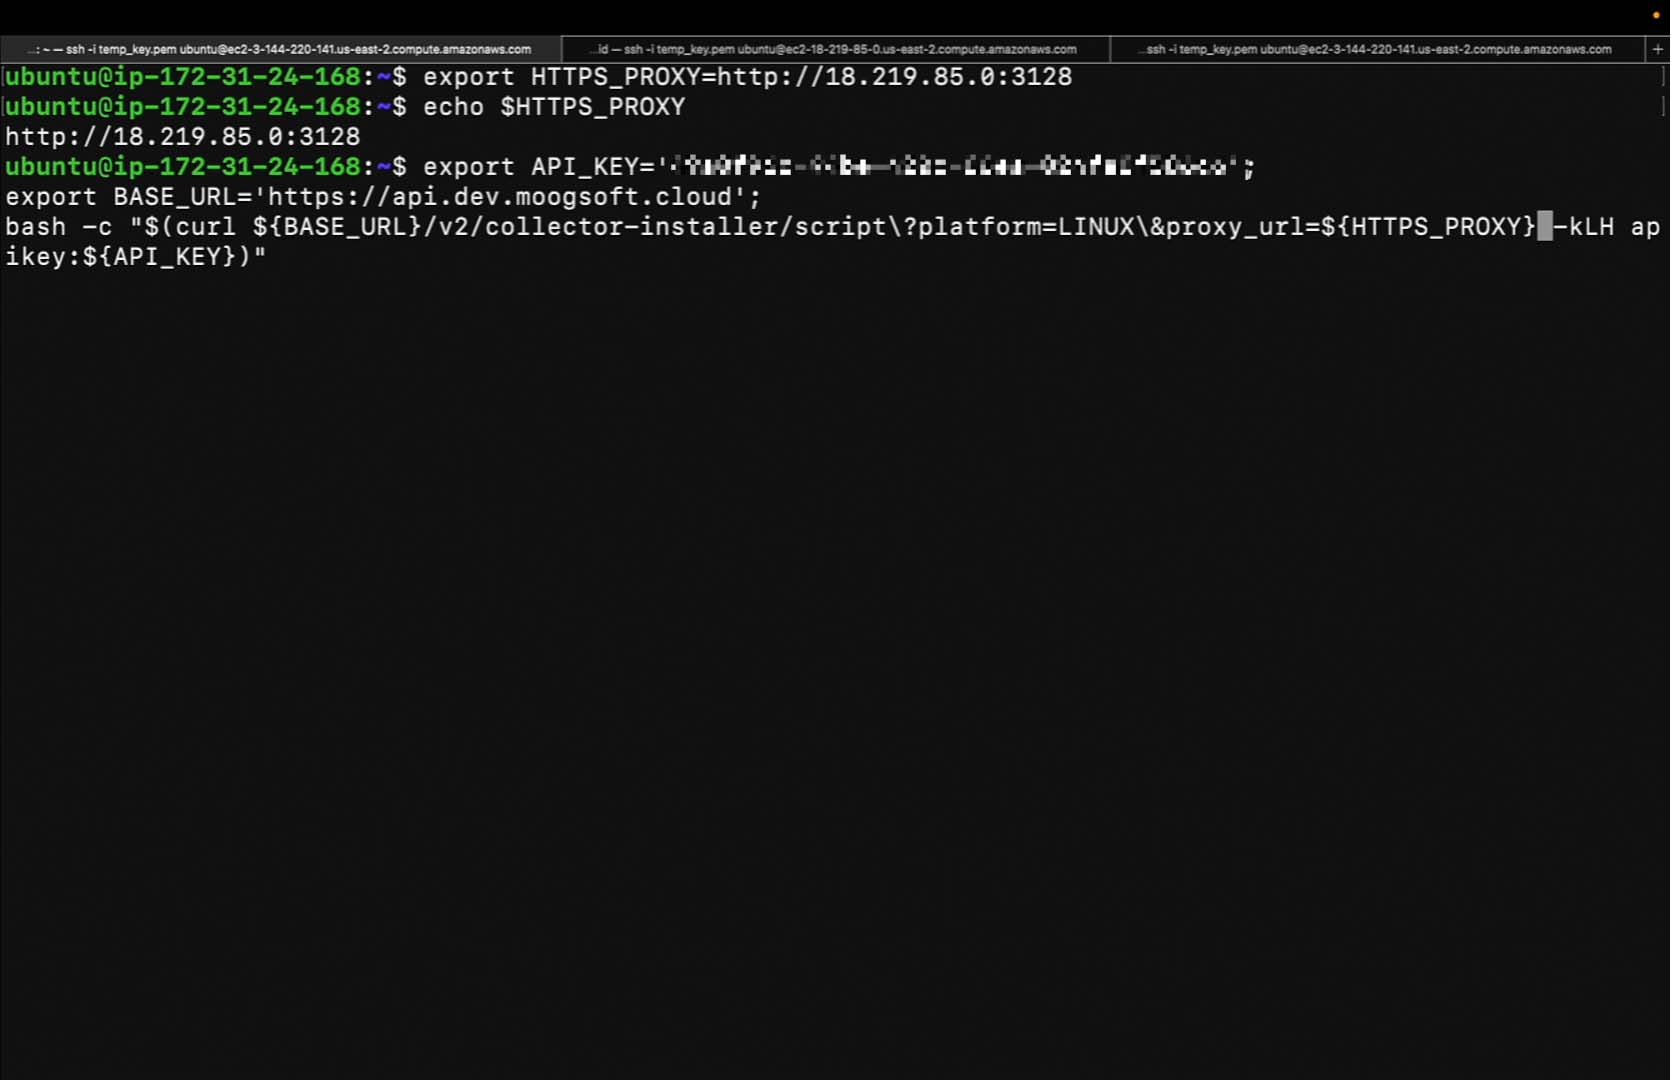
On the machine which we wish to install the collector, we should first export an environment variable called https_proxy, like so. The value should be equal to the public IP and port of the proxy.
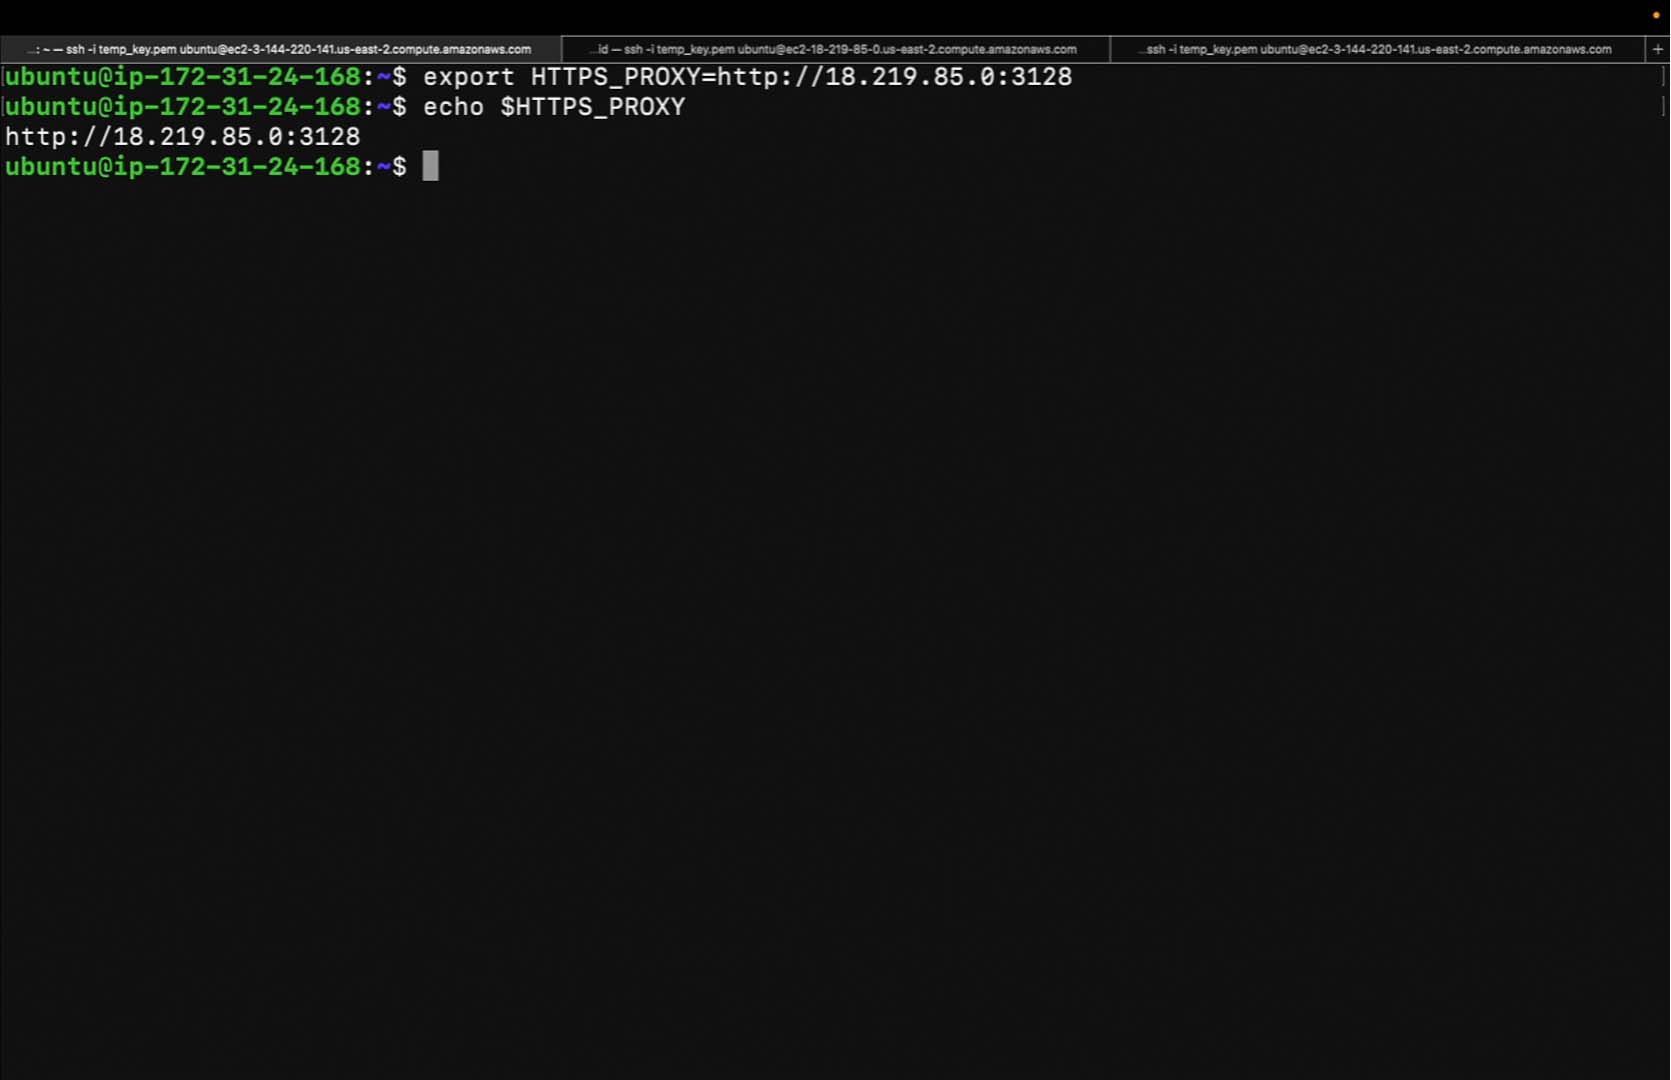
Verify the https_proxy environment variable exists using the echo command.
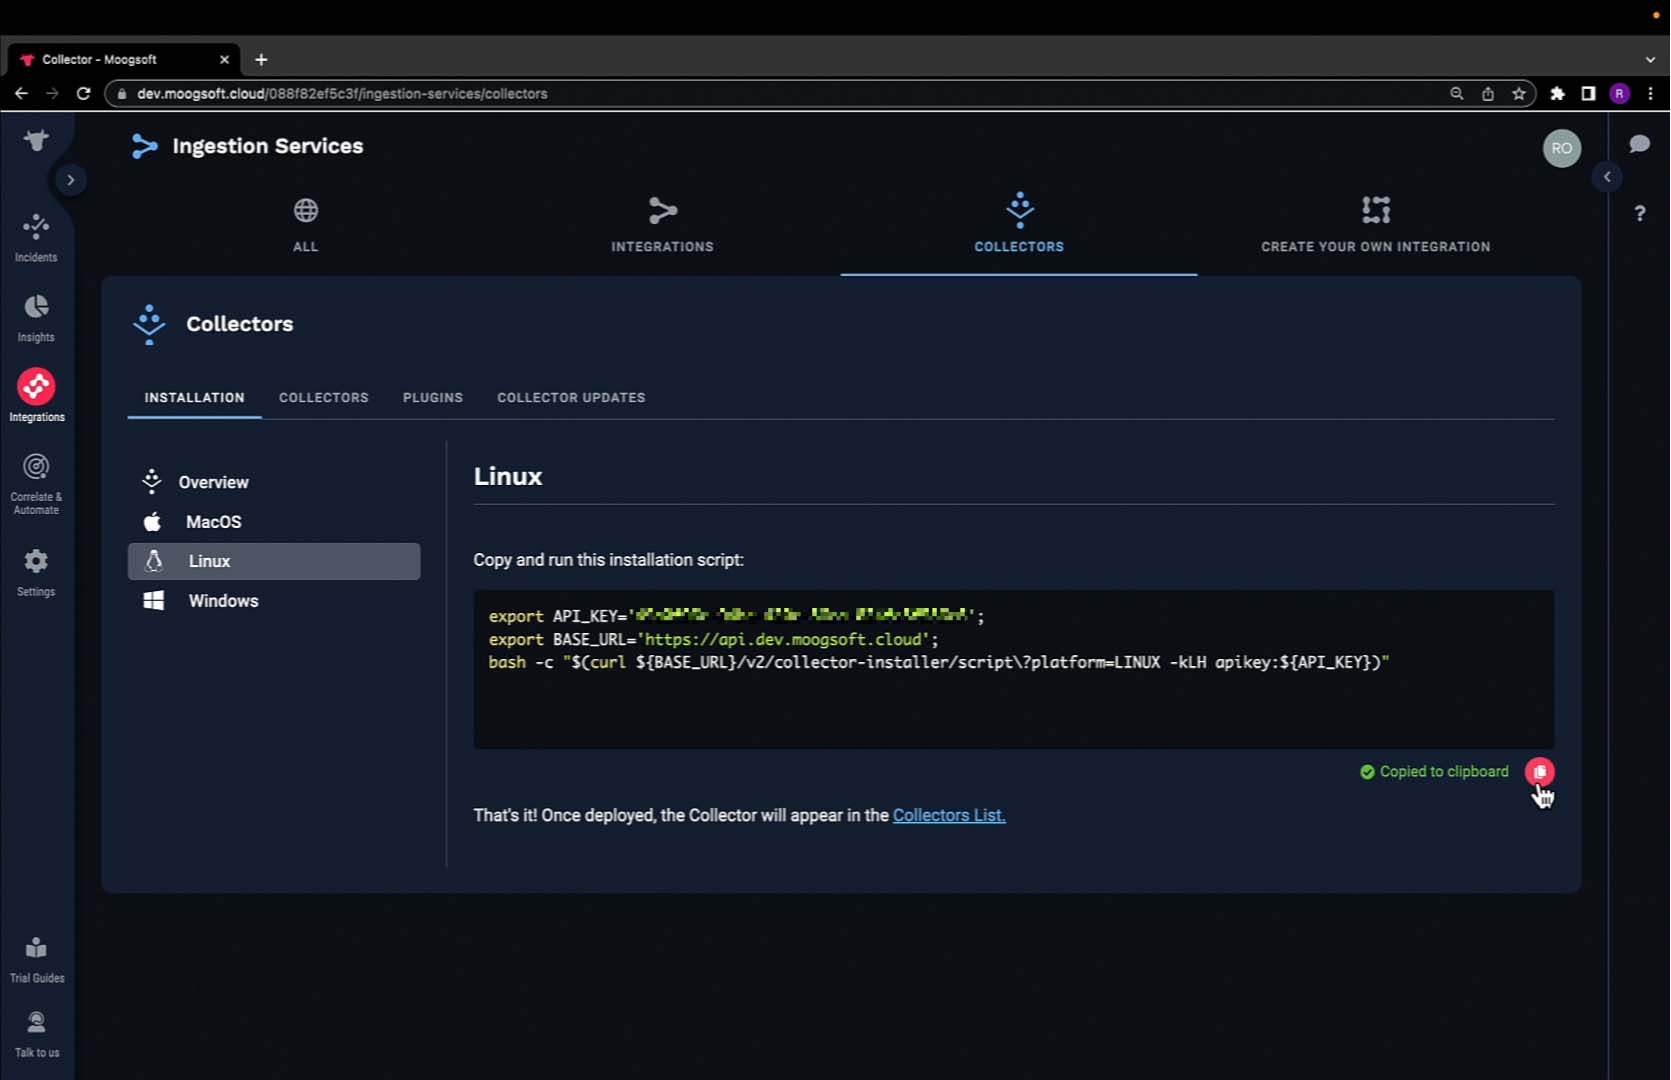
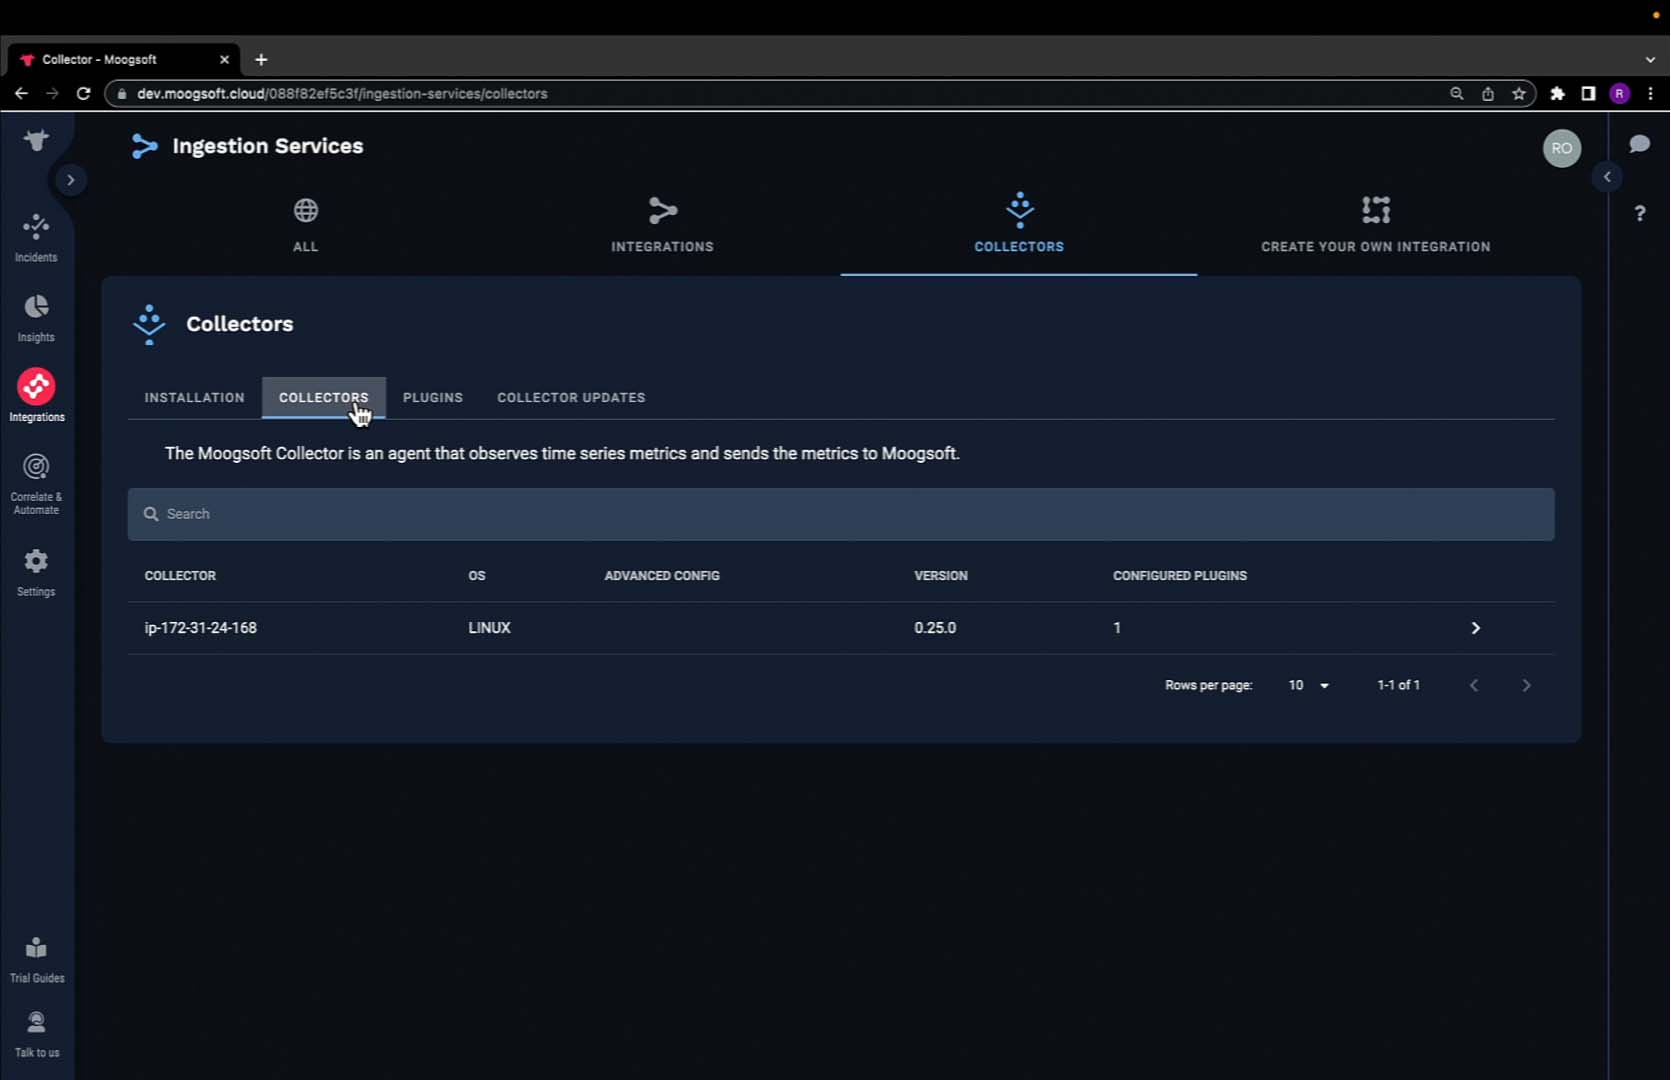
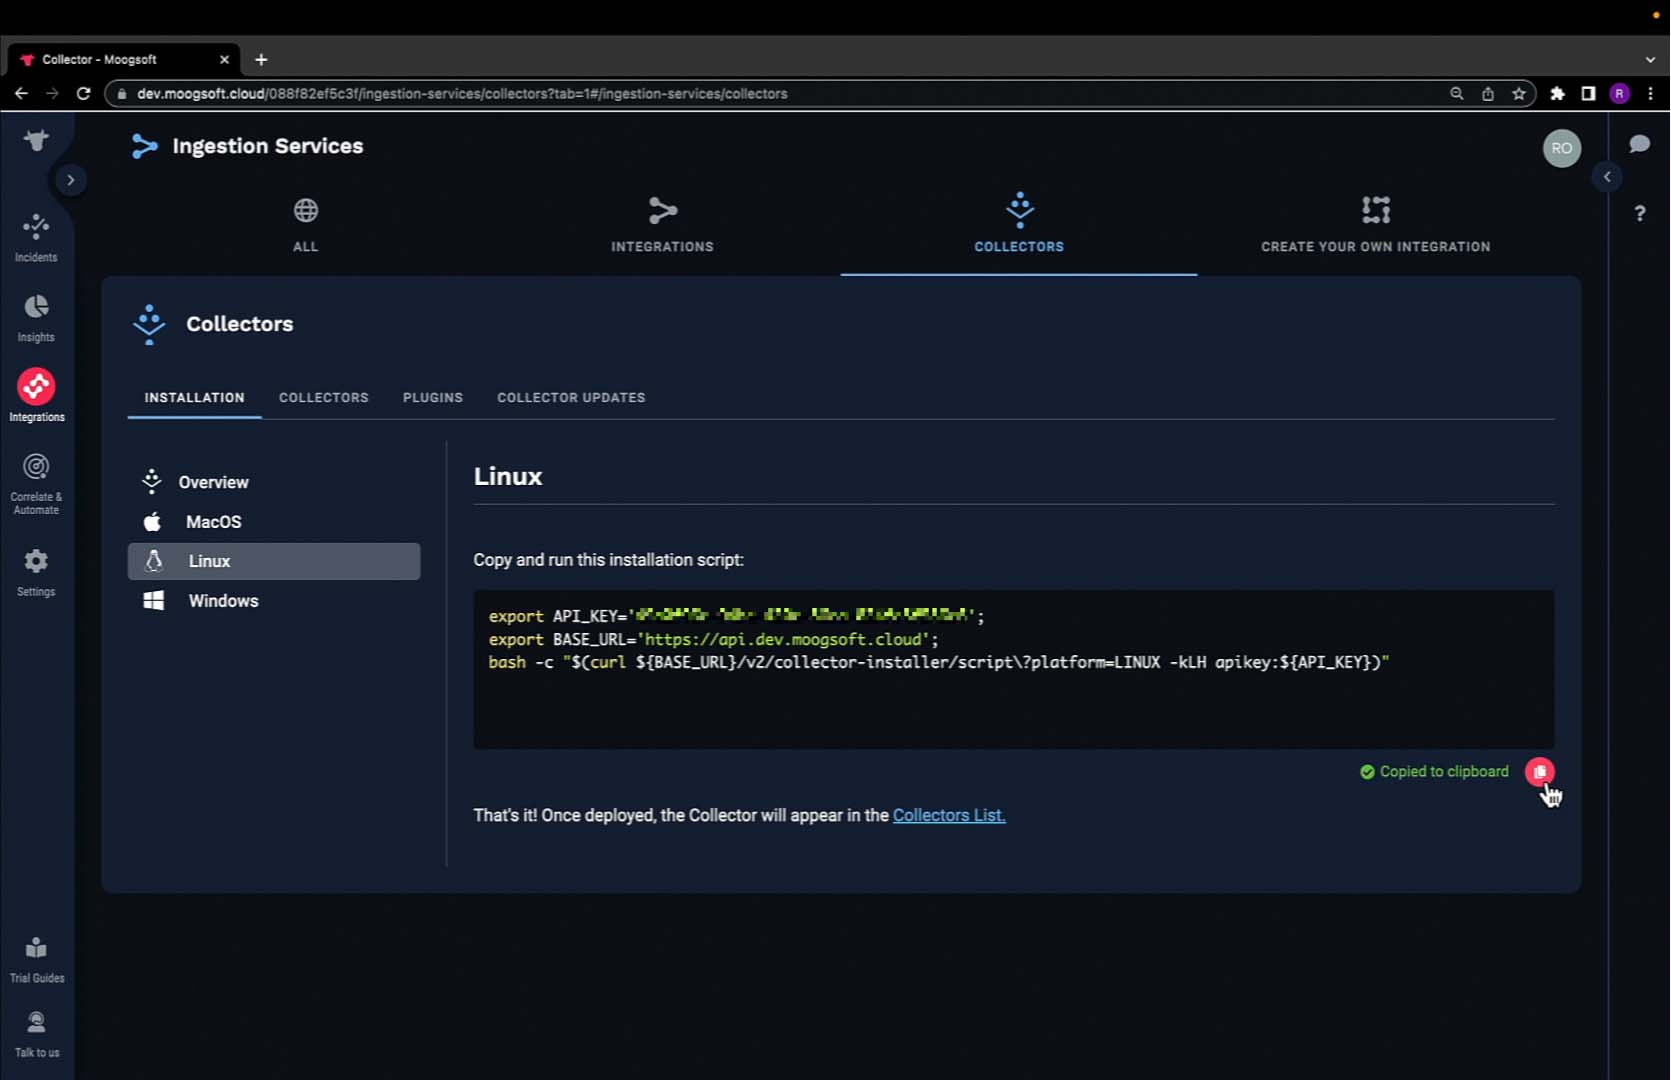
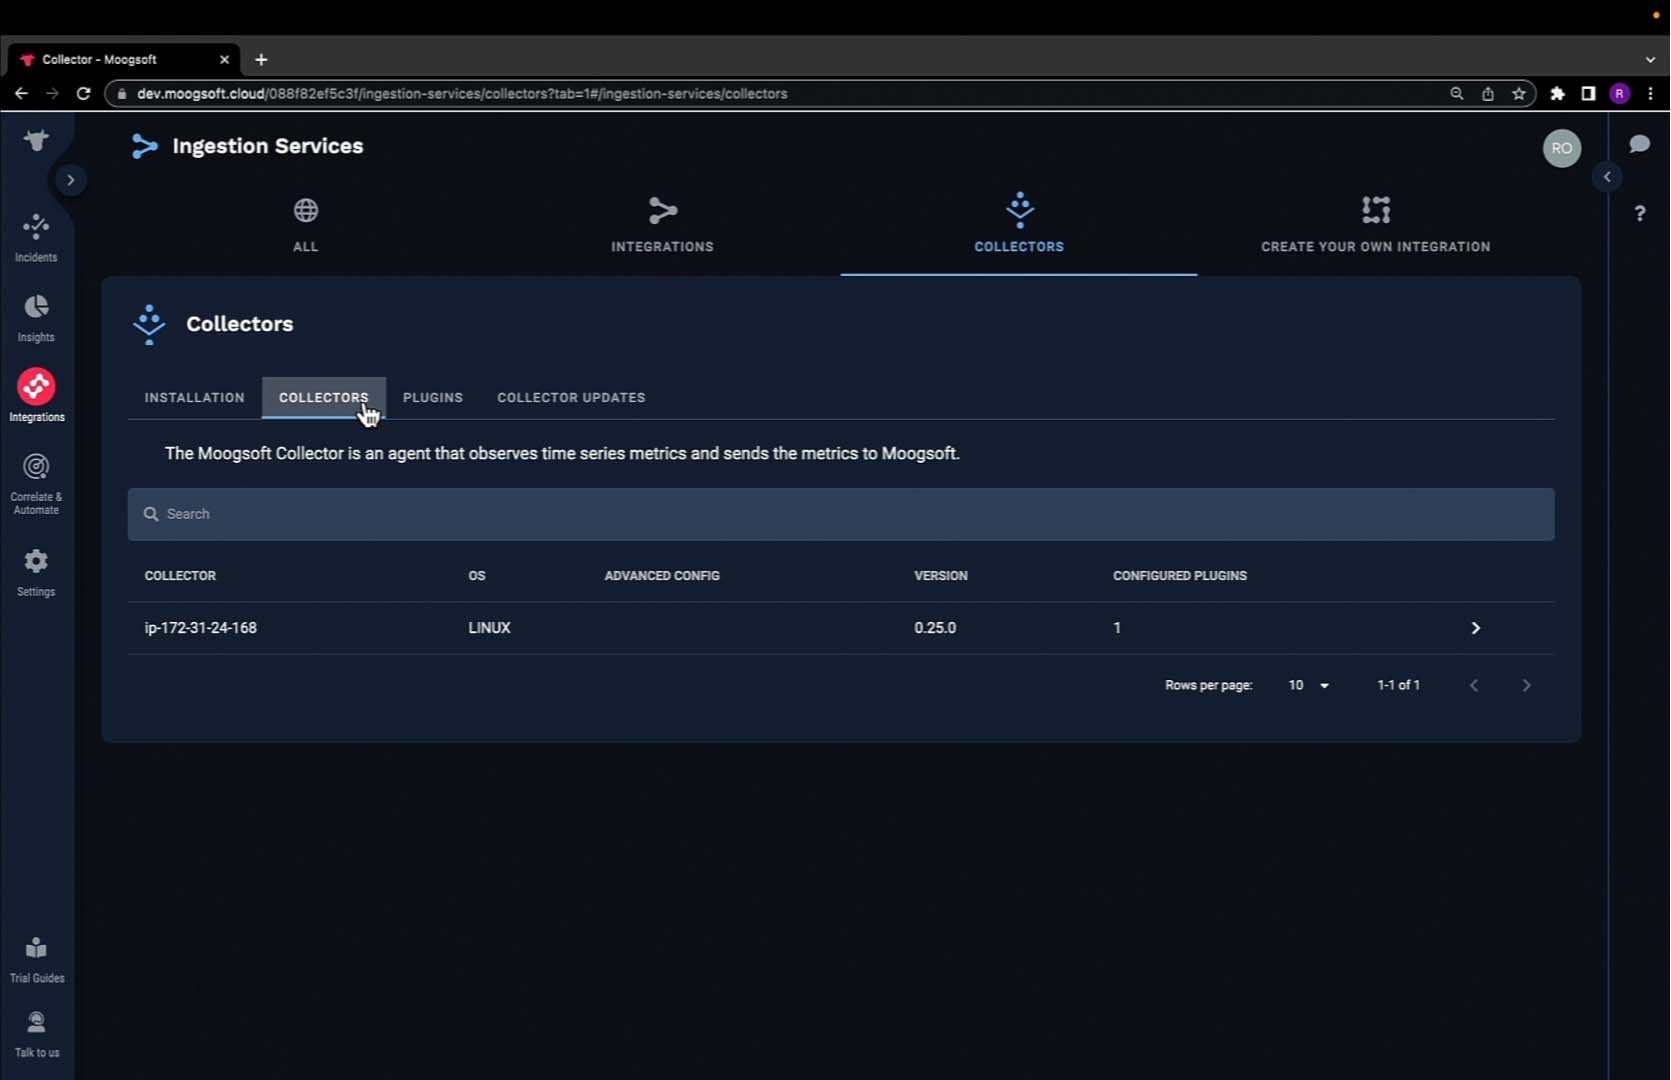
Once the initial setup is complete and you've provisioned an instance of Incident Management, navigate to Integrations, Ingestion Services, Collectors, and Installation Tab. Choose either MacOS, Linux, or Windows. For the purposes of this demonstration, we’ll be choosing the Linux operating system.
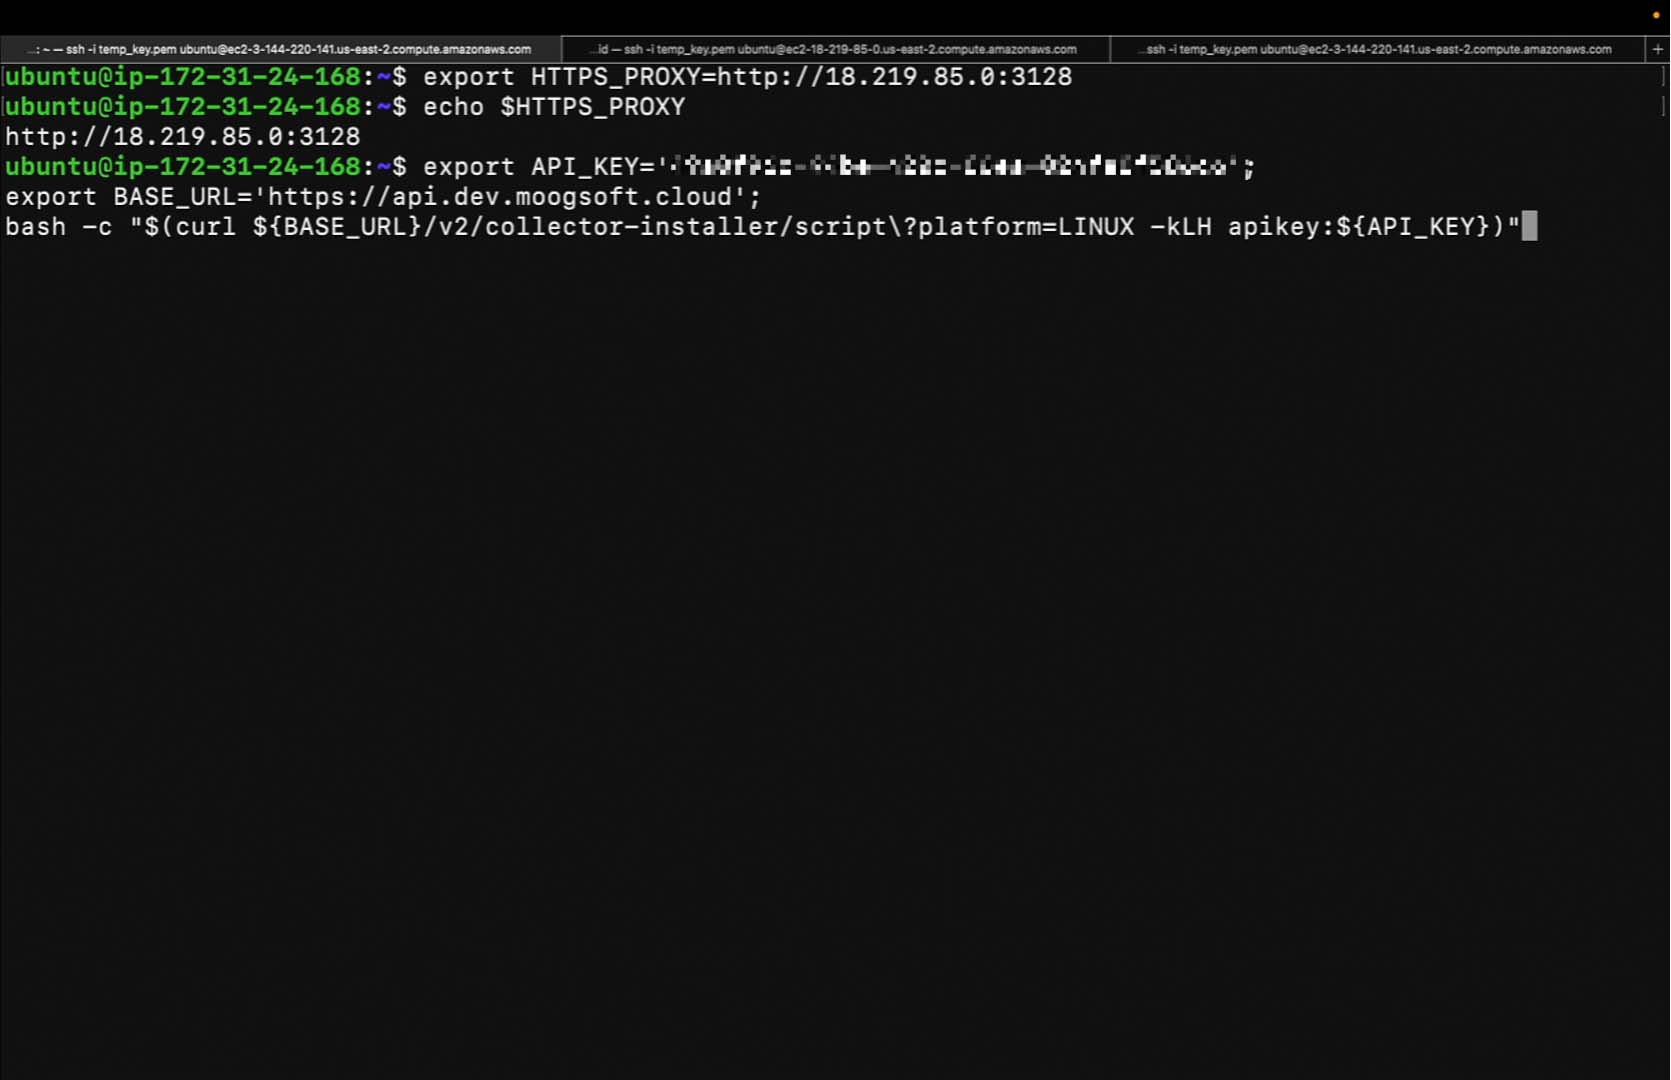
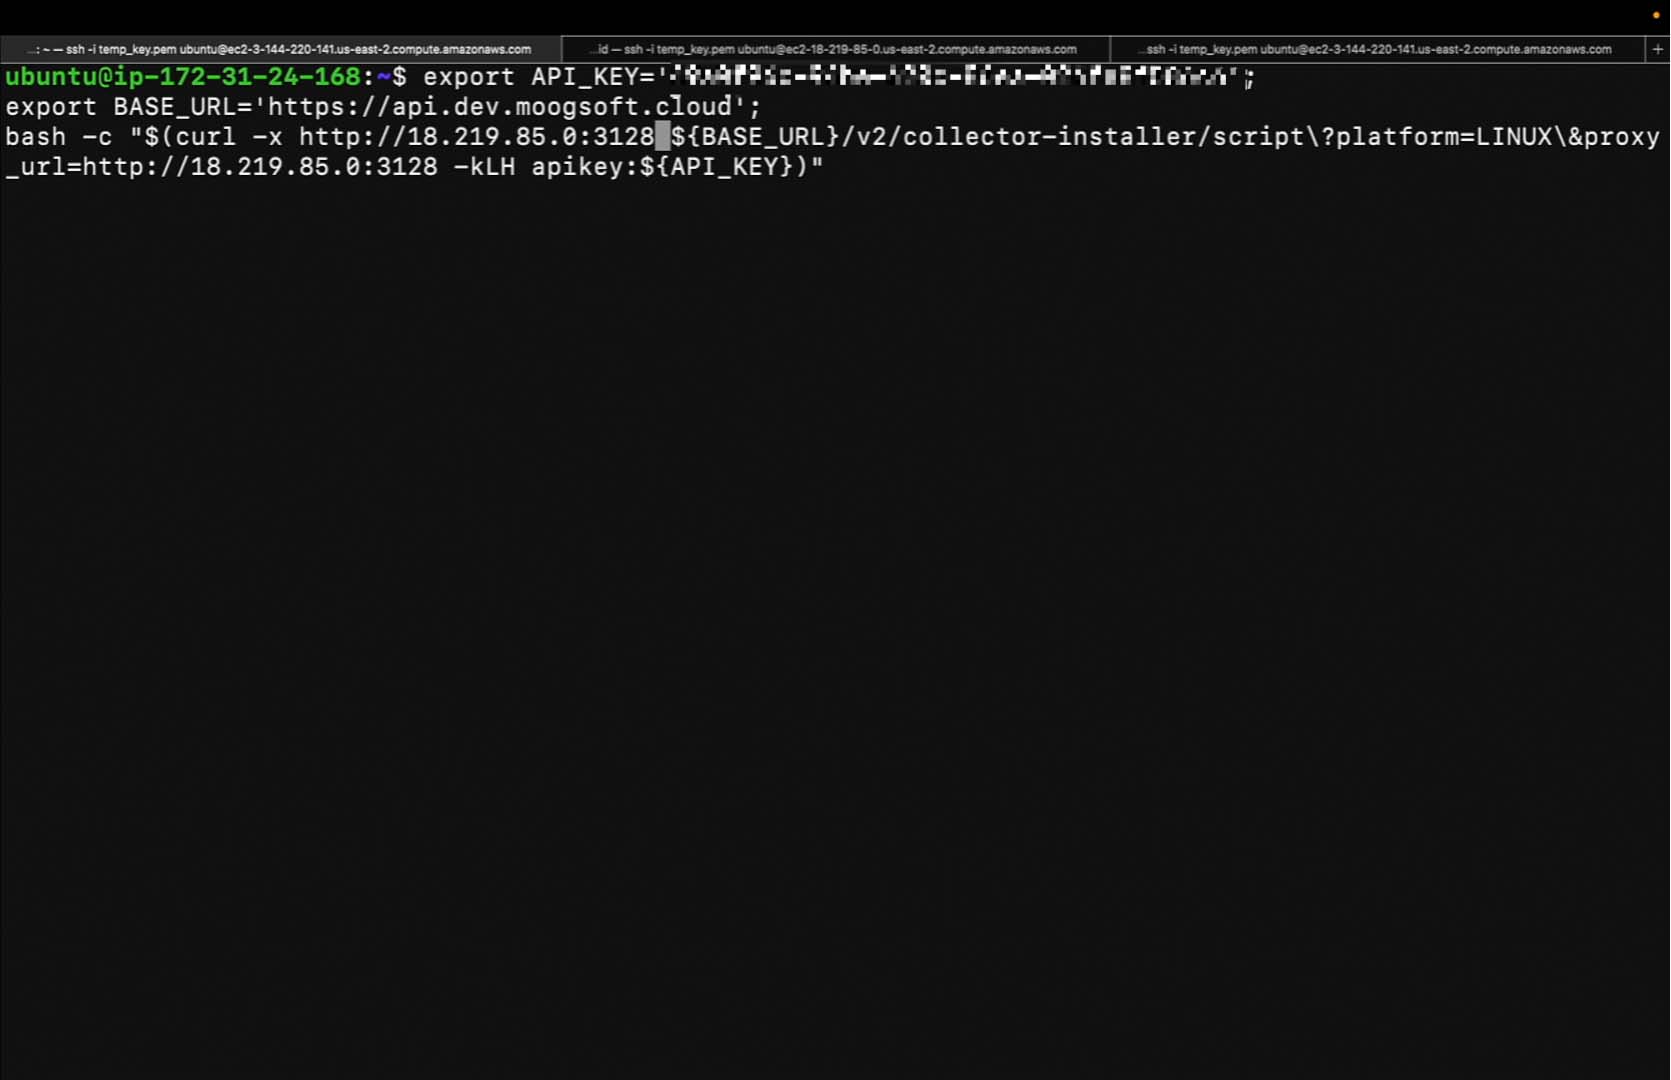
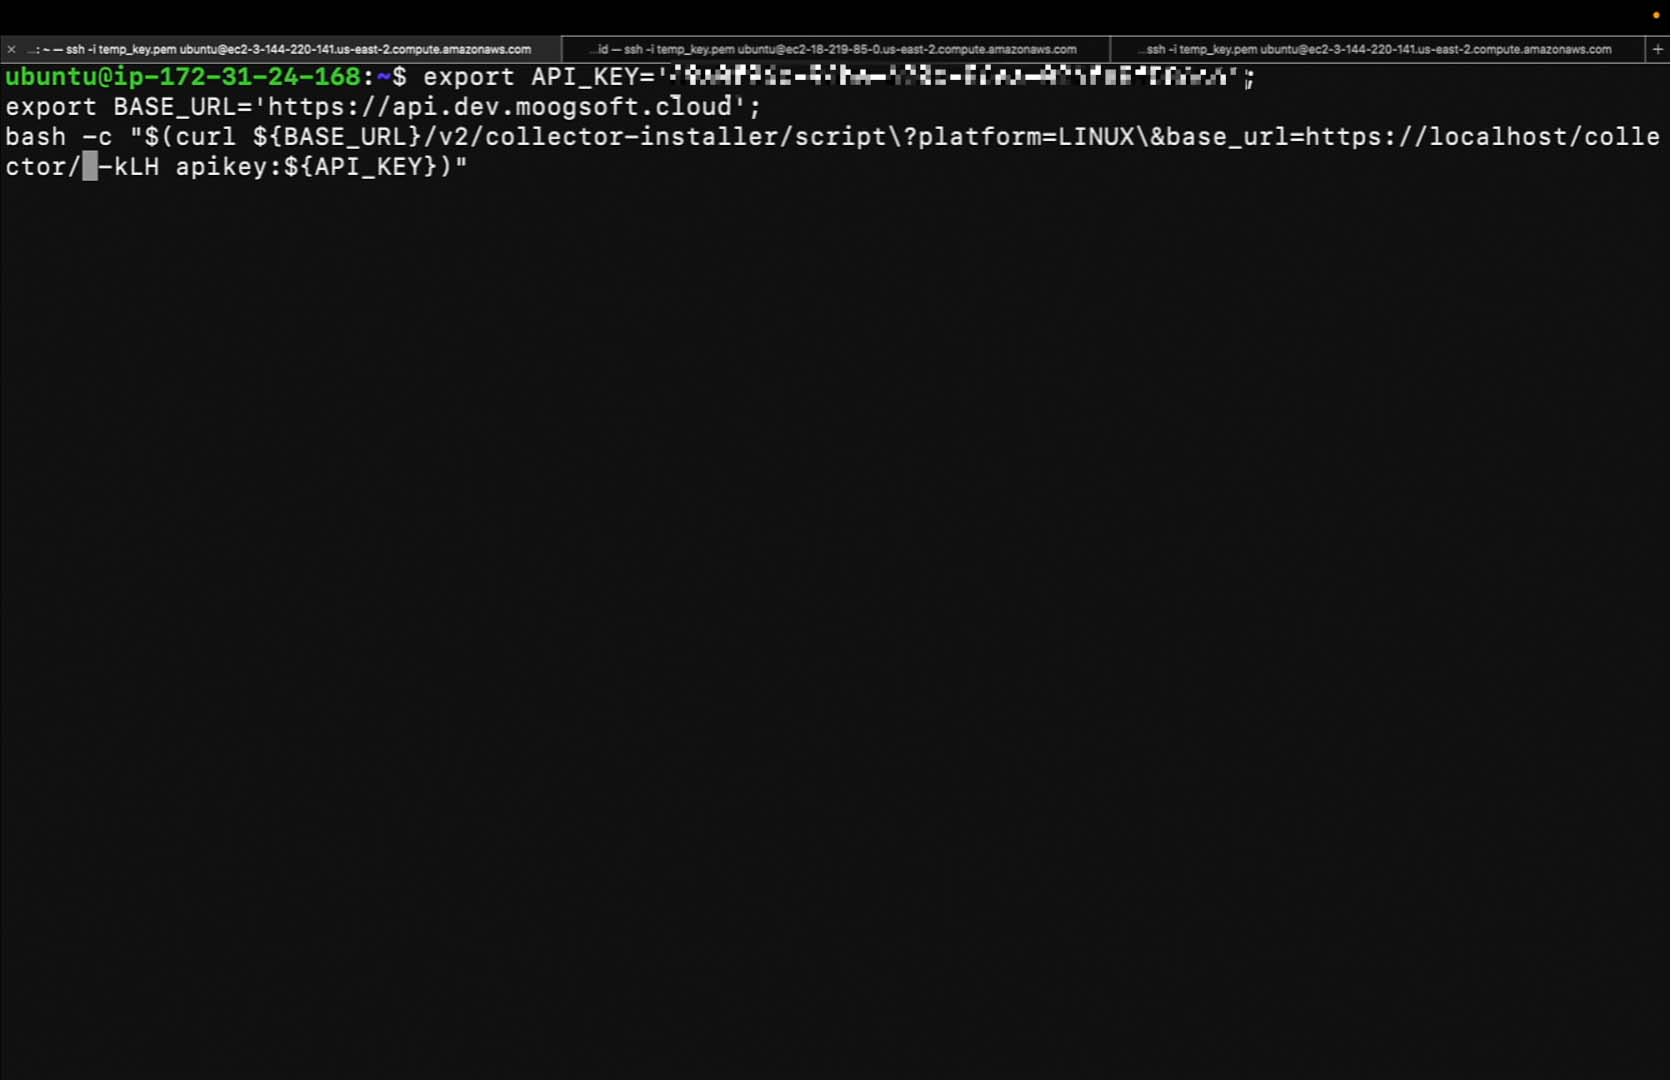
Then navigate back to the terminal on which we wish to install the collector. Paste the installation command in the terminal. As it currently exists, we need to make a few edits to this command.
First, we'll supply an additional query parameter called proxy_url. This value should be equal to the https_proxy.
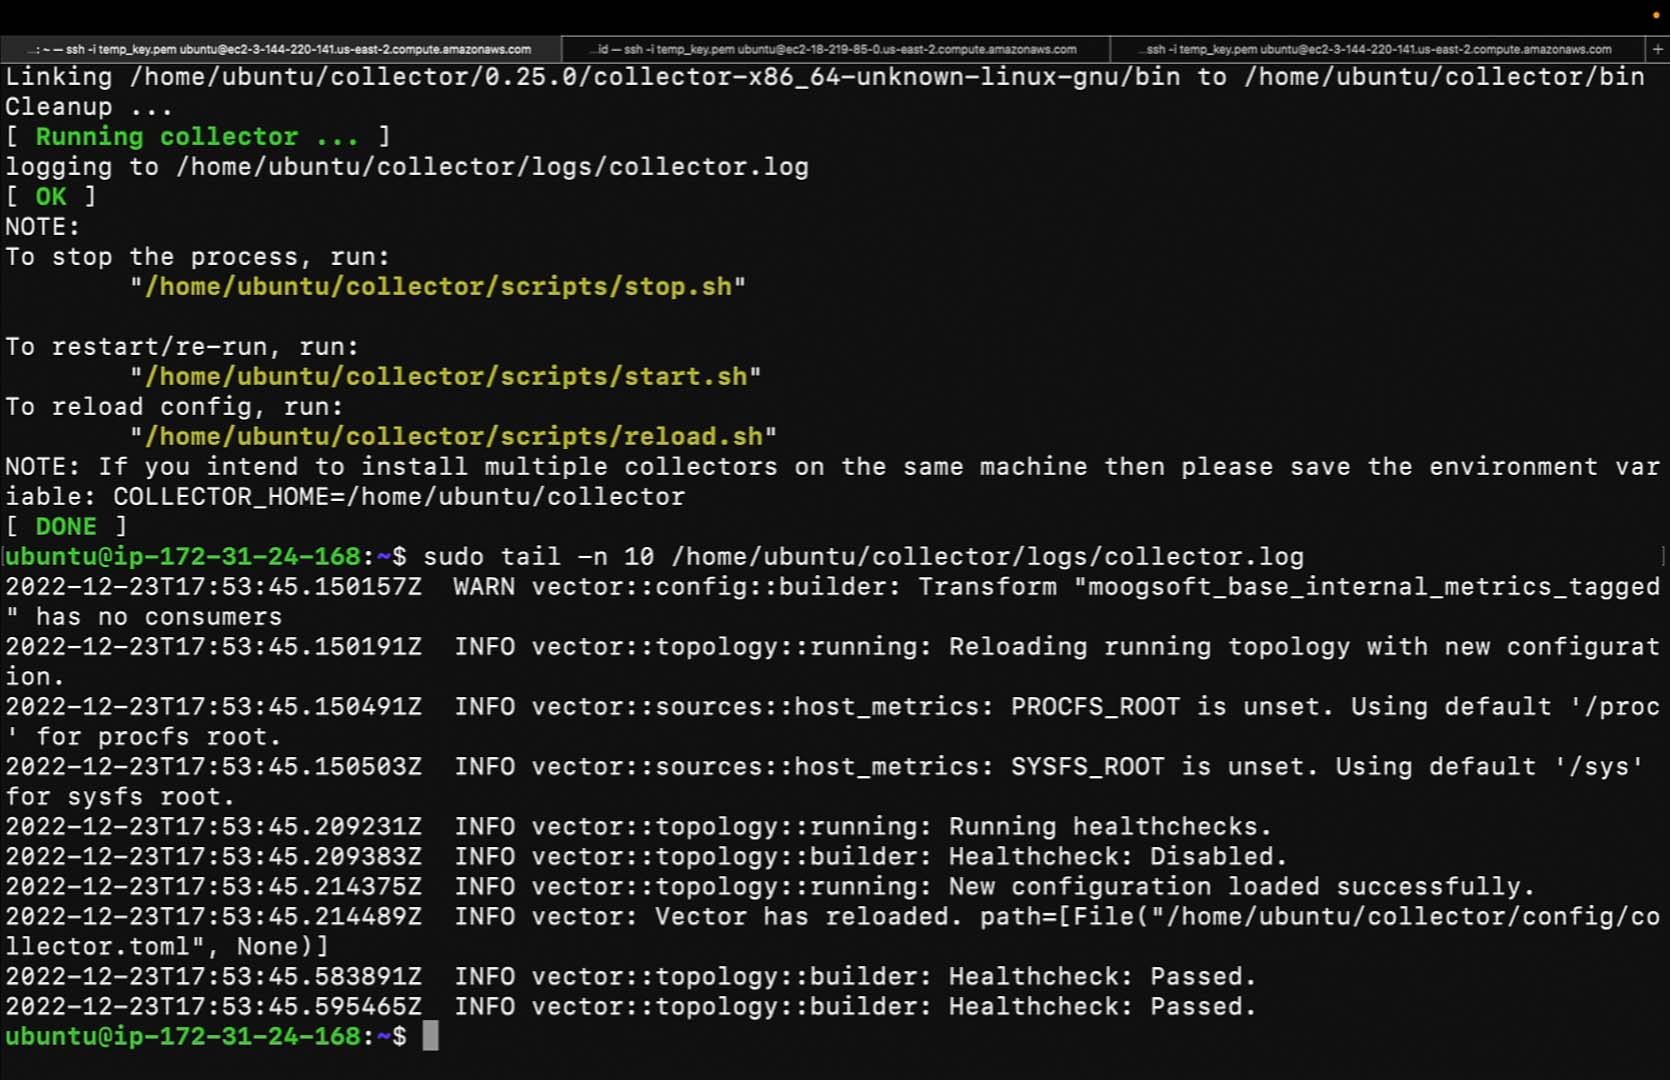
It looks like the collector has finished installing.
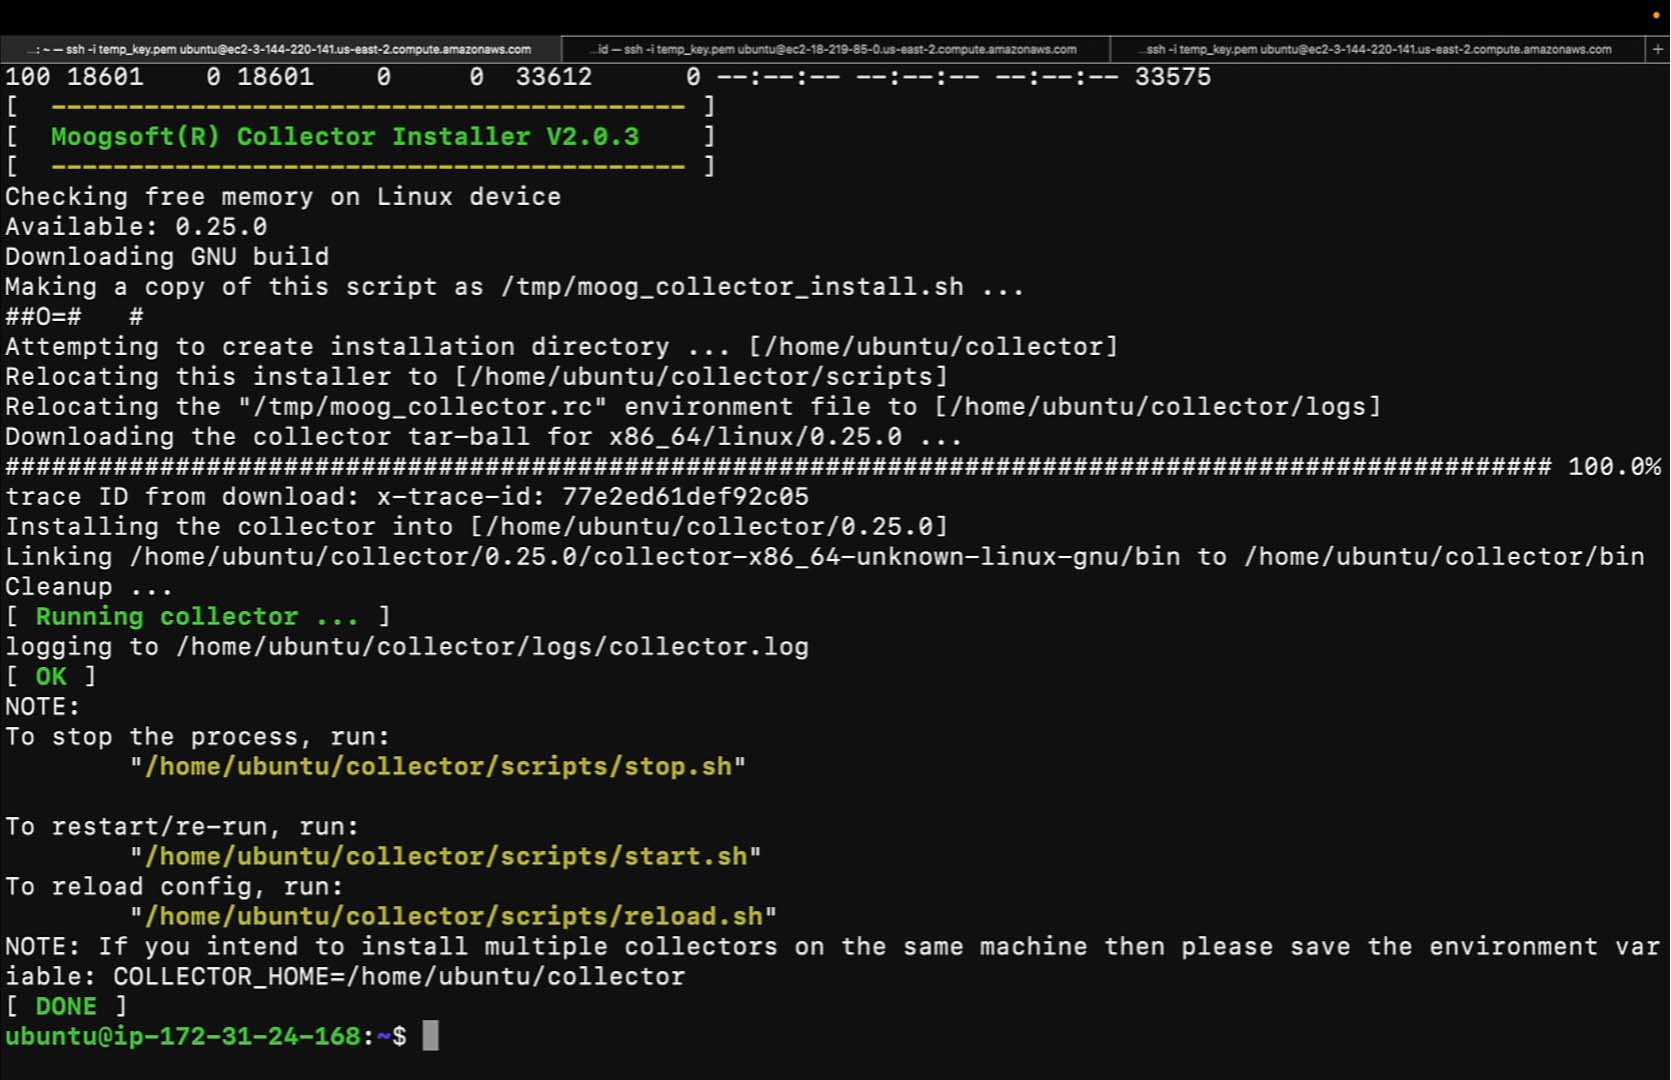
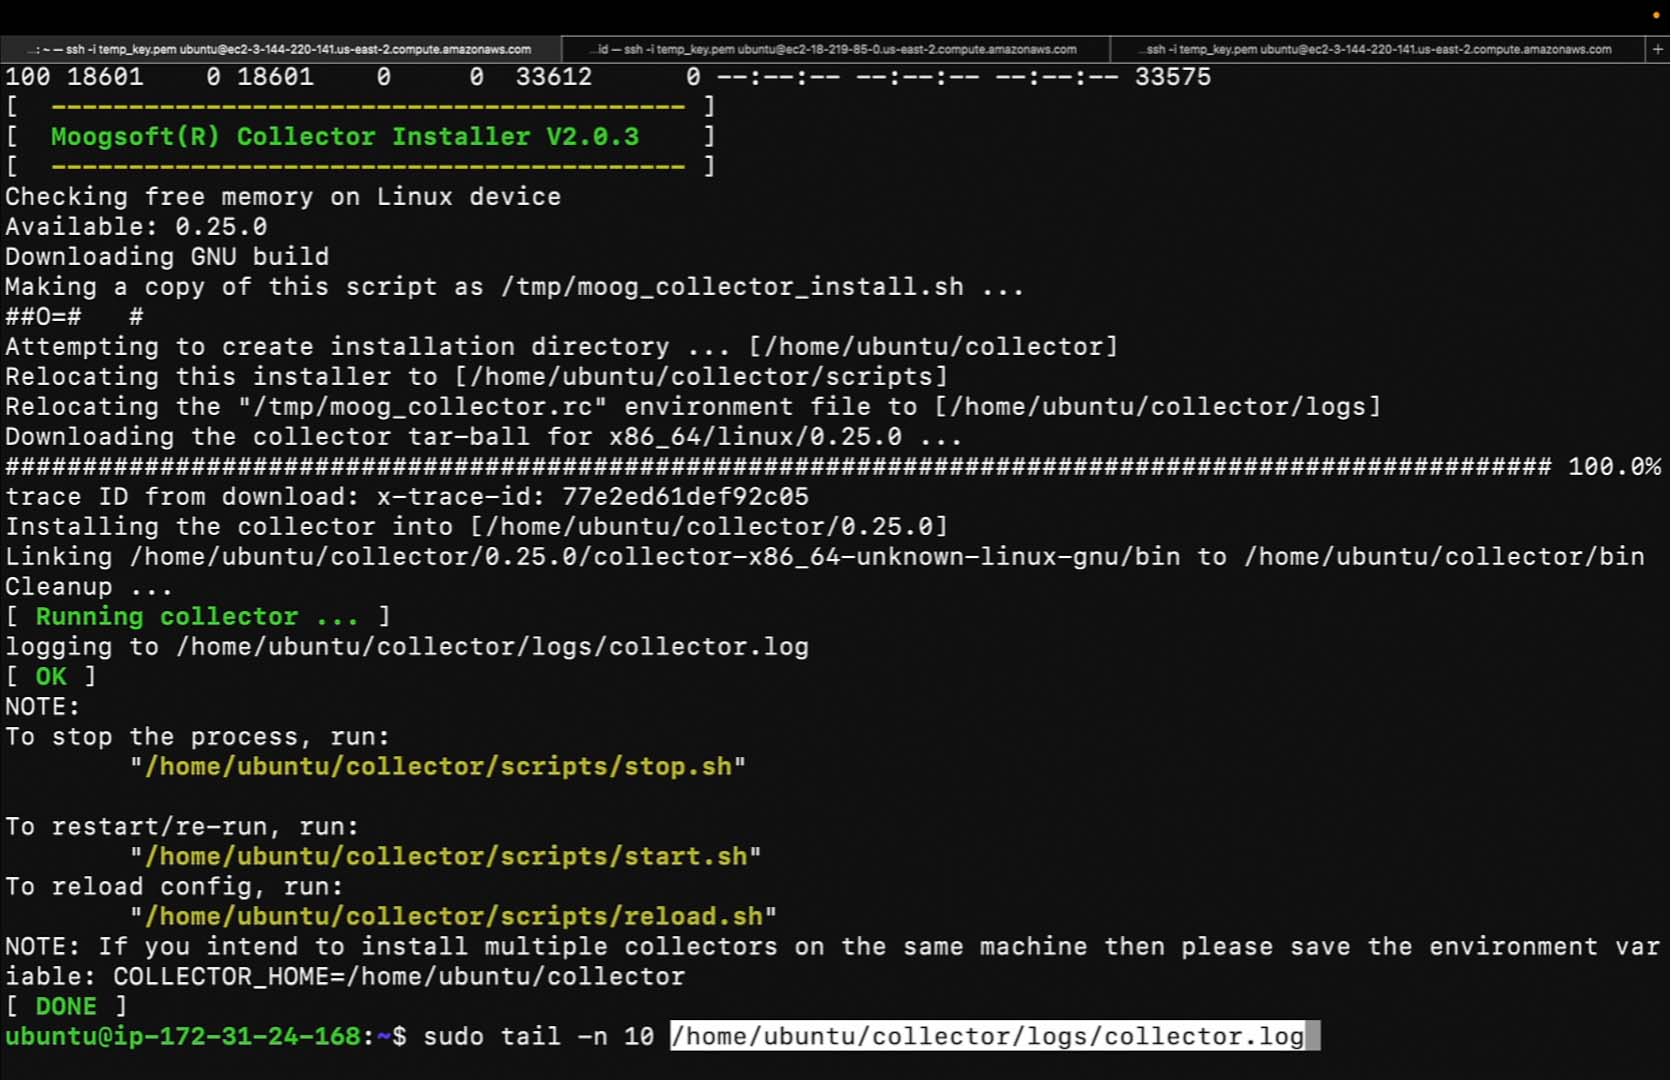
We can check the logs. Use the tail command to specify the number of lines from the logs we wish to print.
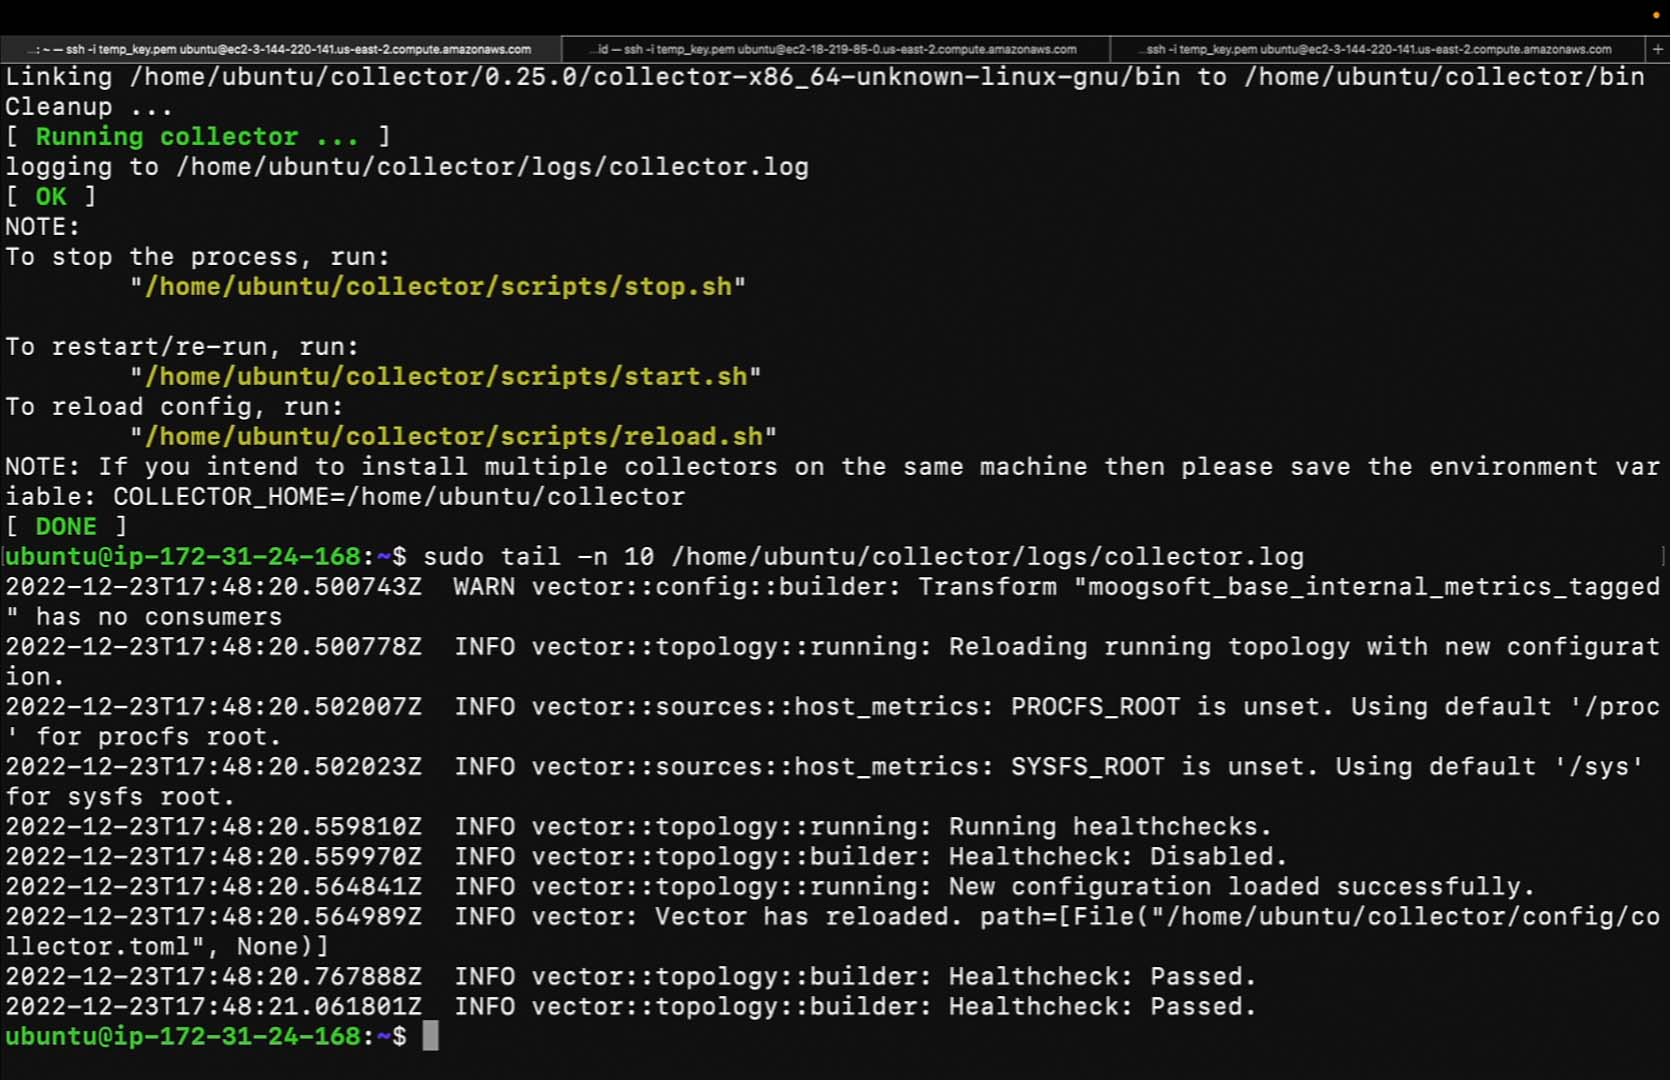
The health checks passed.
Here we have our Linux collector. Of course, this is only one option we can use to install a collector behind a forward proxy.
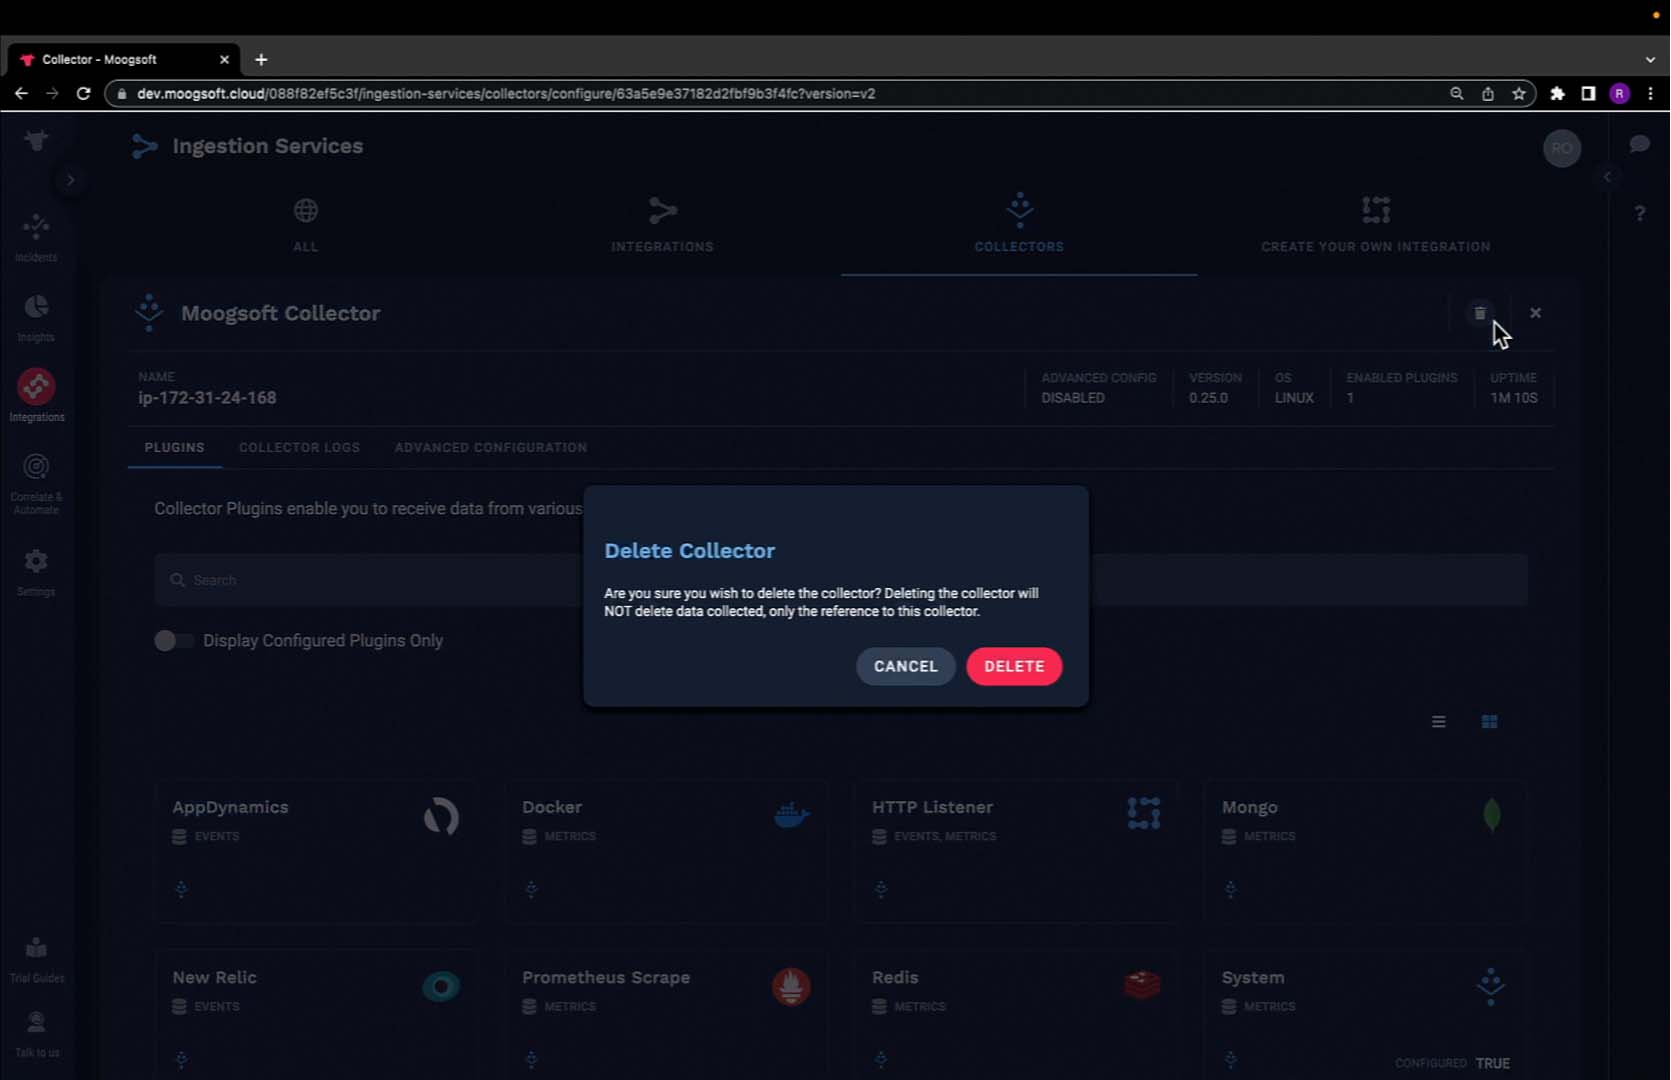
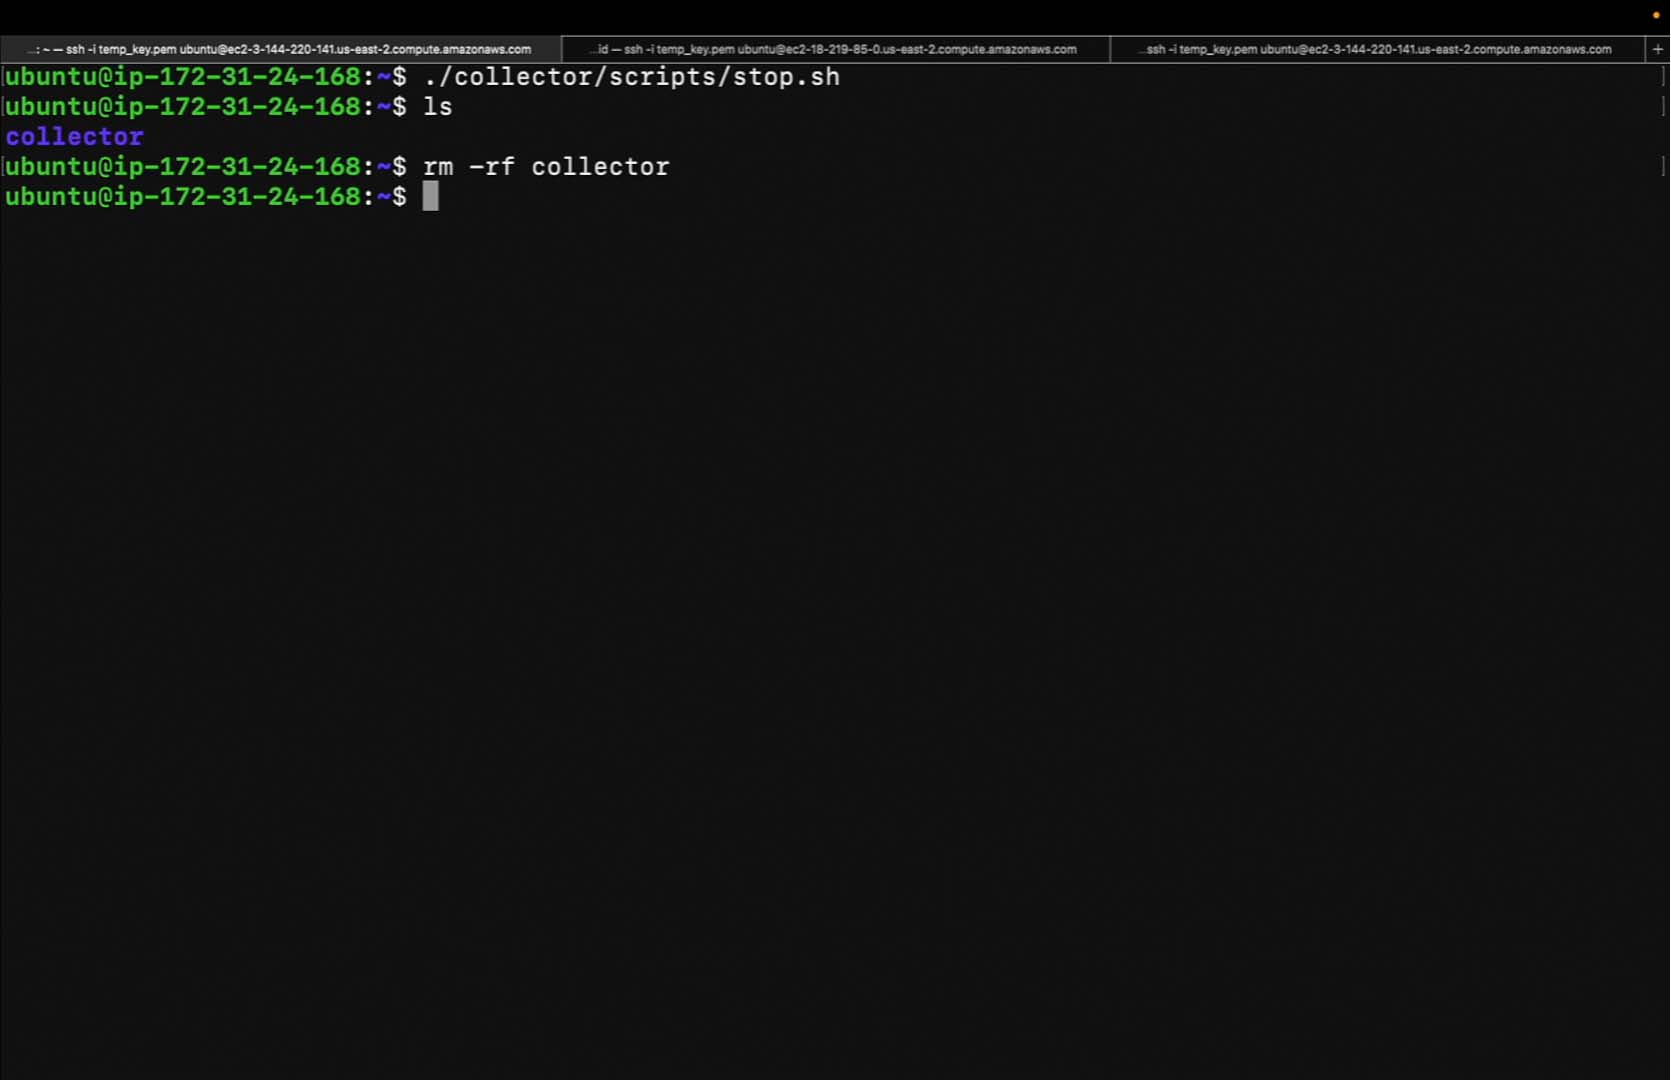
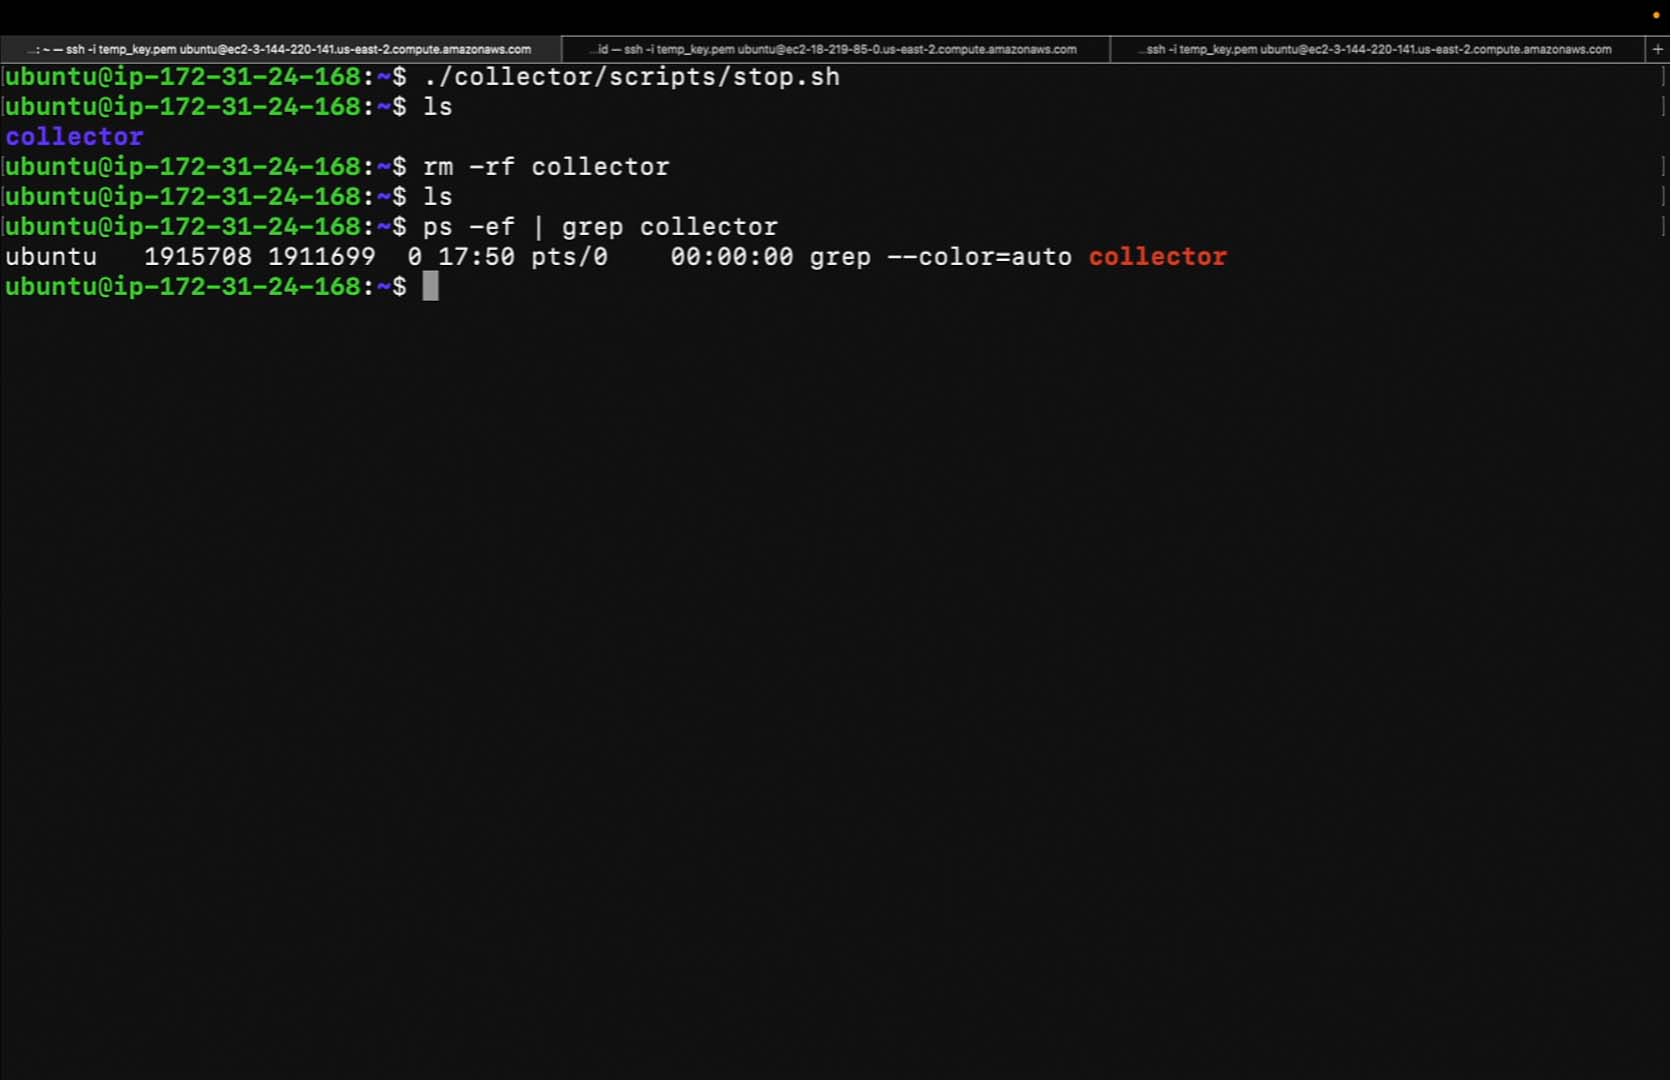
Let's clean up this collector and try another approach to install a collector behind a forward proxy. First, we'll delete this collector. Next, we'll do some cleanup on the terminal.
Remove the collector directory. The collector directory has been removed and the Collector has been stopped.
Verify the collector has been stopped using the following command.
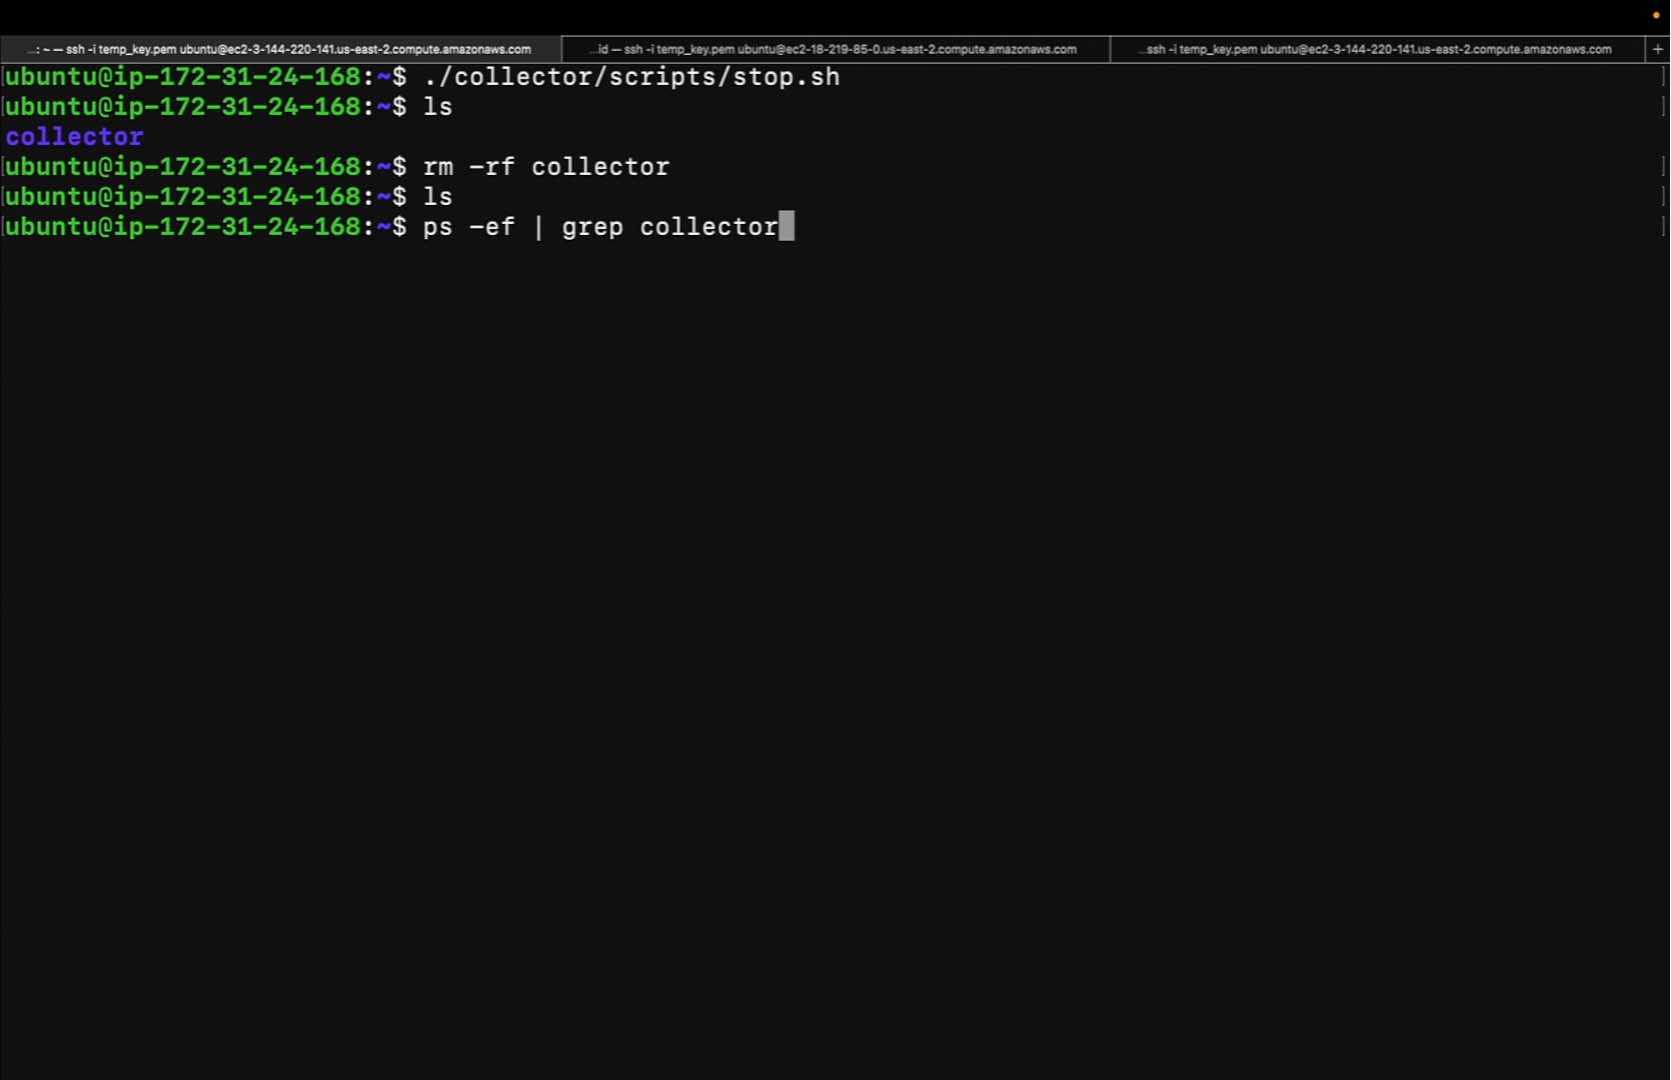
The only process of the collector running is the grep. This means the collector has stopped.
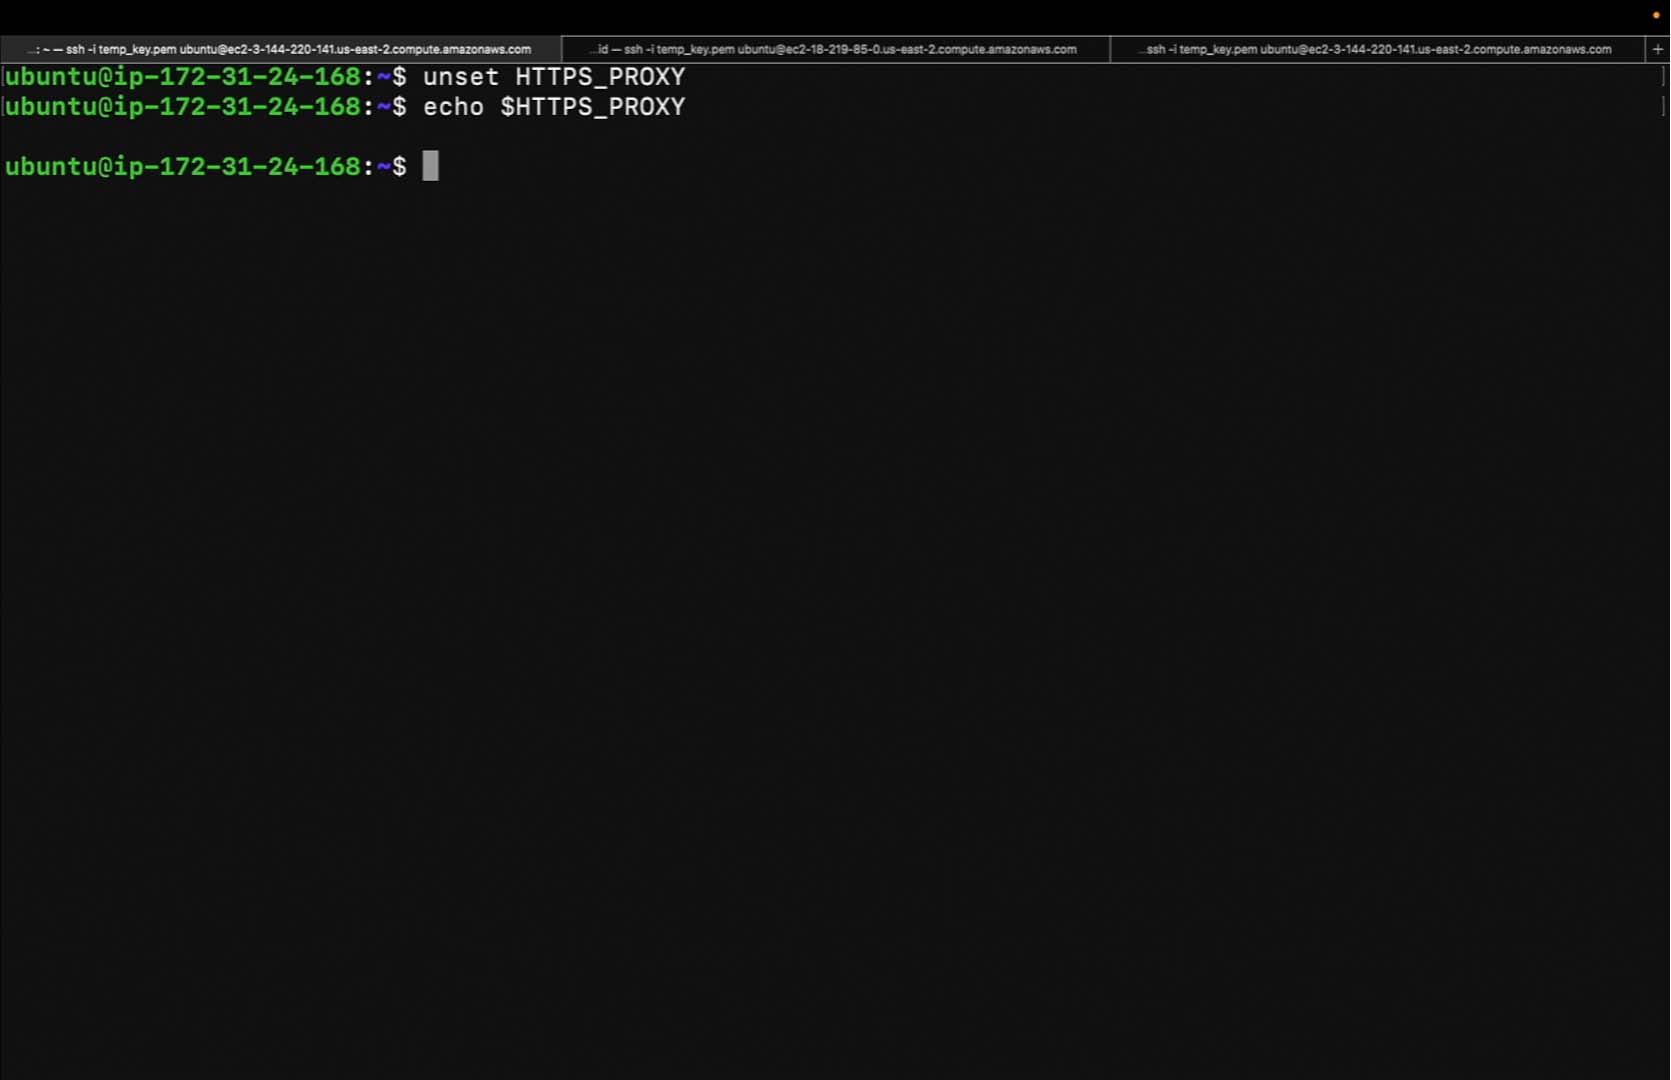
While it's acceptable to export an environment variable called https_proxy to utilize the proxy, this isn't always necessary. First, let's unset the environment variable…

…and verify that the unset worked. There's no value for https_proxy, so currently the environment variable is not set.
Click Linux (and copy).
Once again, we need to make a few edits to the script. The first is, of course, adding the additional query parameter. Since we no longer have the environment variable handy, we'll need to specify it.
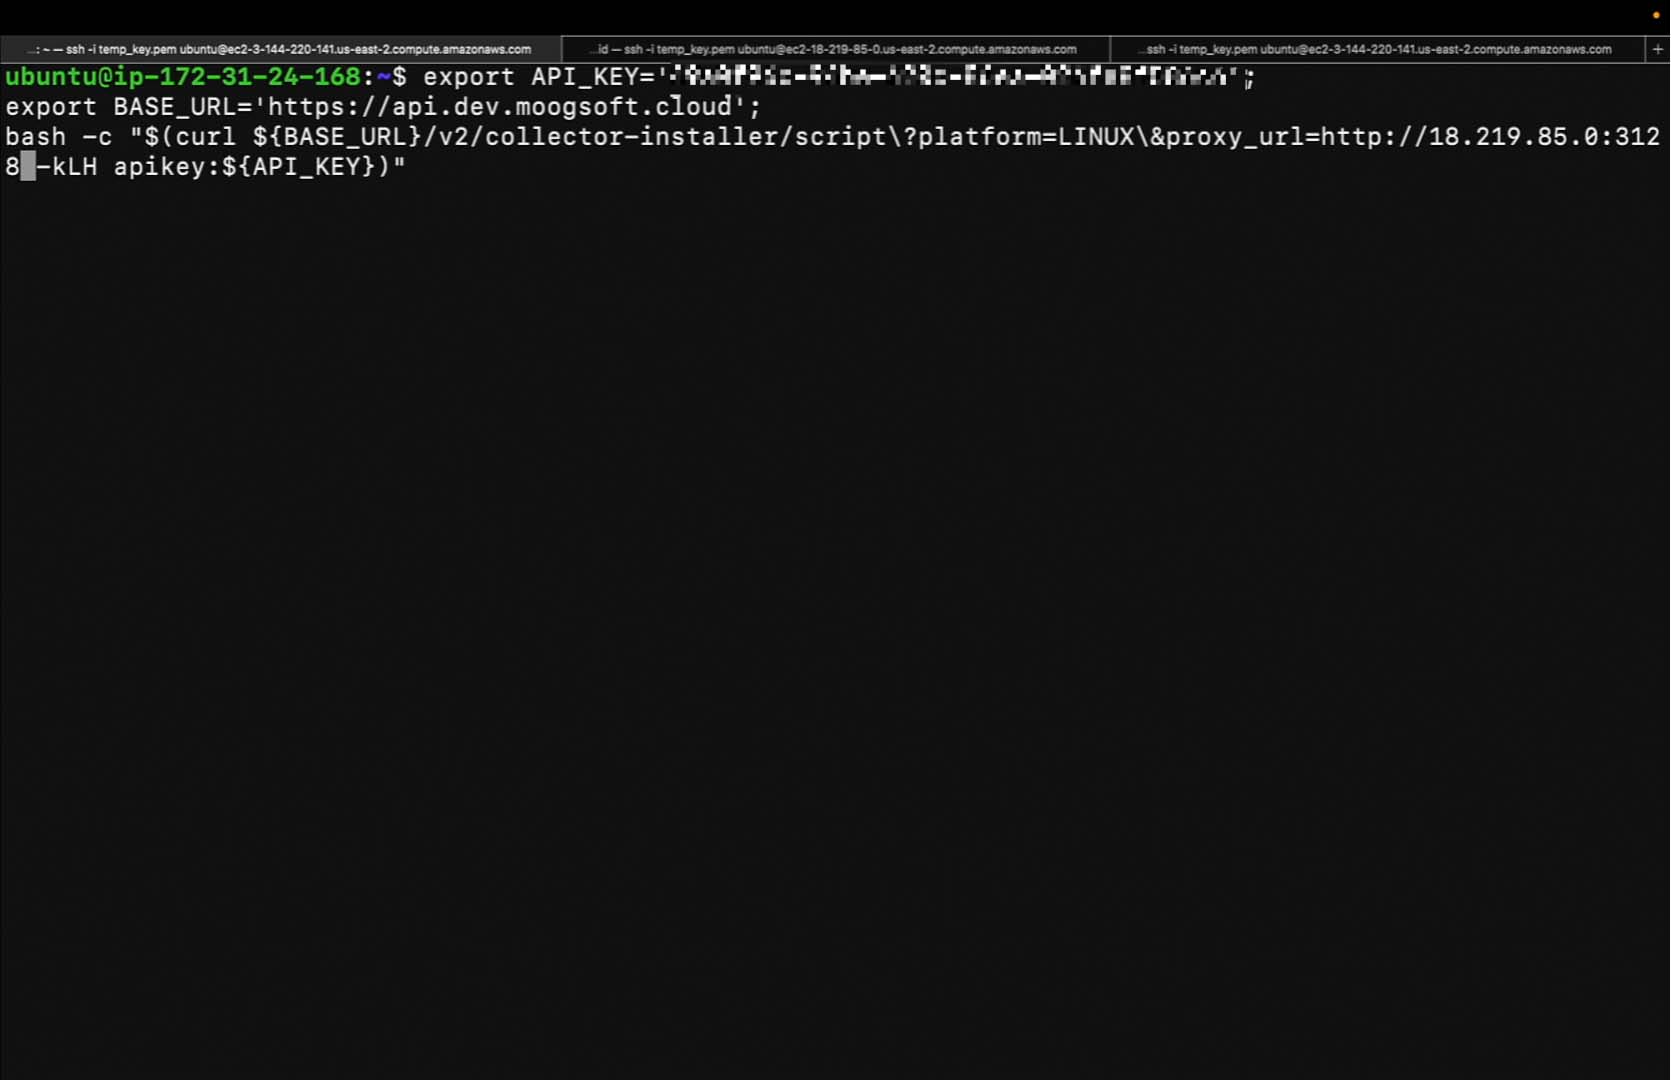
Additionally, we'll need to add something to this curl request. To route the curl request successfully through the forward proxy, add the following.
And now hit enter. It looks like the installation is complete.

Once again, we can check the collector logs. It looks like the health checks passed.
Once again, we have a Linux machine.
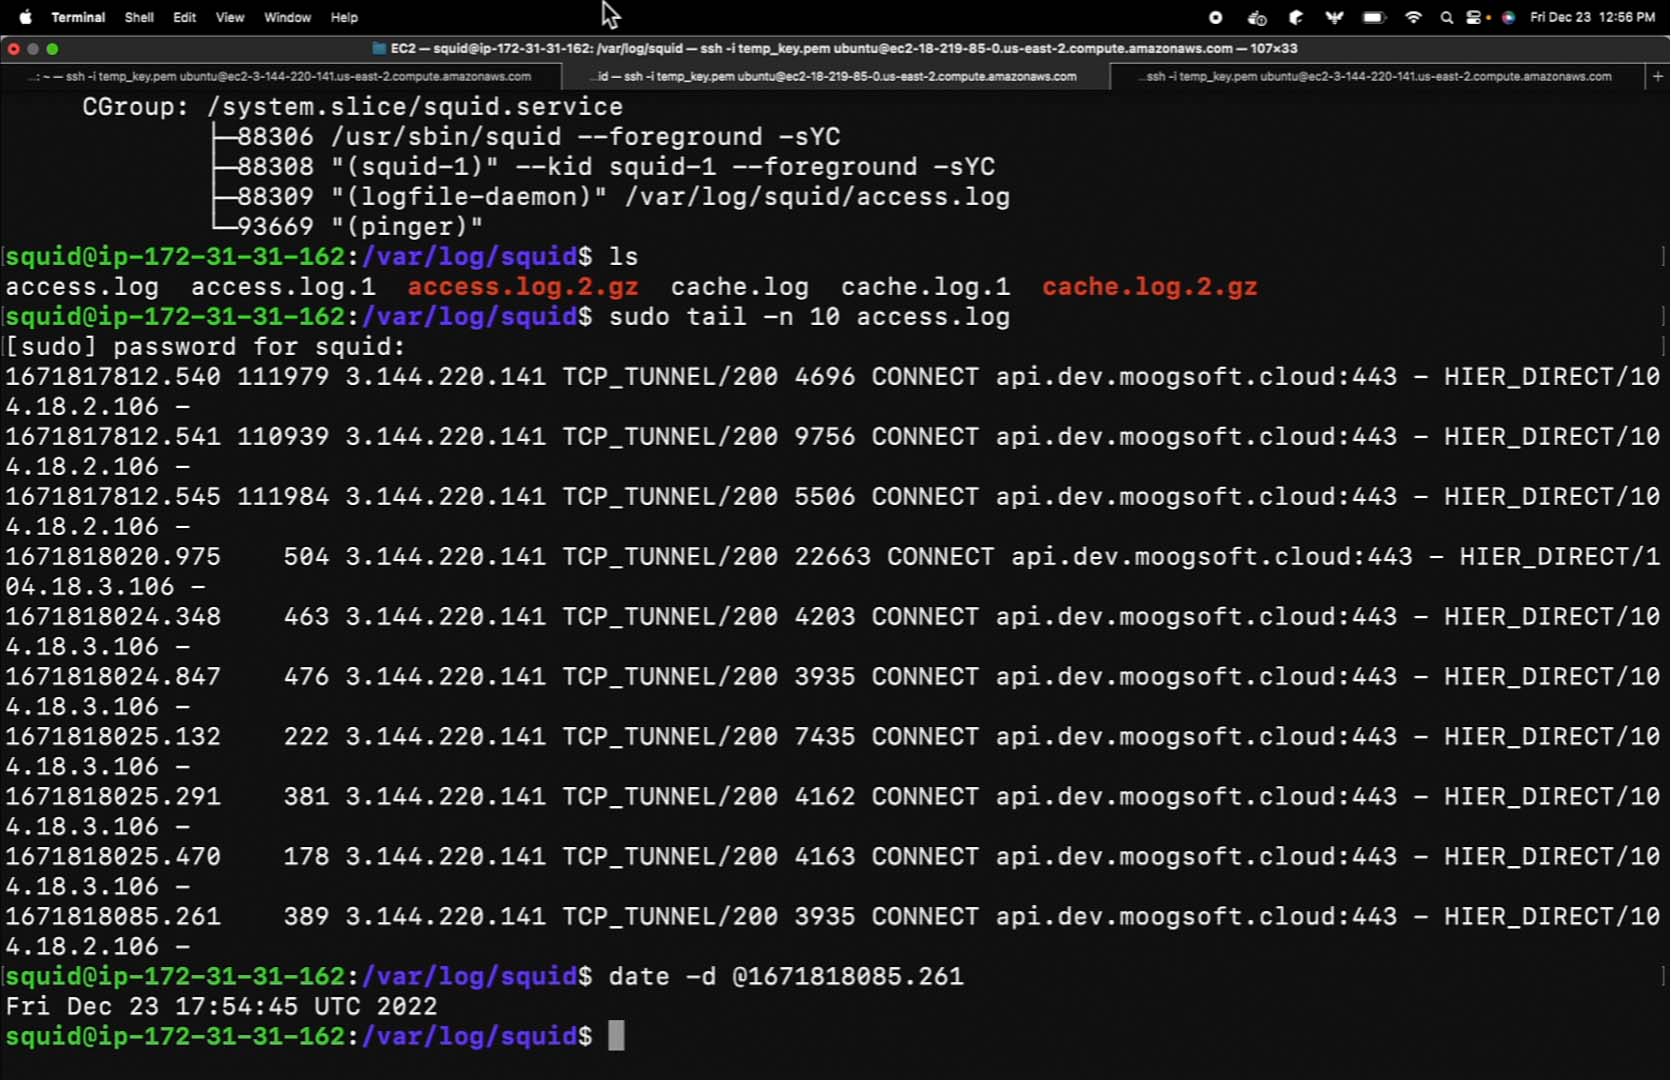
We can verify that the traffic properly passed through the forward proxy by checking the forward proxy access logs. Verifying the access logs, we see traffic coming from IP address 3.144.220.141, the machine on which we installed the collector. Traffic was passed from this IP address using the connect method to the Incident Management instance.
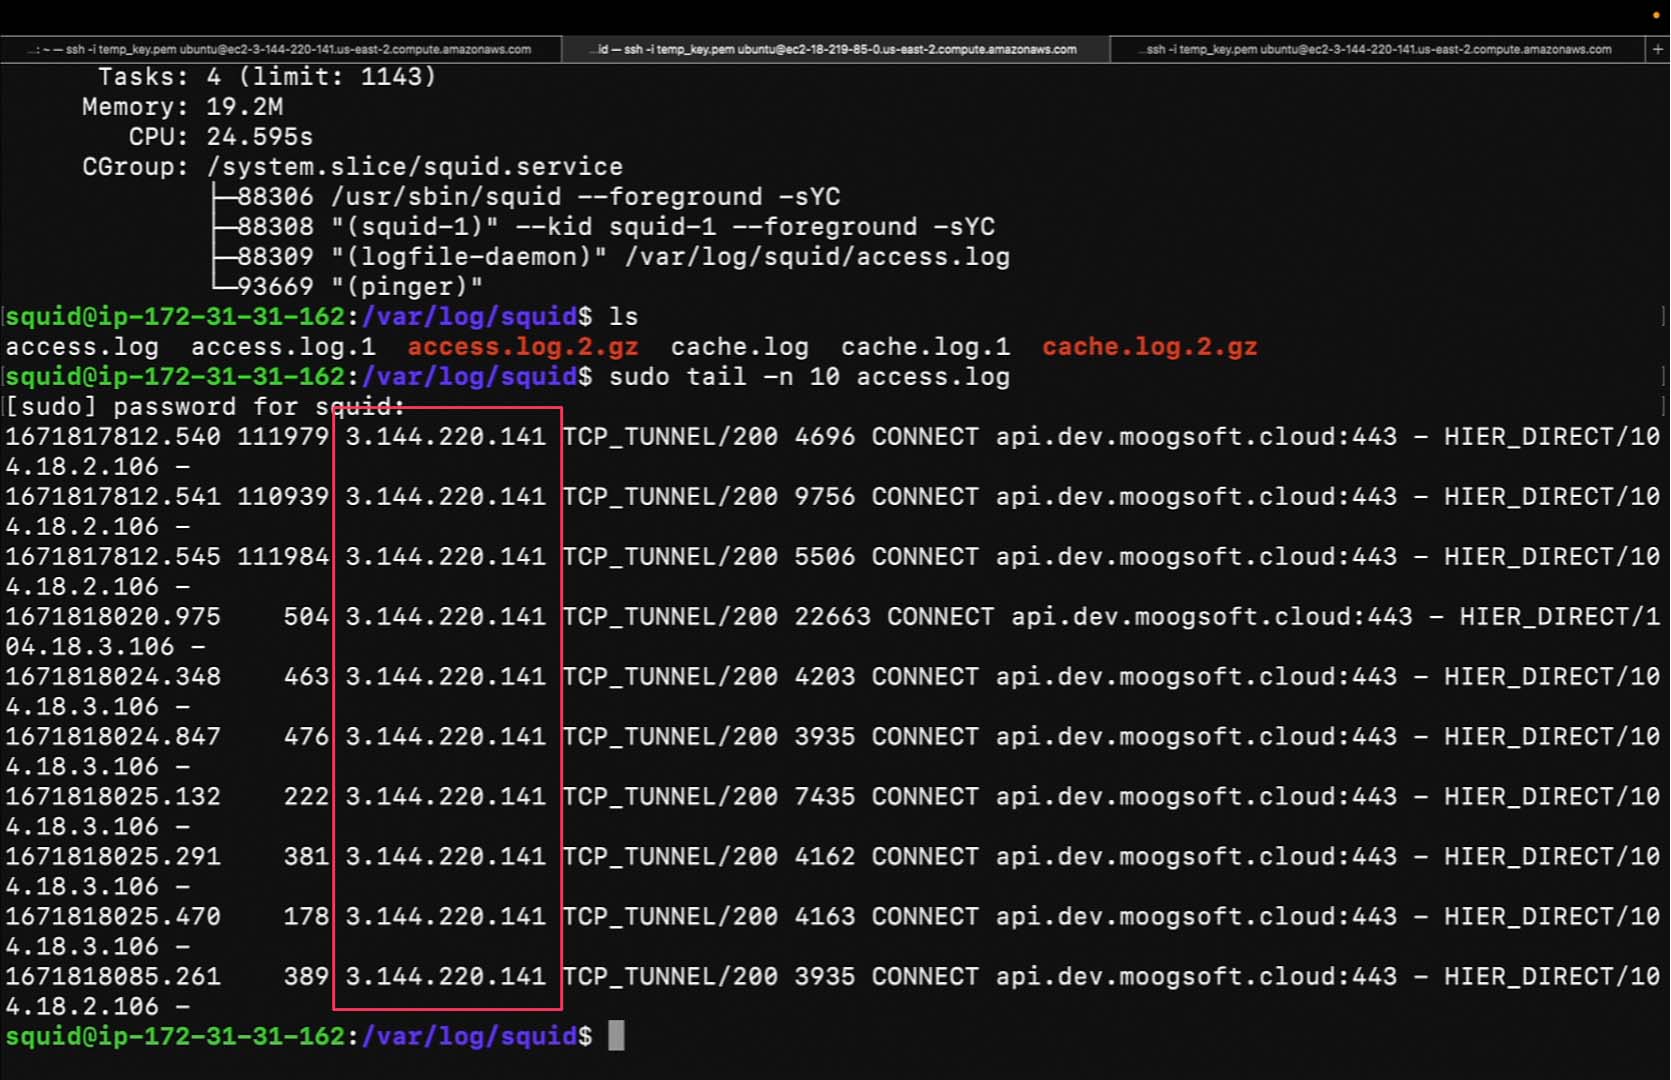
We can verify the time on which this occurred using the following command. This is a UTC time. This is roughly five hours ahead of my time zone, which is 12:56.
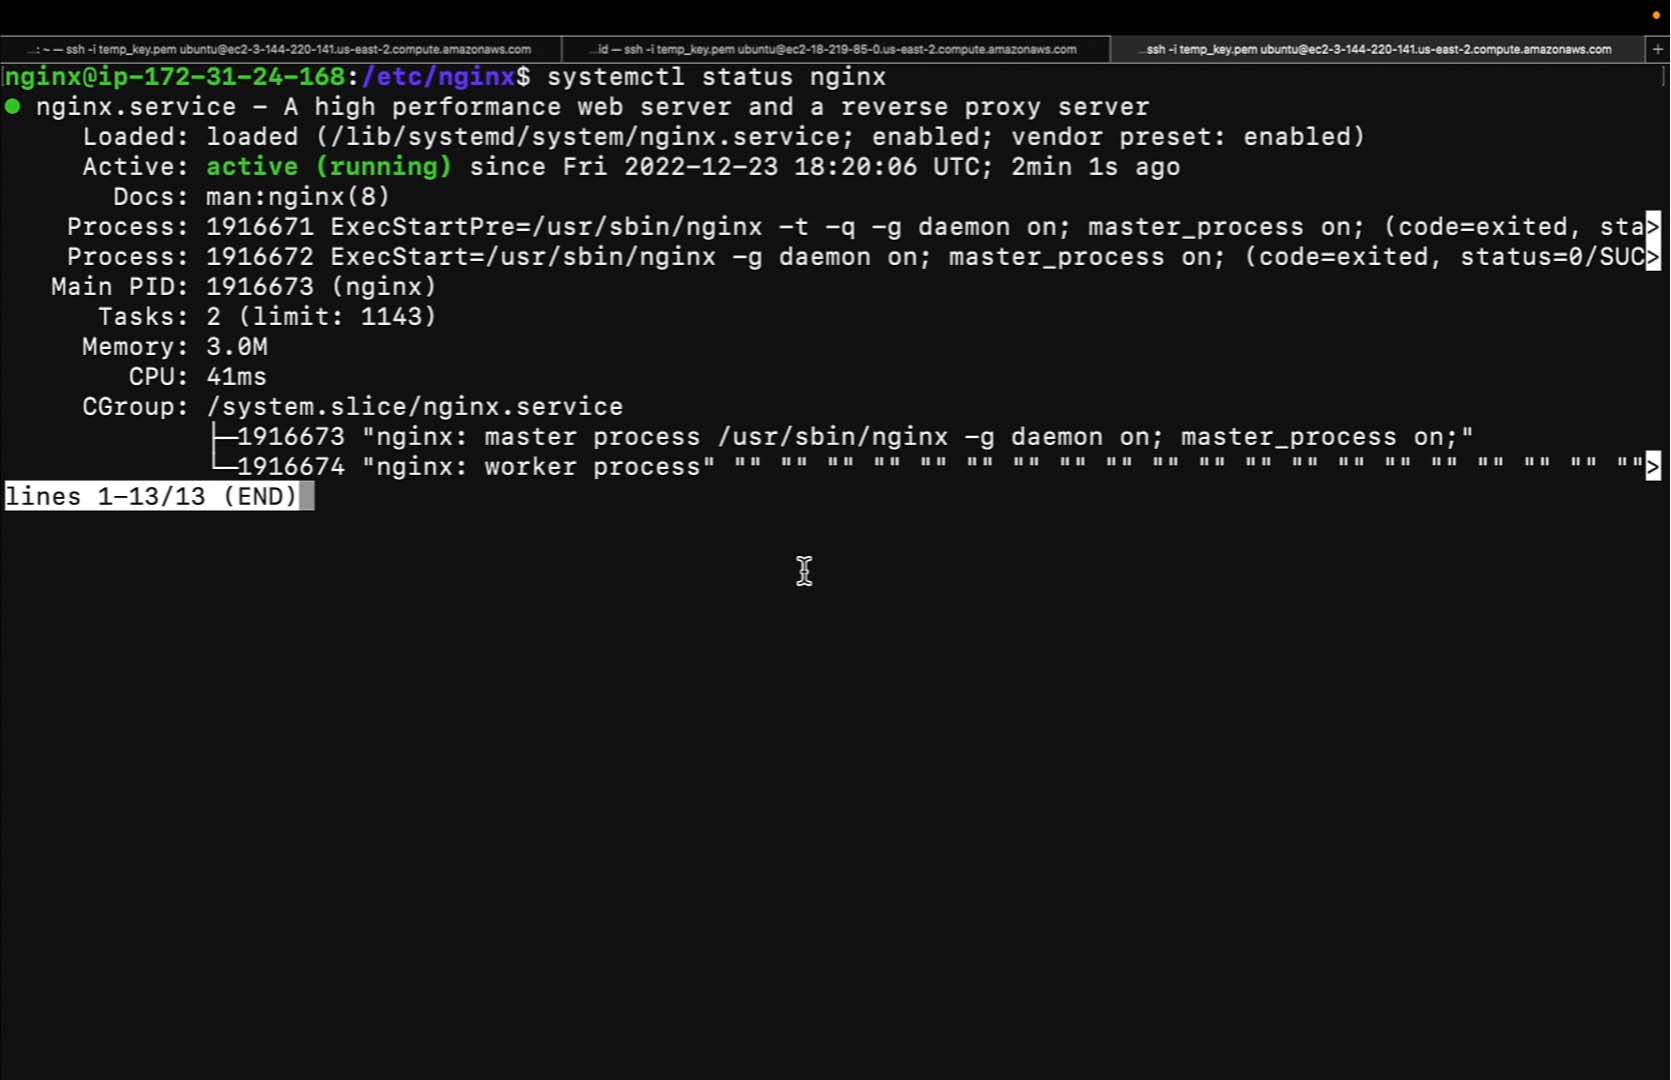
This demonstrates that all traffic was properly routed through the forward proxy. Now, we will explain and demonstrate how to install a collector on a Linux machine using a reverse proxy. This tutorial assumes that a reverse proxy is already in place. As we can see, this machine is actively running an nginx reverse proxy.
Copy the installation script and navigate back to the terminal.

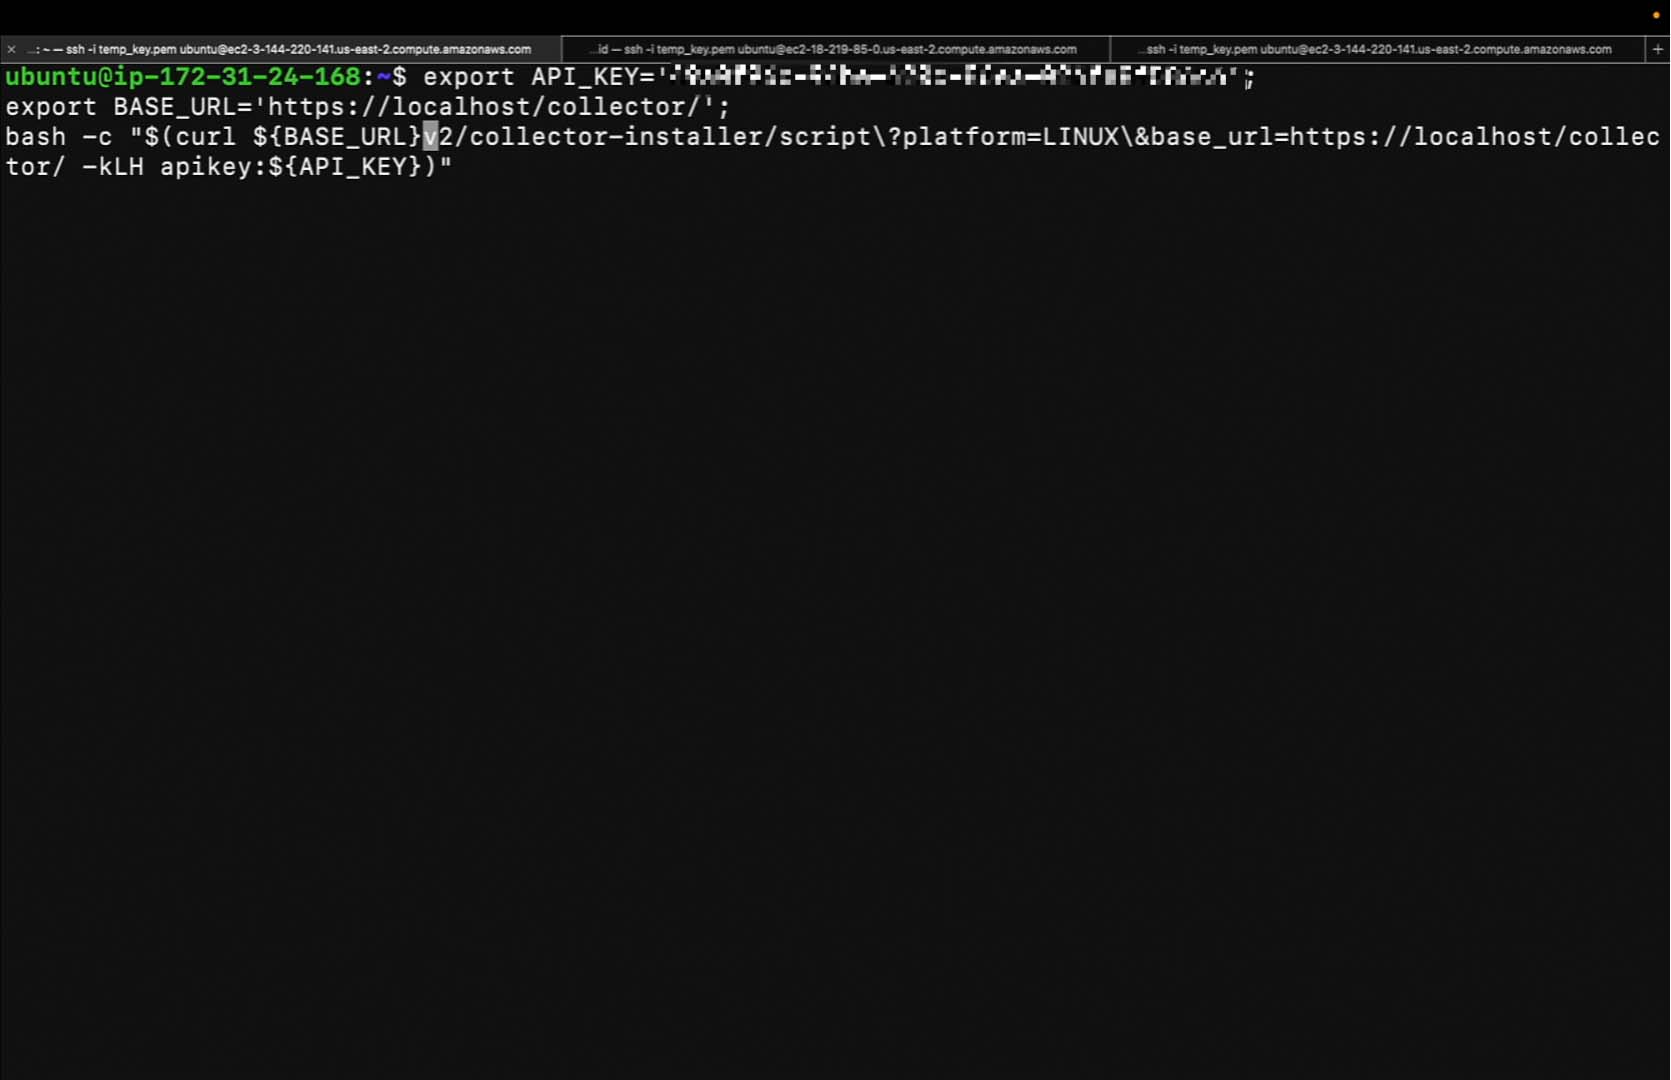
We'll need to make a few edits. First, we'll supply an additional query parameter called base_url. This should be equal to the value specified in the nginx configuration file.
Next, we'll need to change the base_url currently being exported. This value once again should be equal to the same value we specified as the query parameter.

Since we have a trailing forward slash, we'll need to remove the trailing forward slash from the curl request.
Now we can hit enter. The installation is complete. Thanks for watching!
