Demo video: Integrate with Zabbix ►
This video explains how to set up the Zabbix integration in Moogsoft Cloud.
After watching this video, you will be able to configure an integration to send events from Zabbix into the Moogsoft Cloud.
This demo uses Zabbix version 5.4, which may be different from your instance. But it should orient you enough to make it easy. Let’s get started!
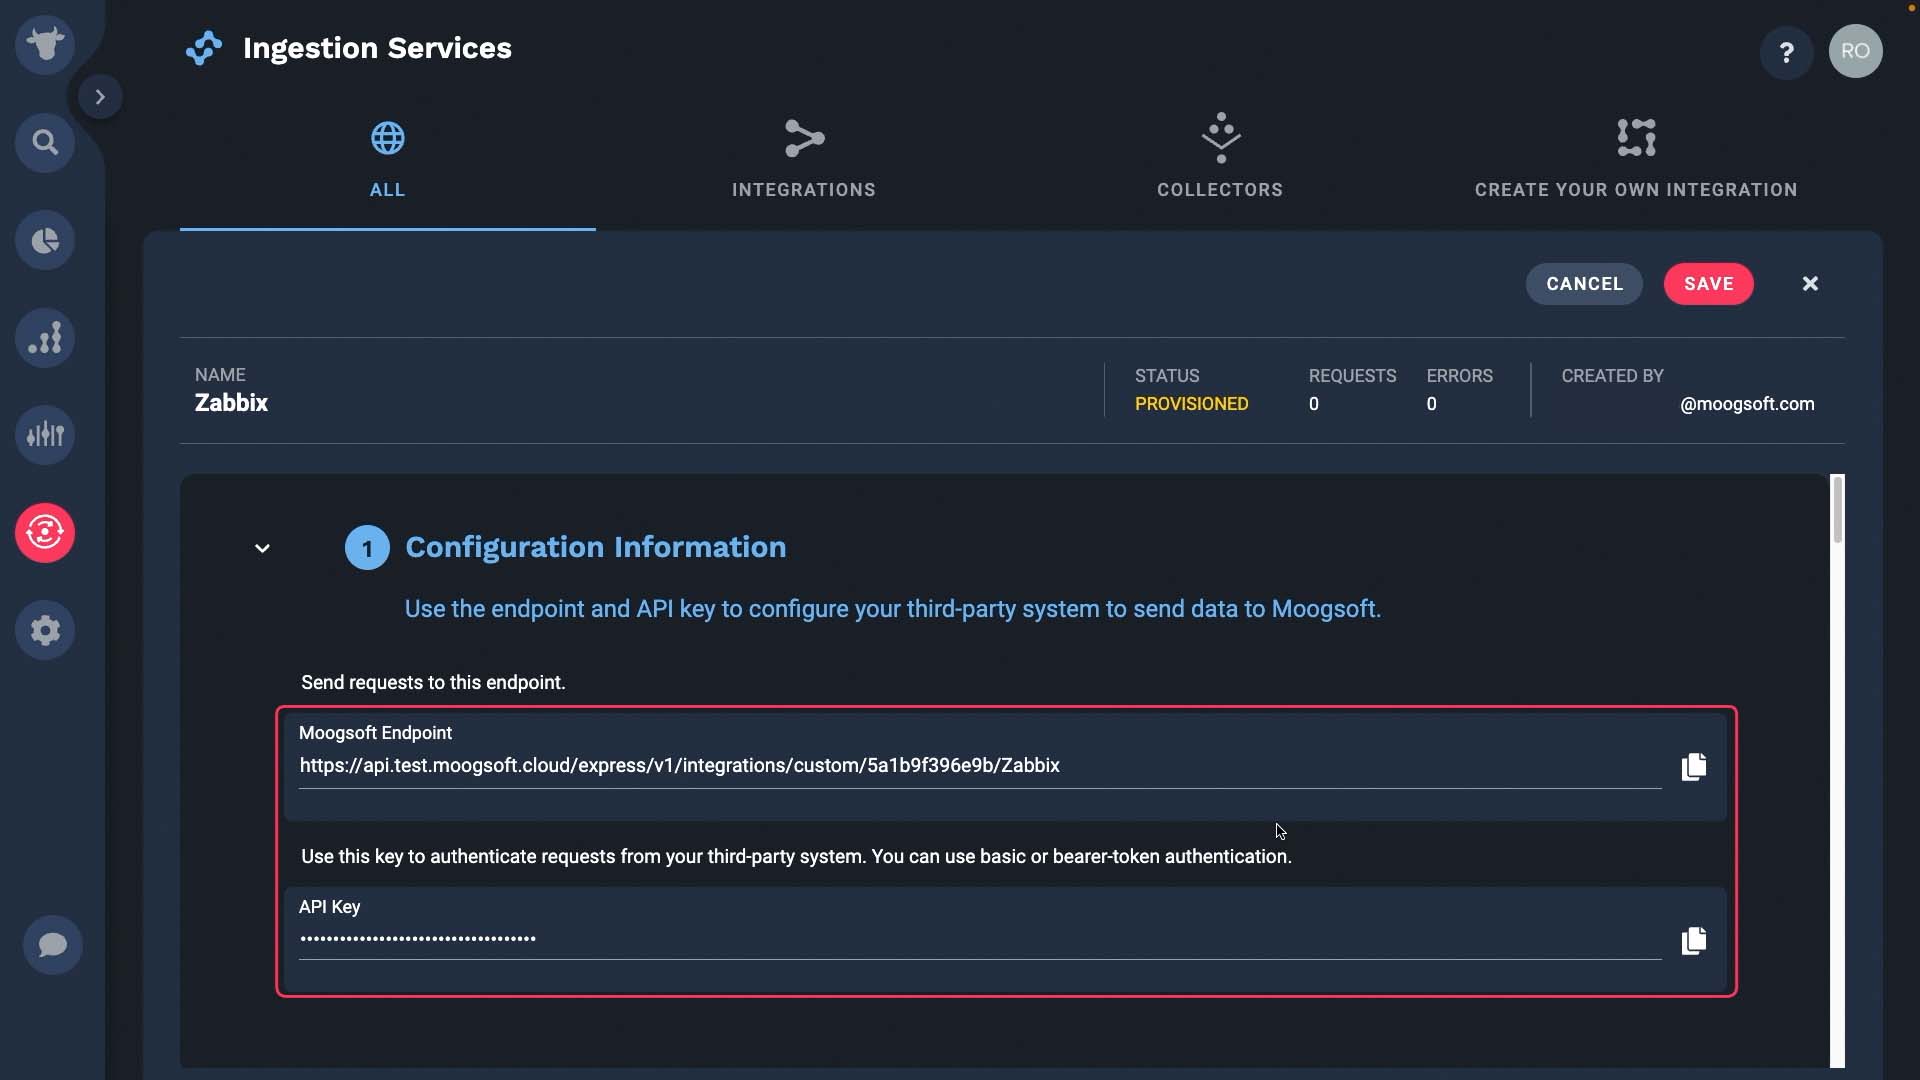
Name your integration, then grab the Moogsoft Endpoint and API key.
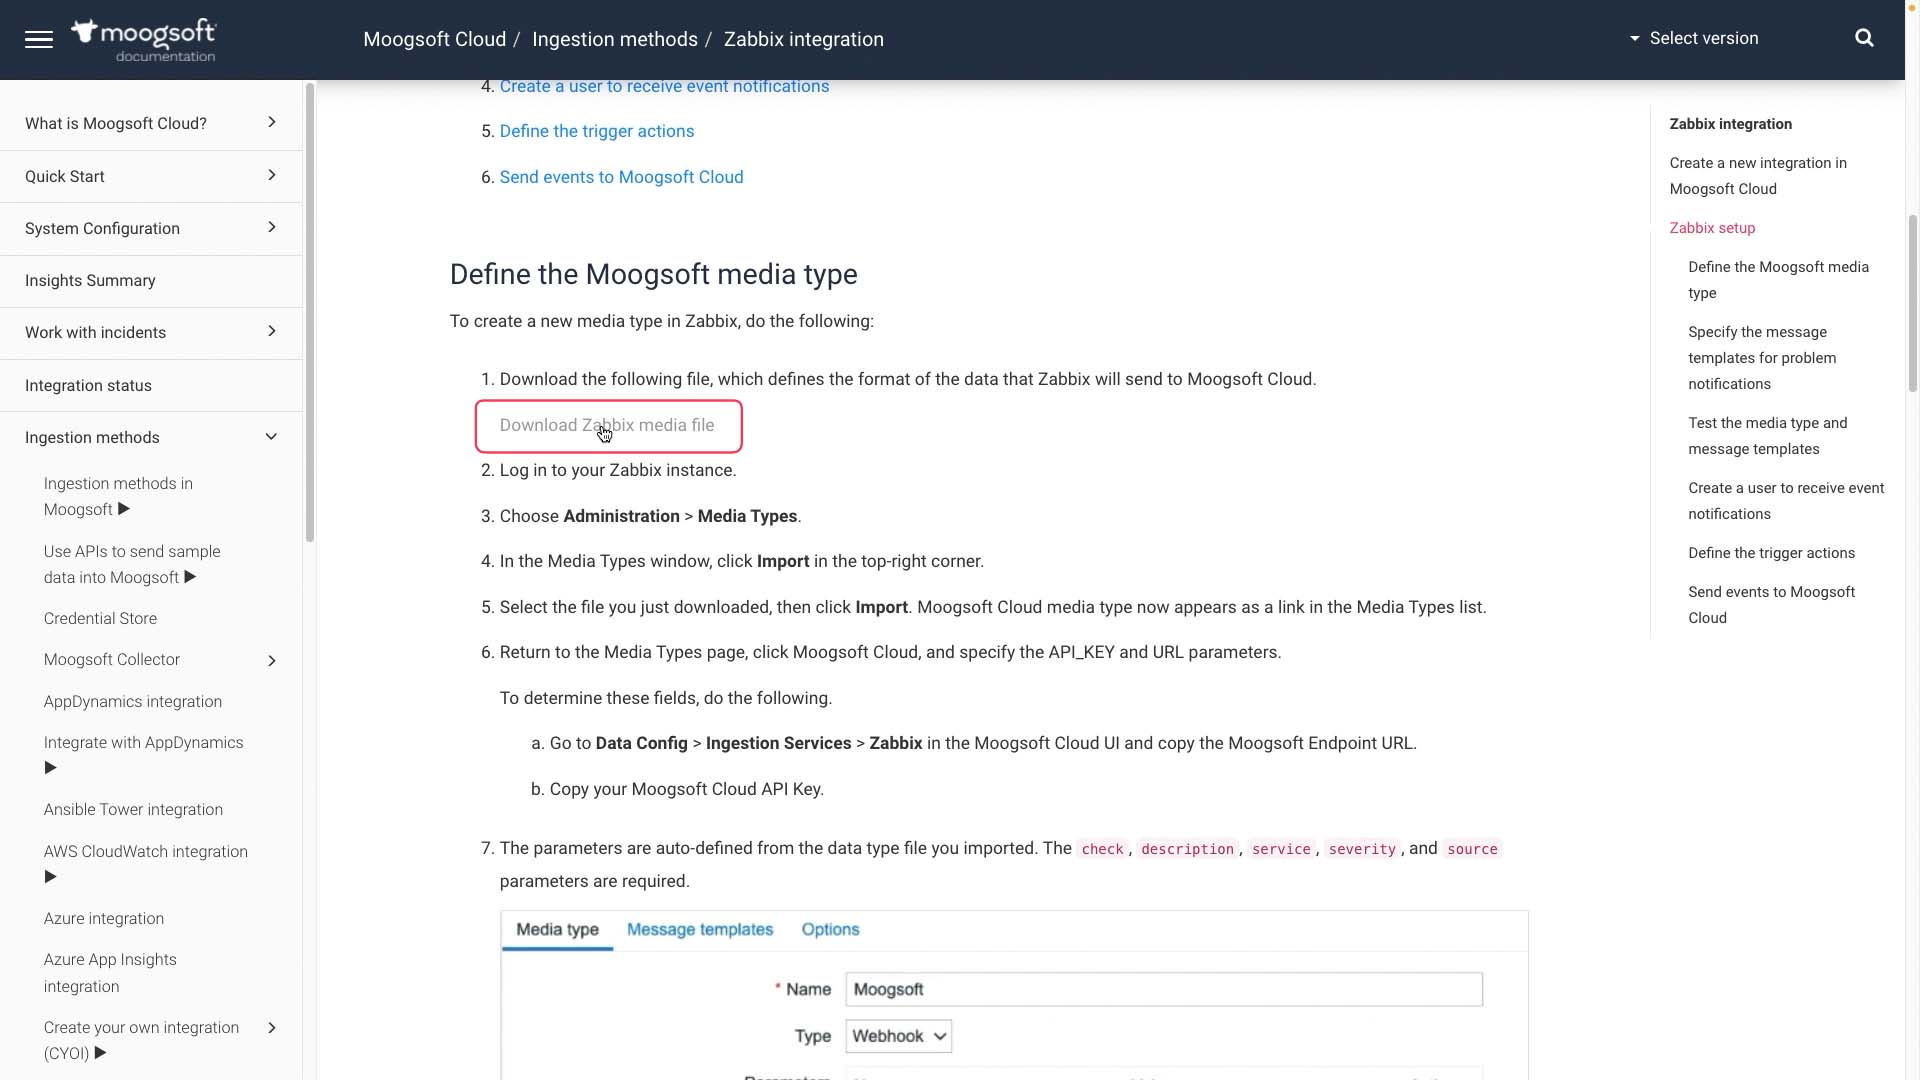
You also need a Zabbix media type file, which is available in our docs.
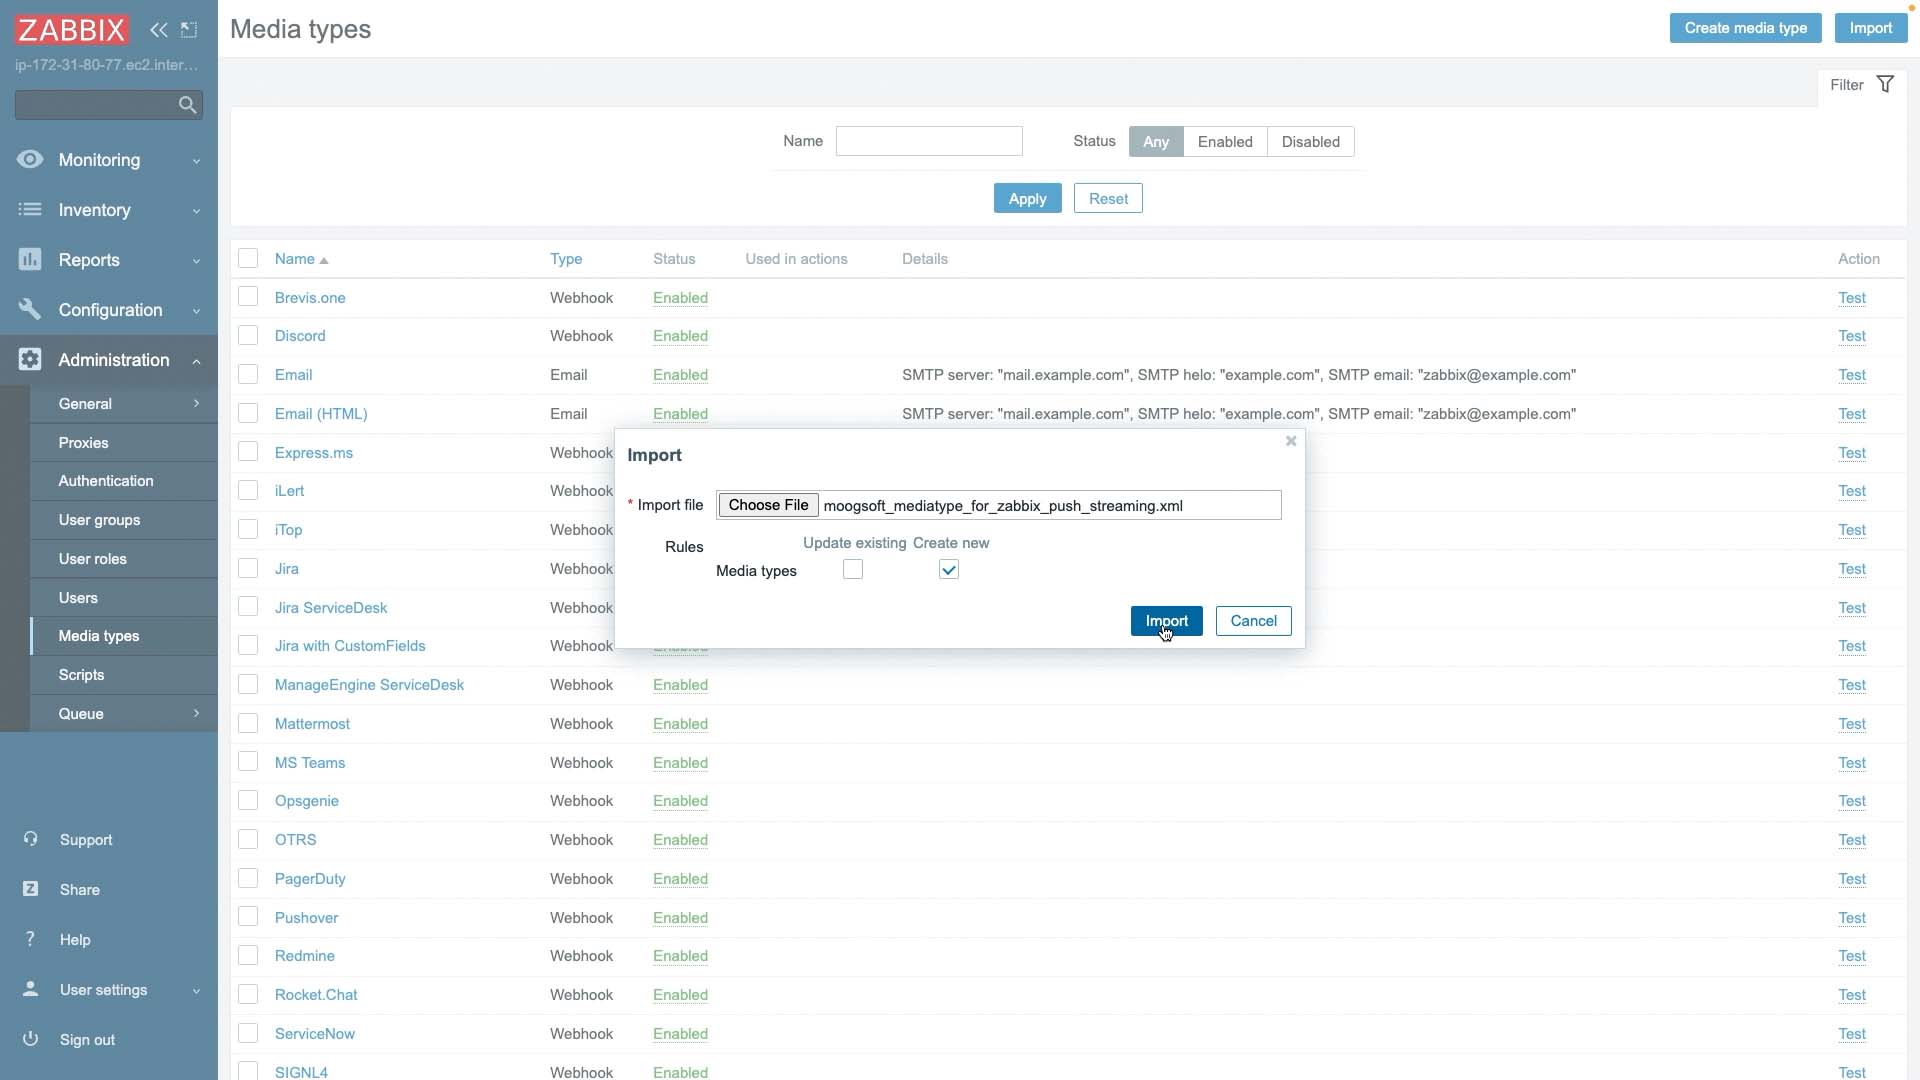
OK we have everything we need to make this happen. Let’s go to our Zabbix instance. Import the media type file we just downloaded.
Then add the API key and the Moogsoft Endpoint.
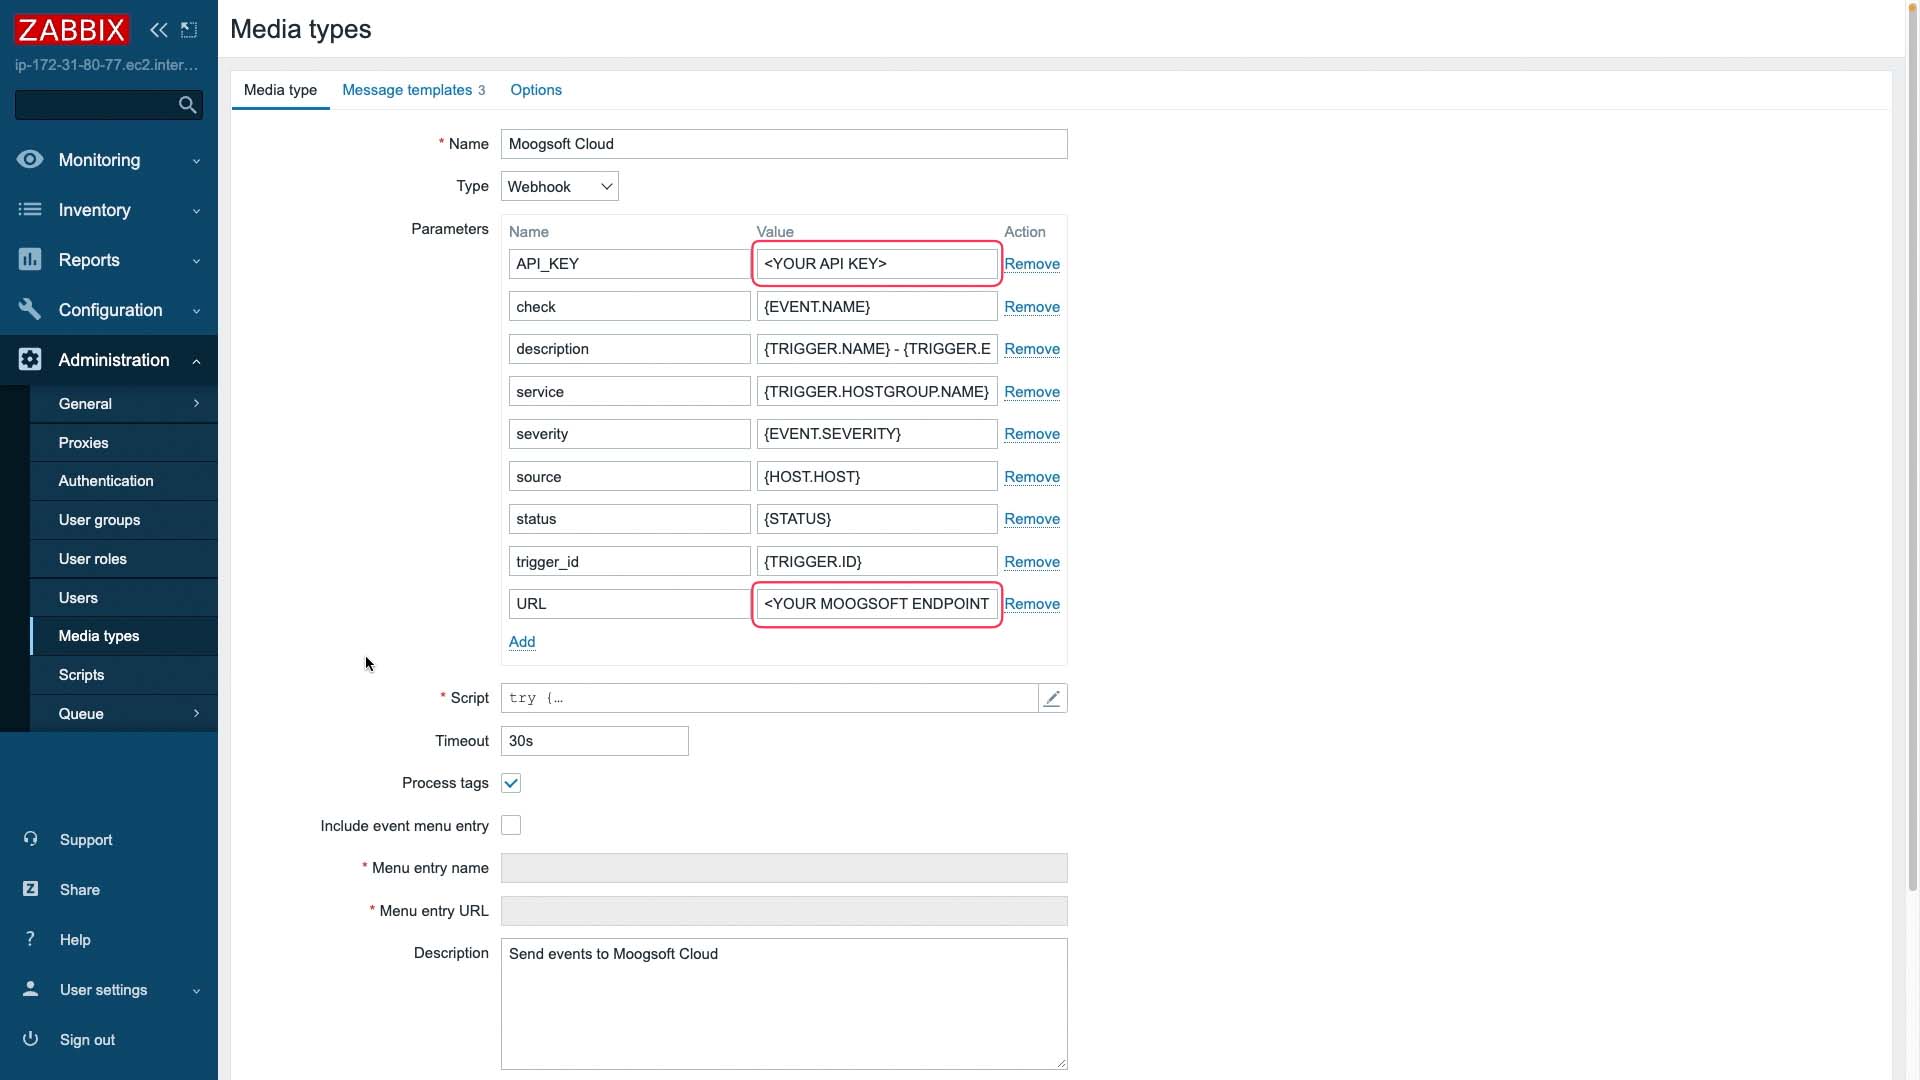
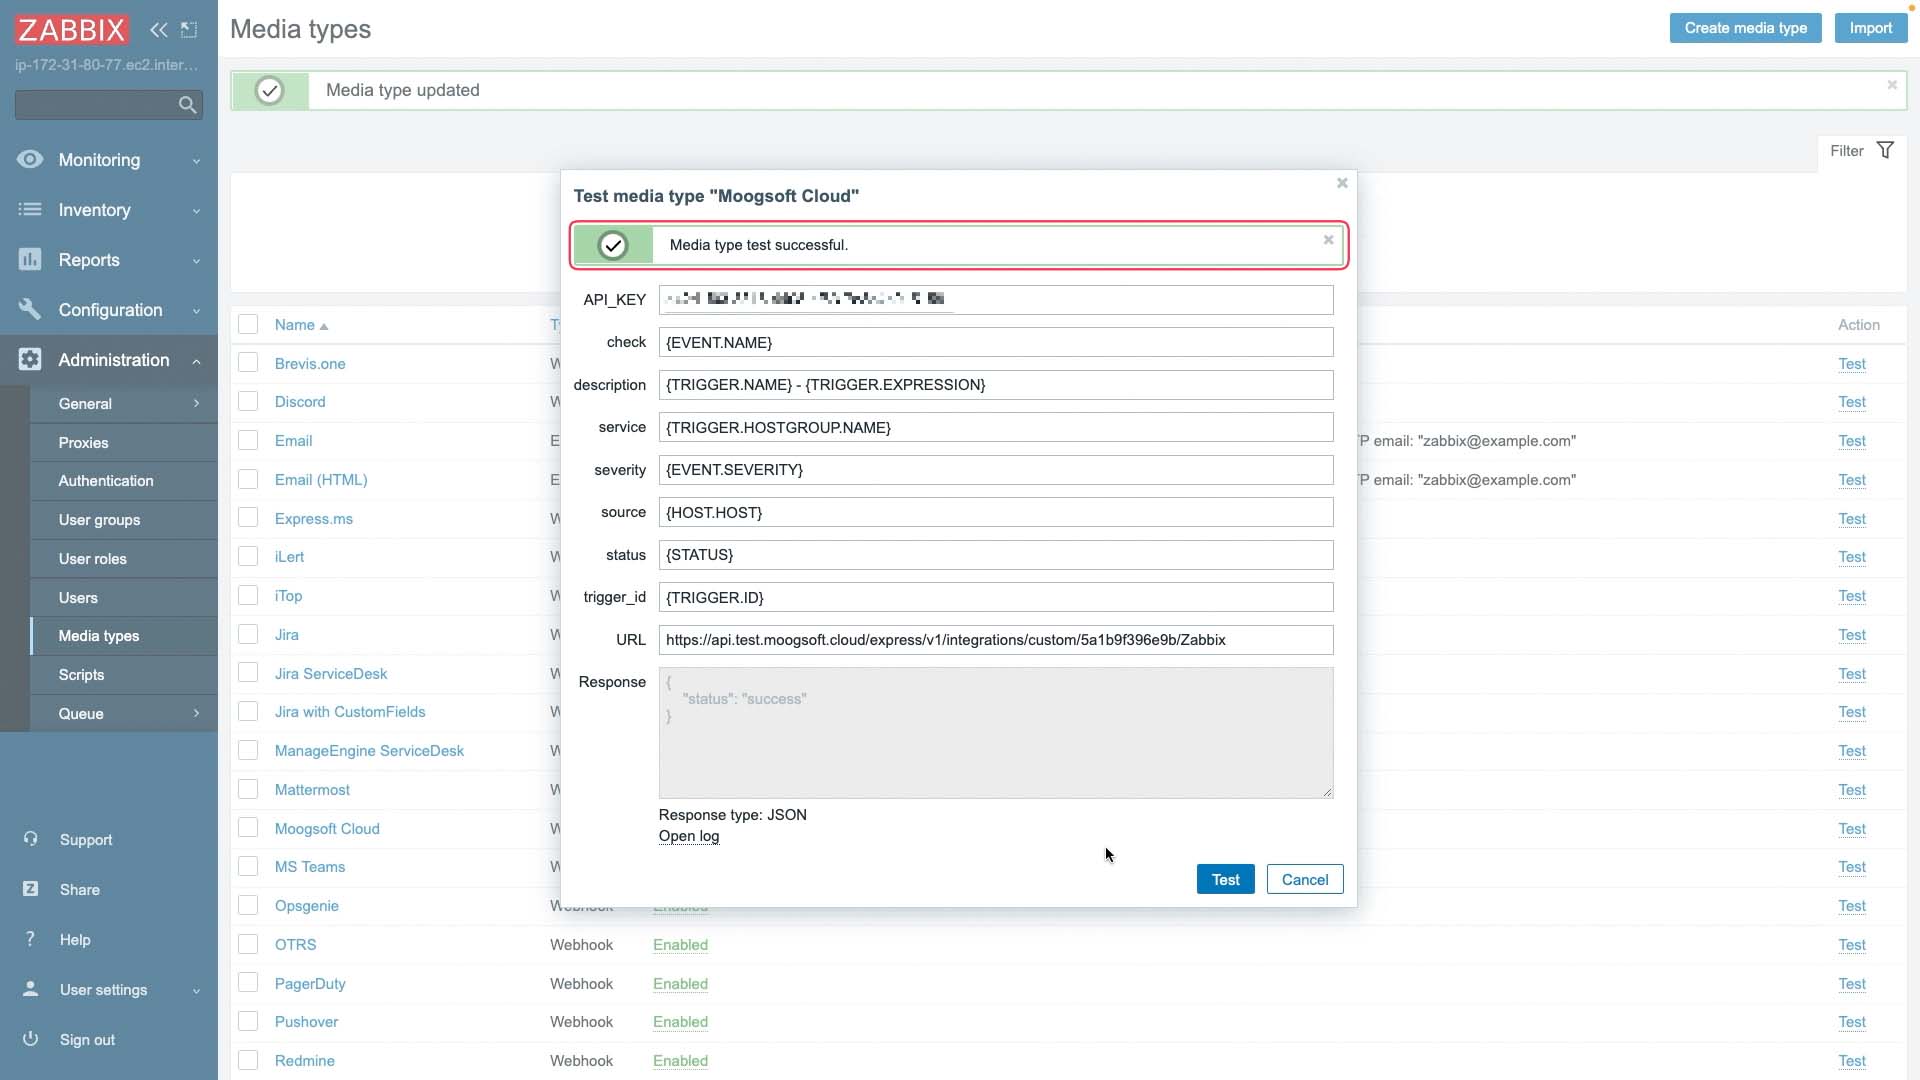
This part of the media type definition maps Zabbix field names to Moogsoft fields.
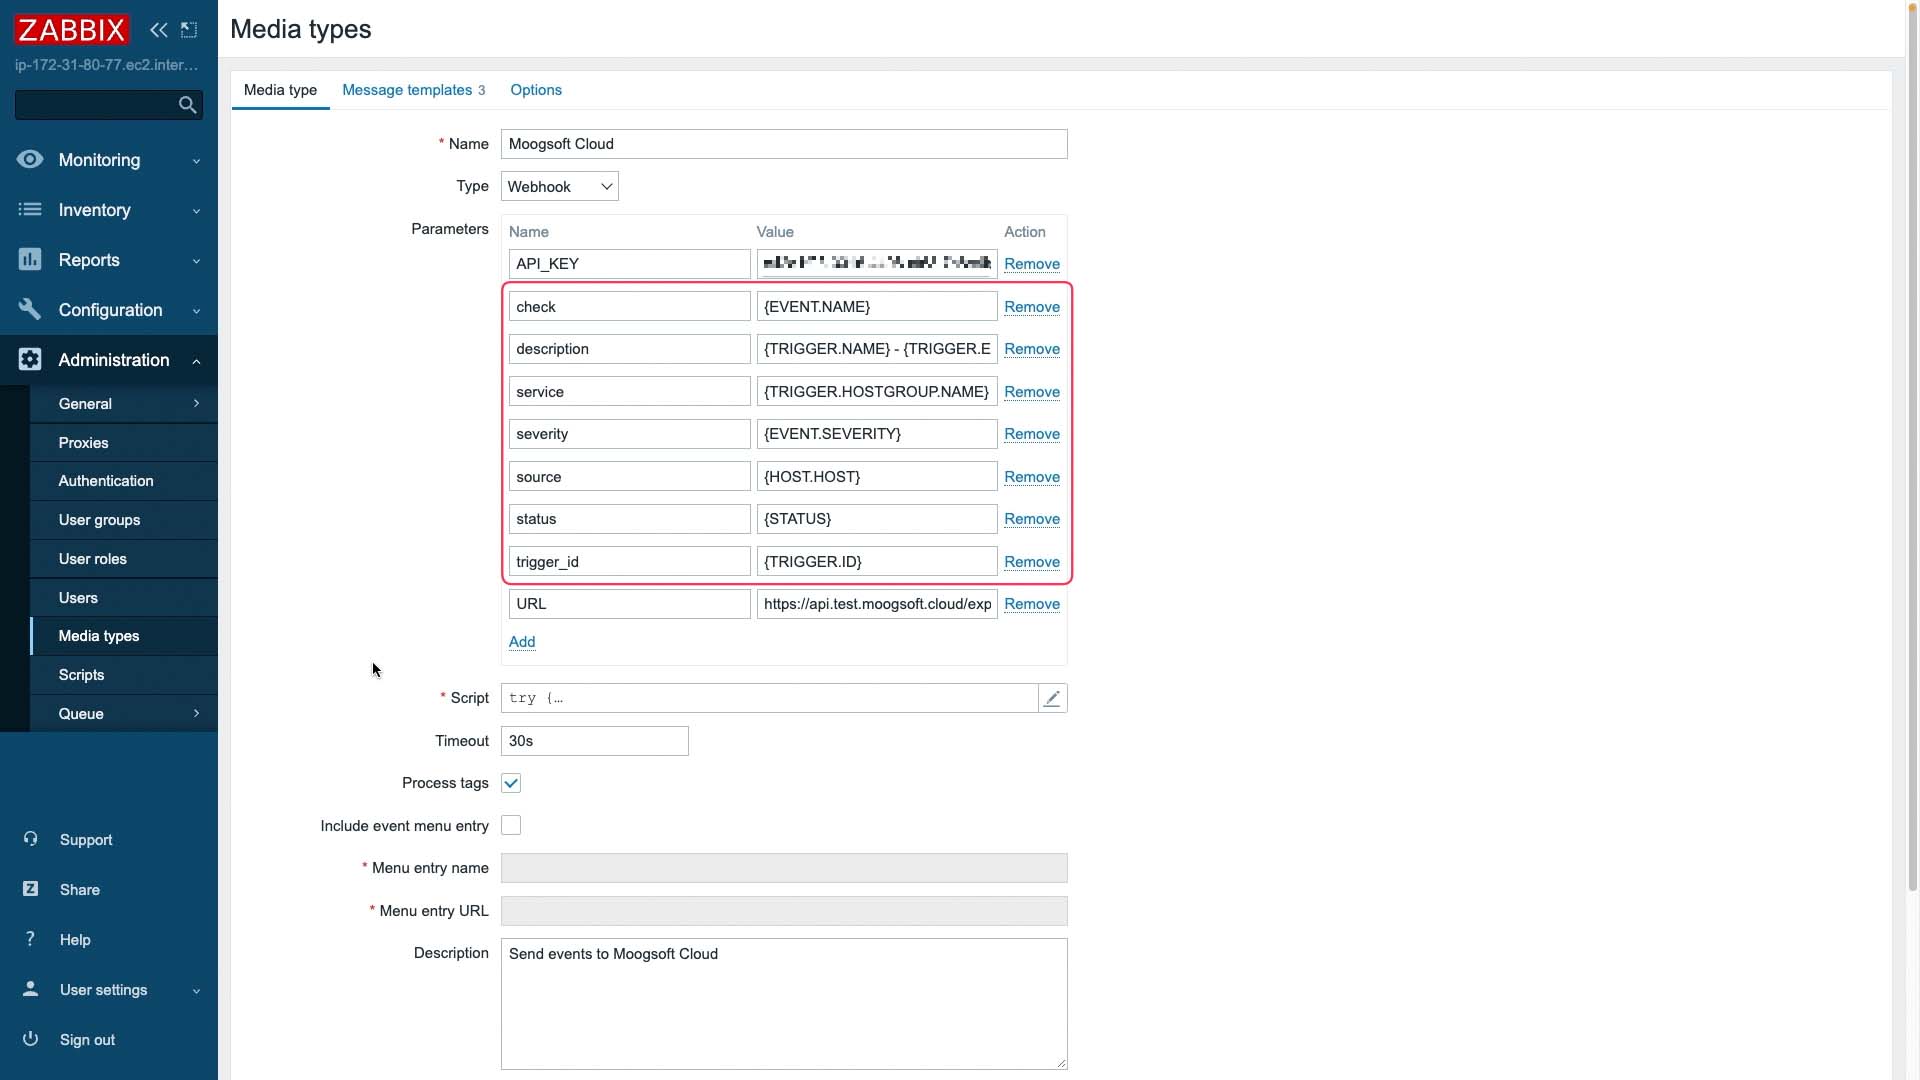
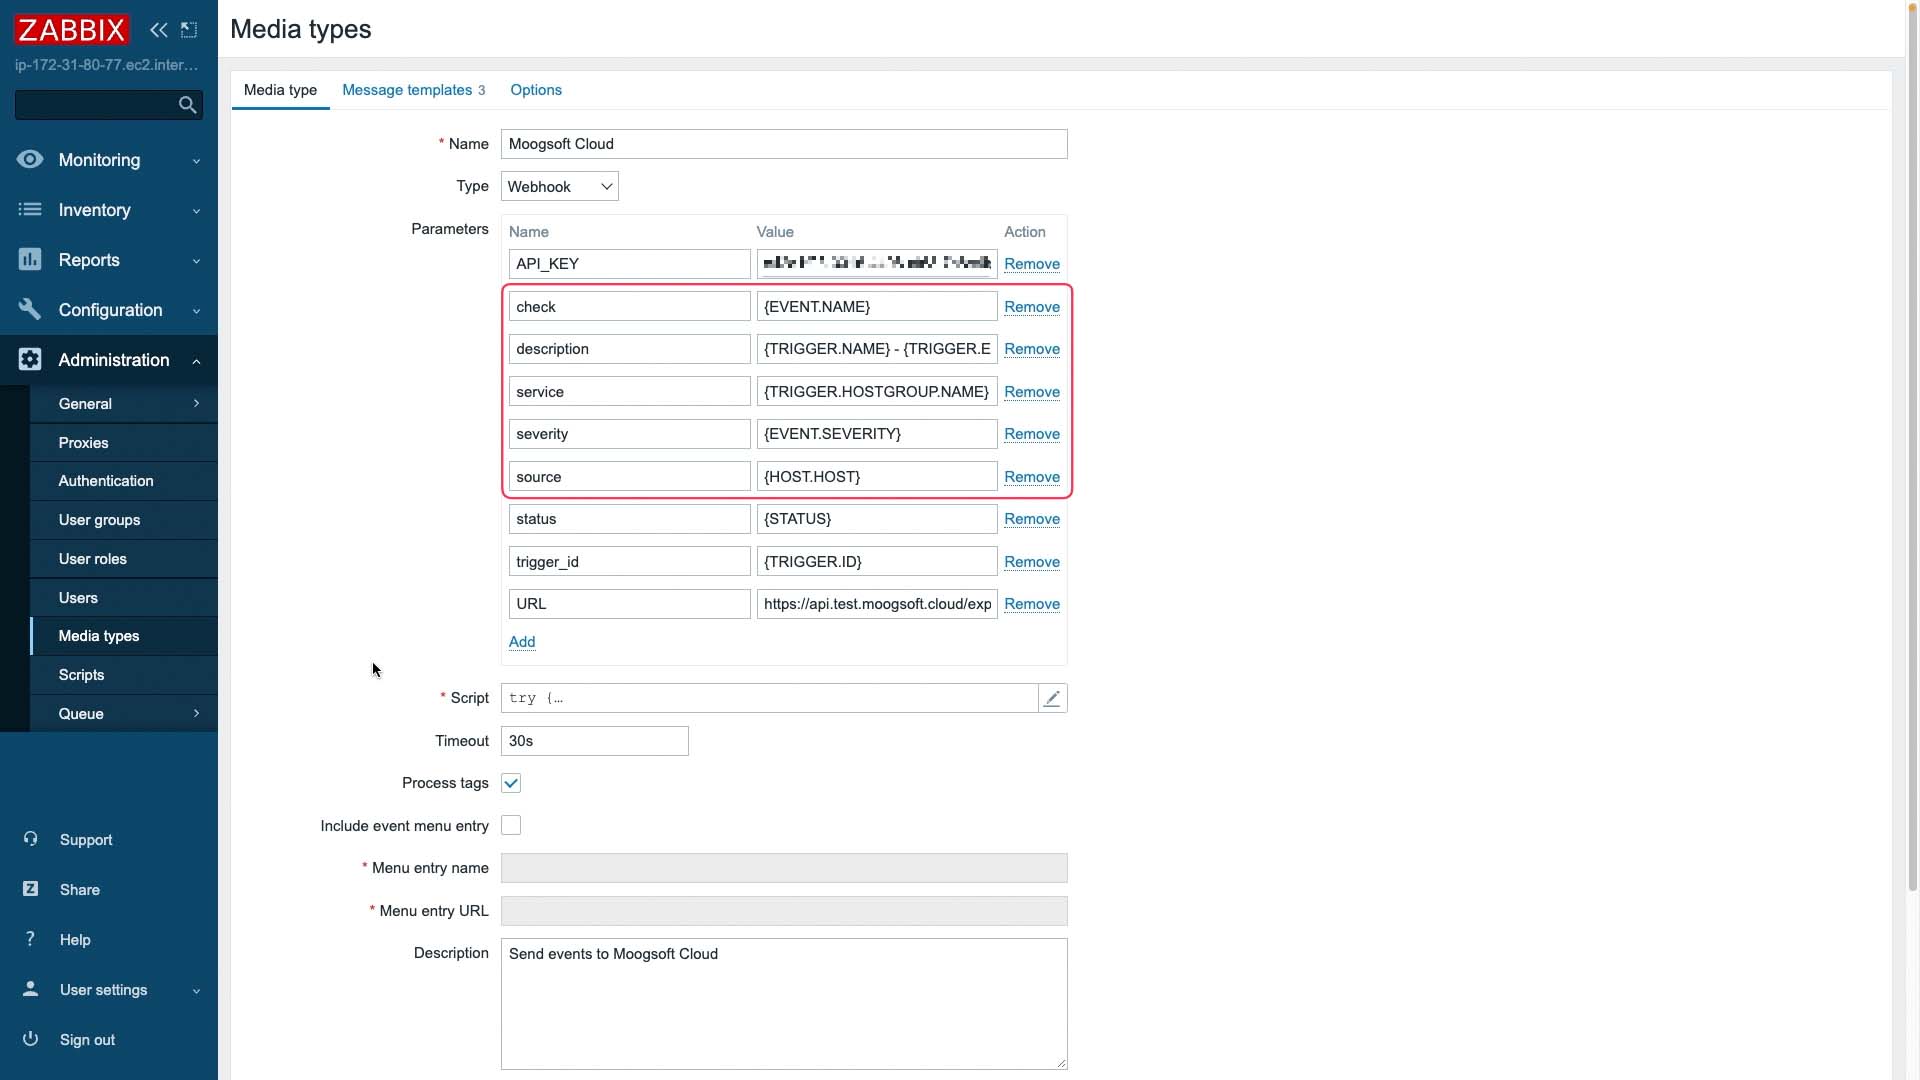
These fields are required.
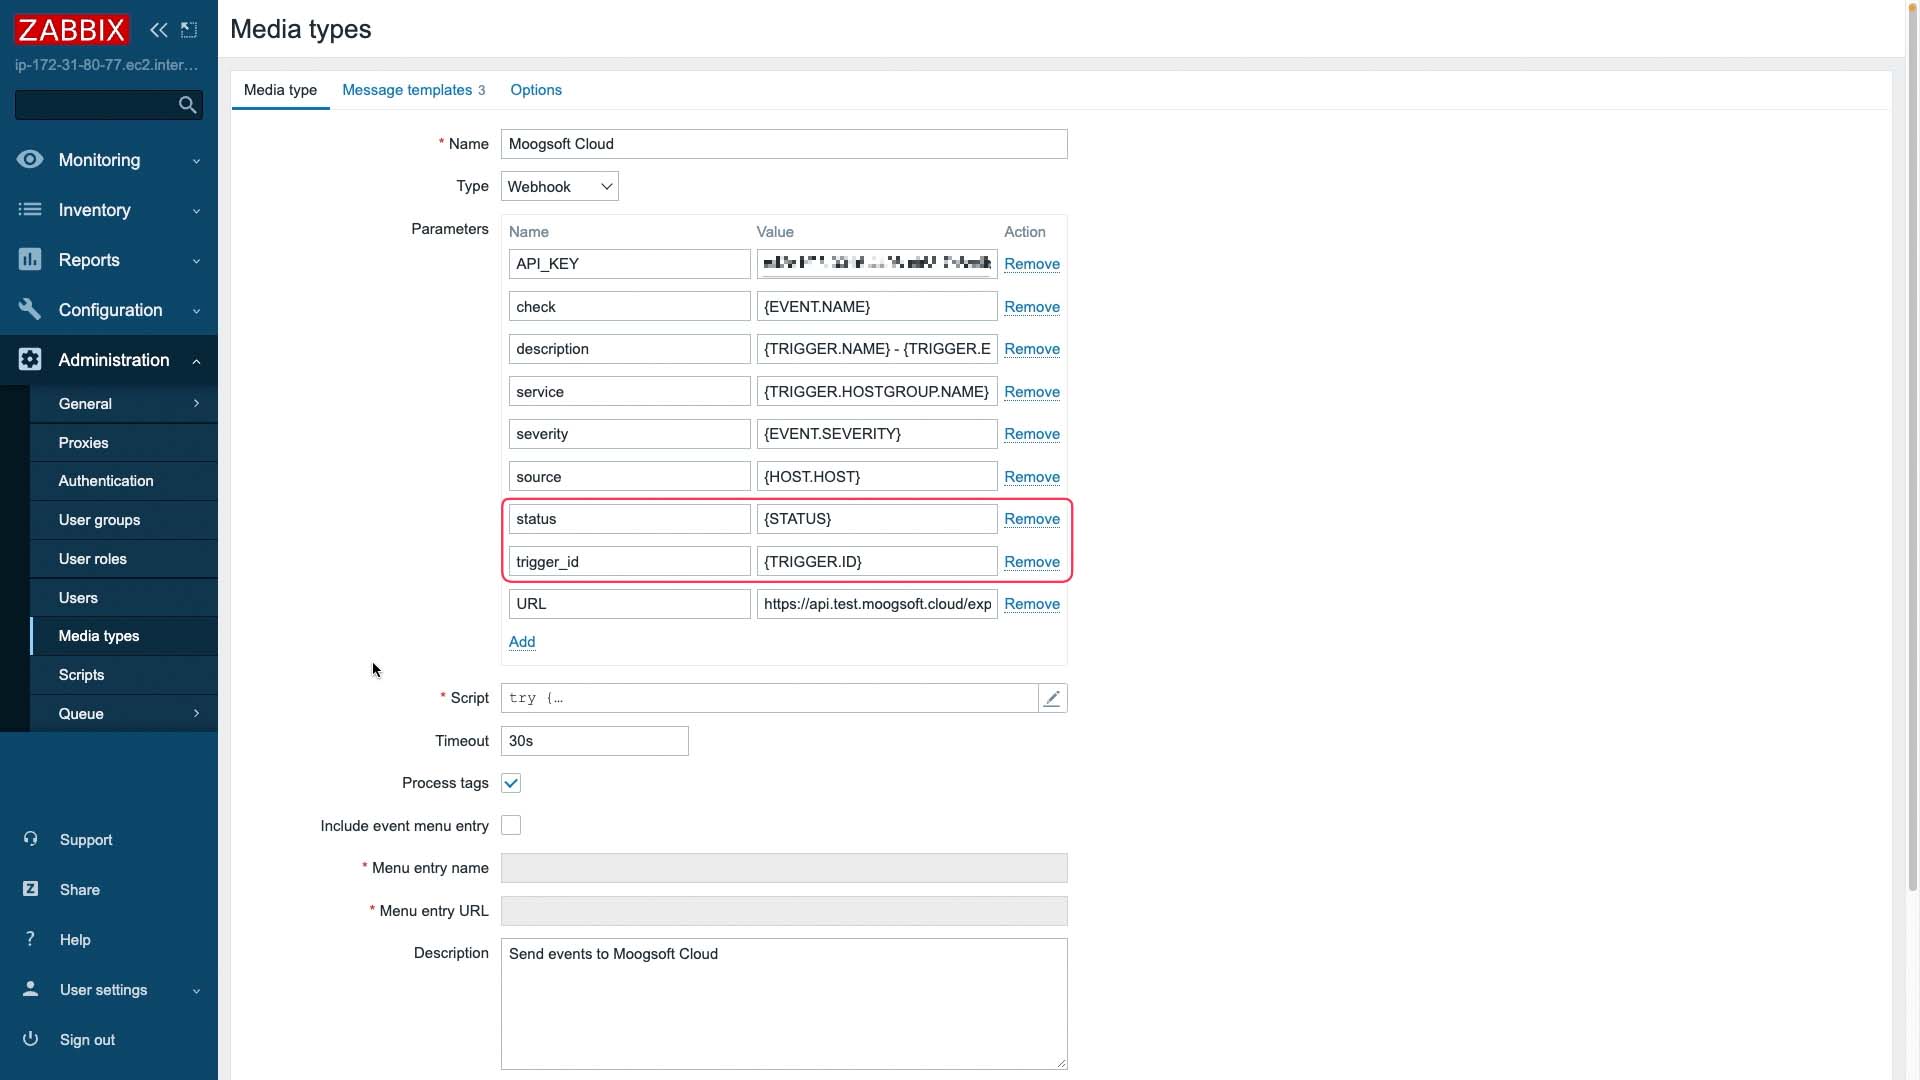
Add optional fields based on your requirements.
This Javascript uses the mapped parameters to do further refinement, and compose the JSON payload to Moogsoft. You can edit the script to add optional fields.

Let’s test to make sure it works. Looks good. The media type task is done.
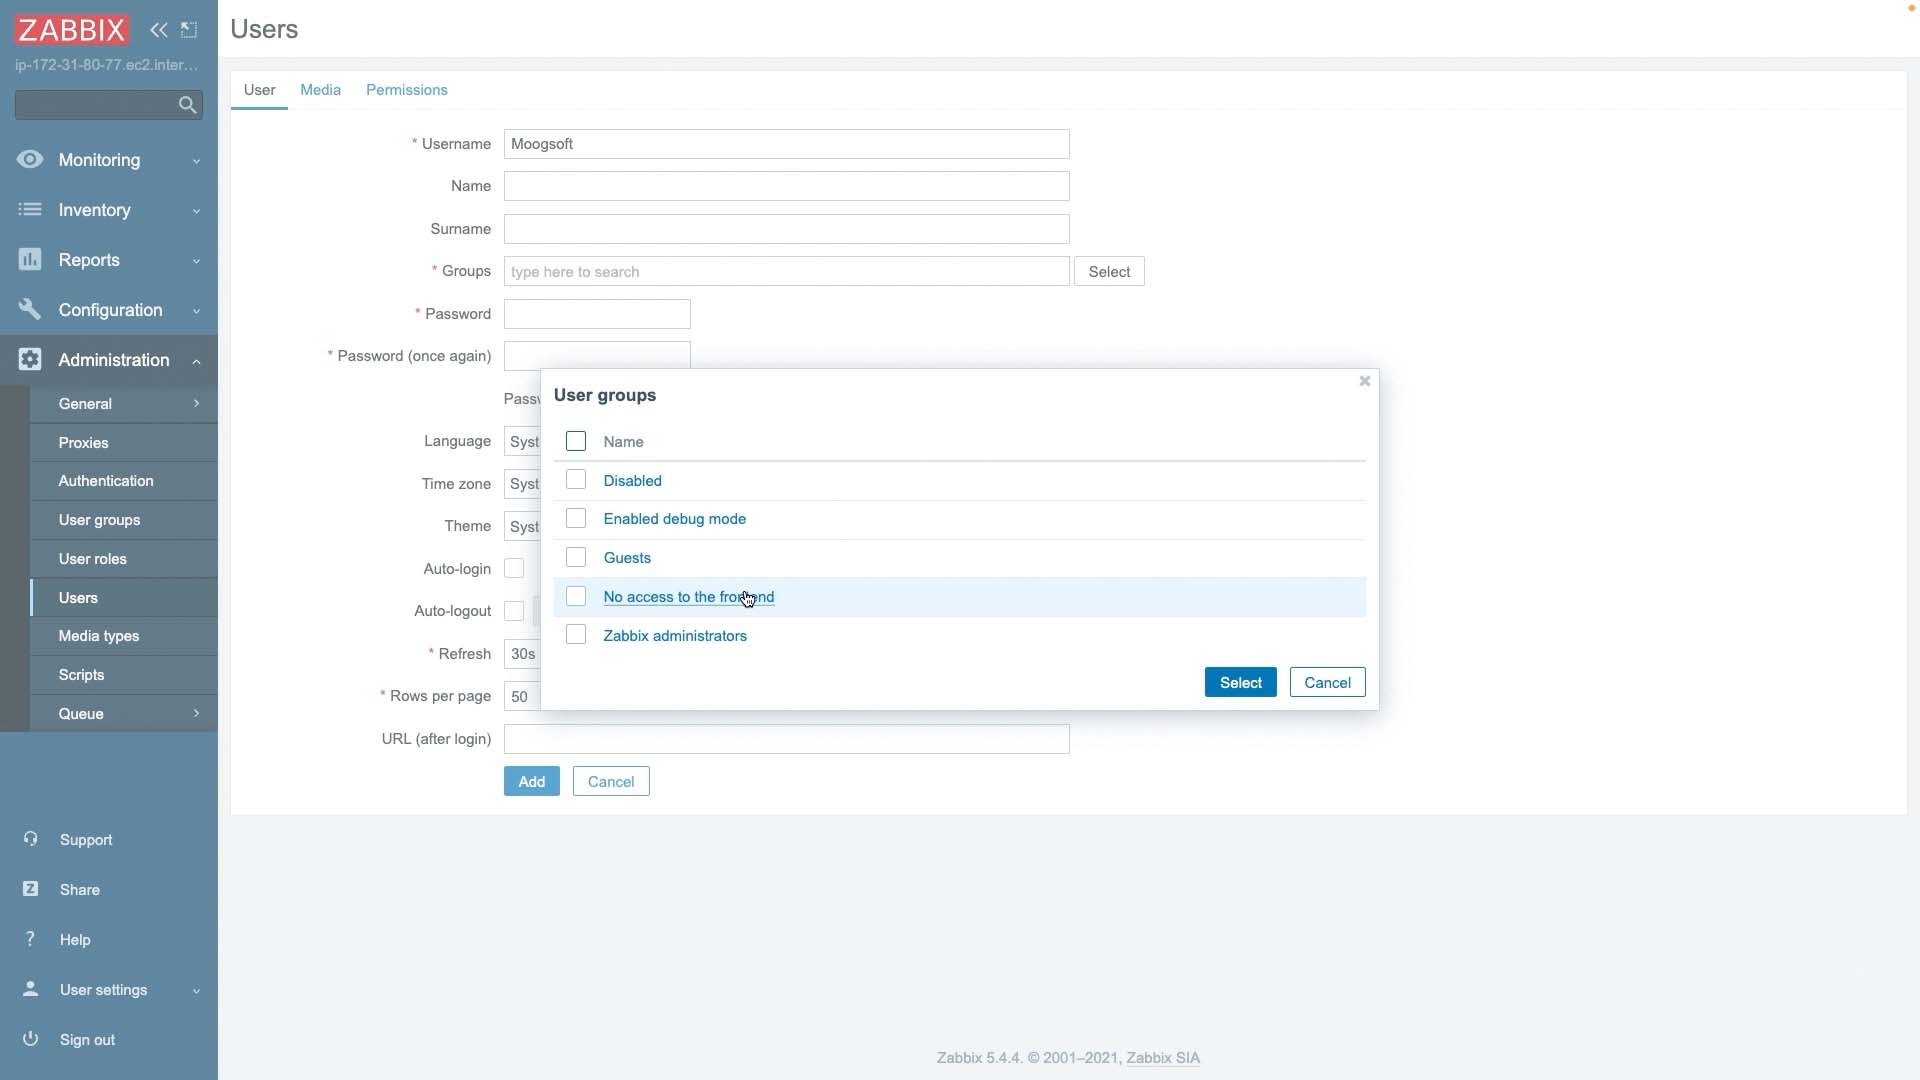
Next, we need to create a user to receive event notifications using our Moogsoft media type.

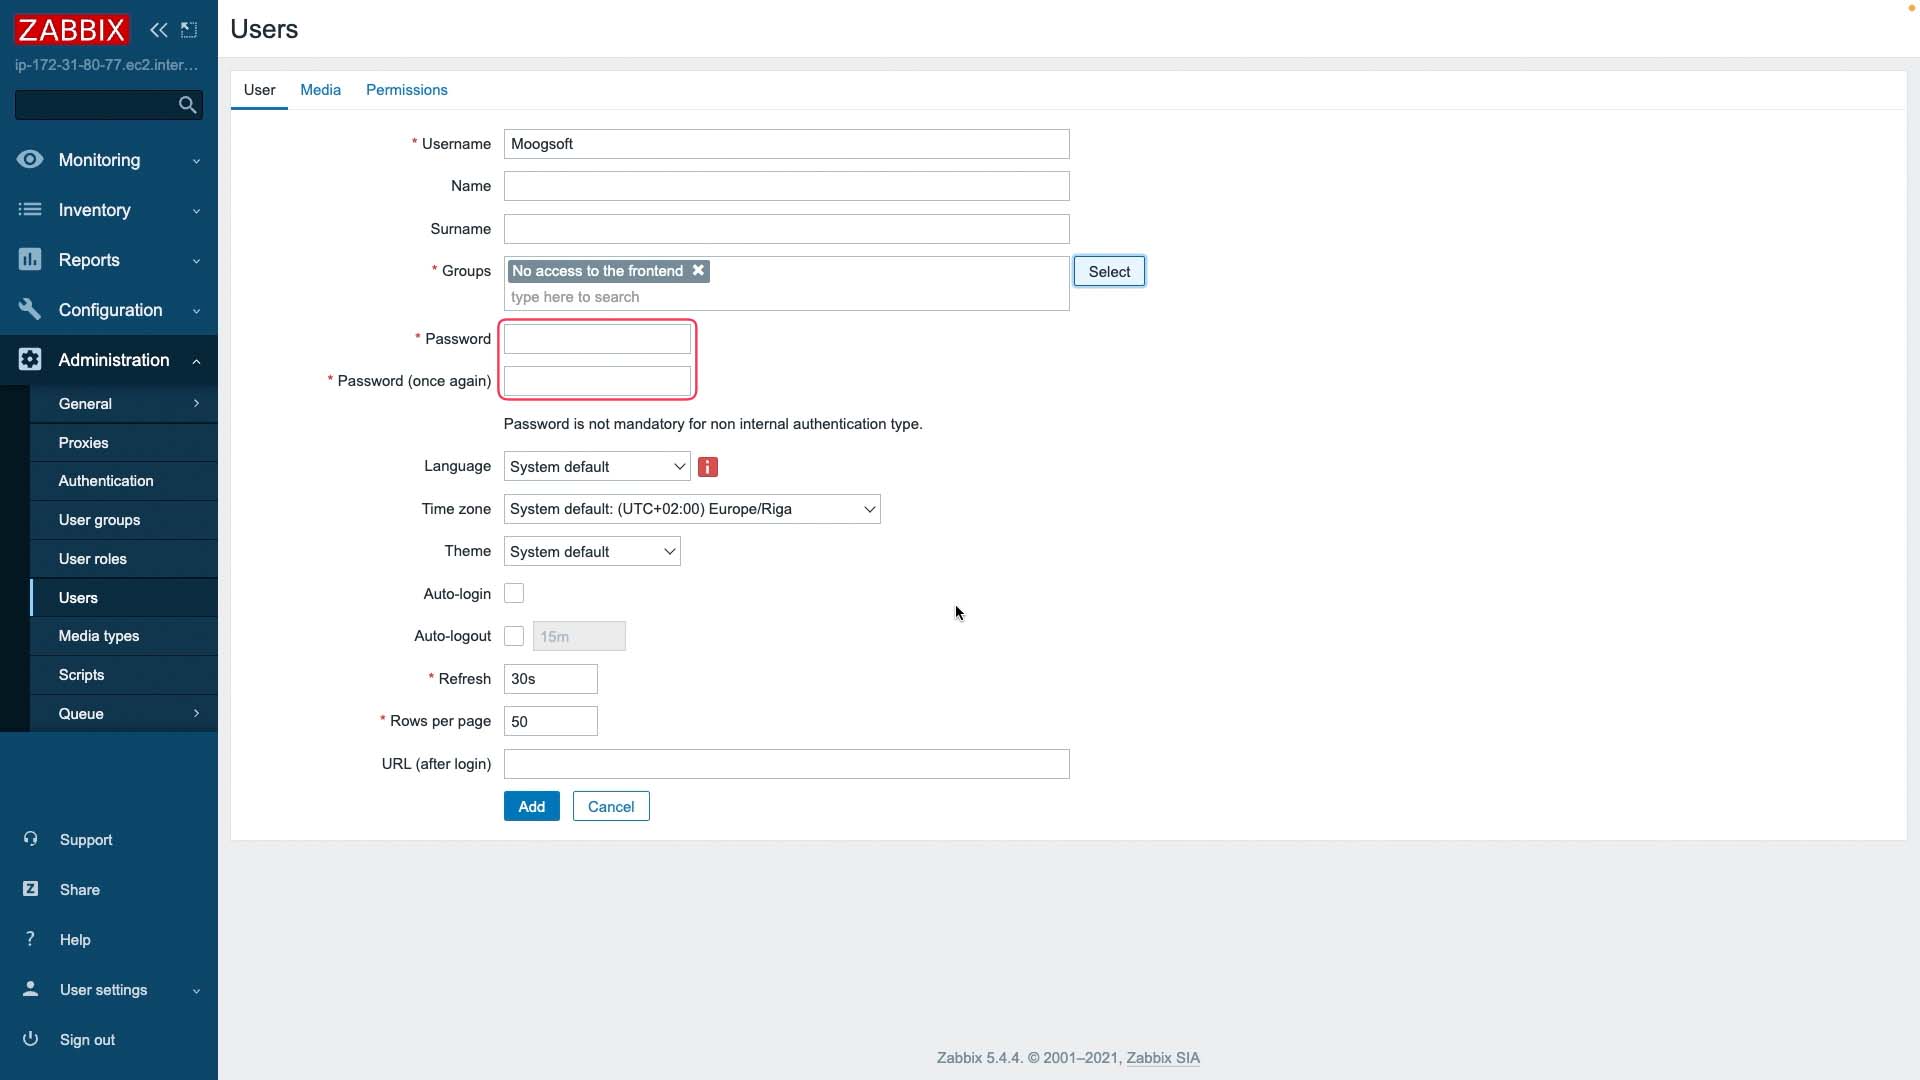
Then add the user to a group to grant the right level of access. The Moogsoft user won’t need access to the Zabbix front end, so we’ll choose this one.
The password is required but it won’t be used, so you can enter anything here.
This user needs to be able to use the Moogsoft media type. This will send event notifications directly to Moogsoft Cloud.
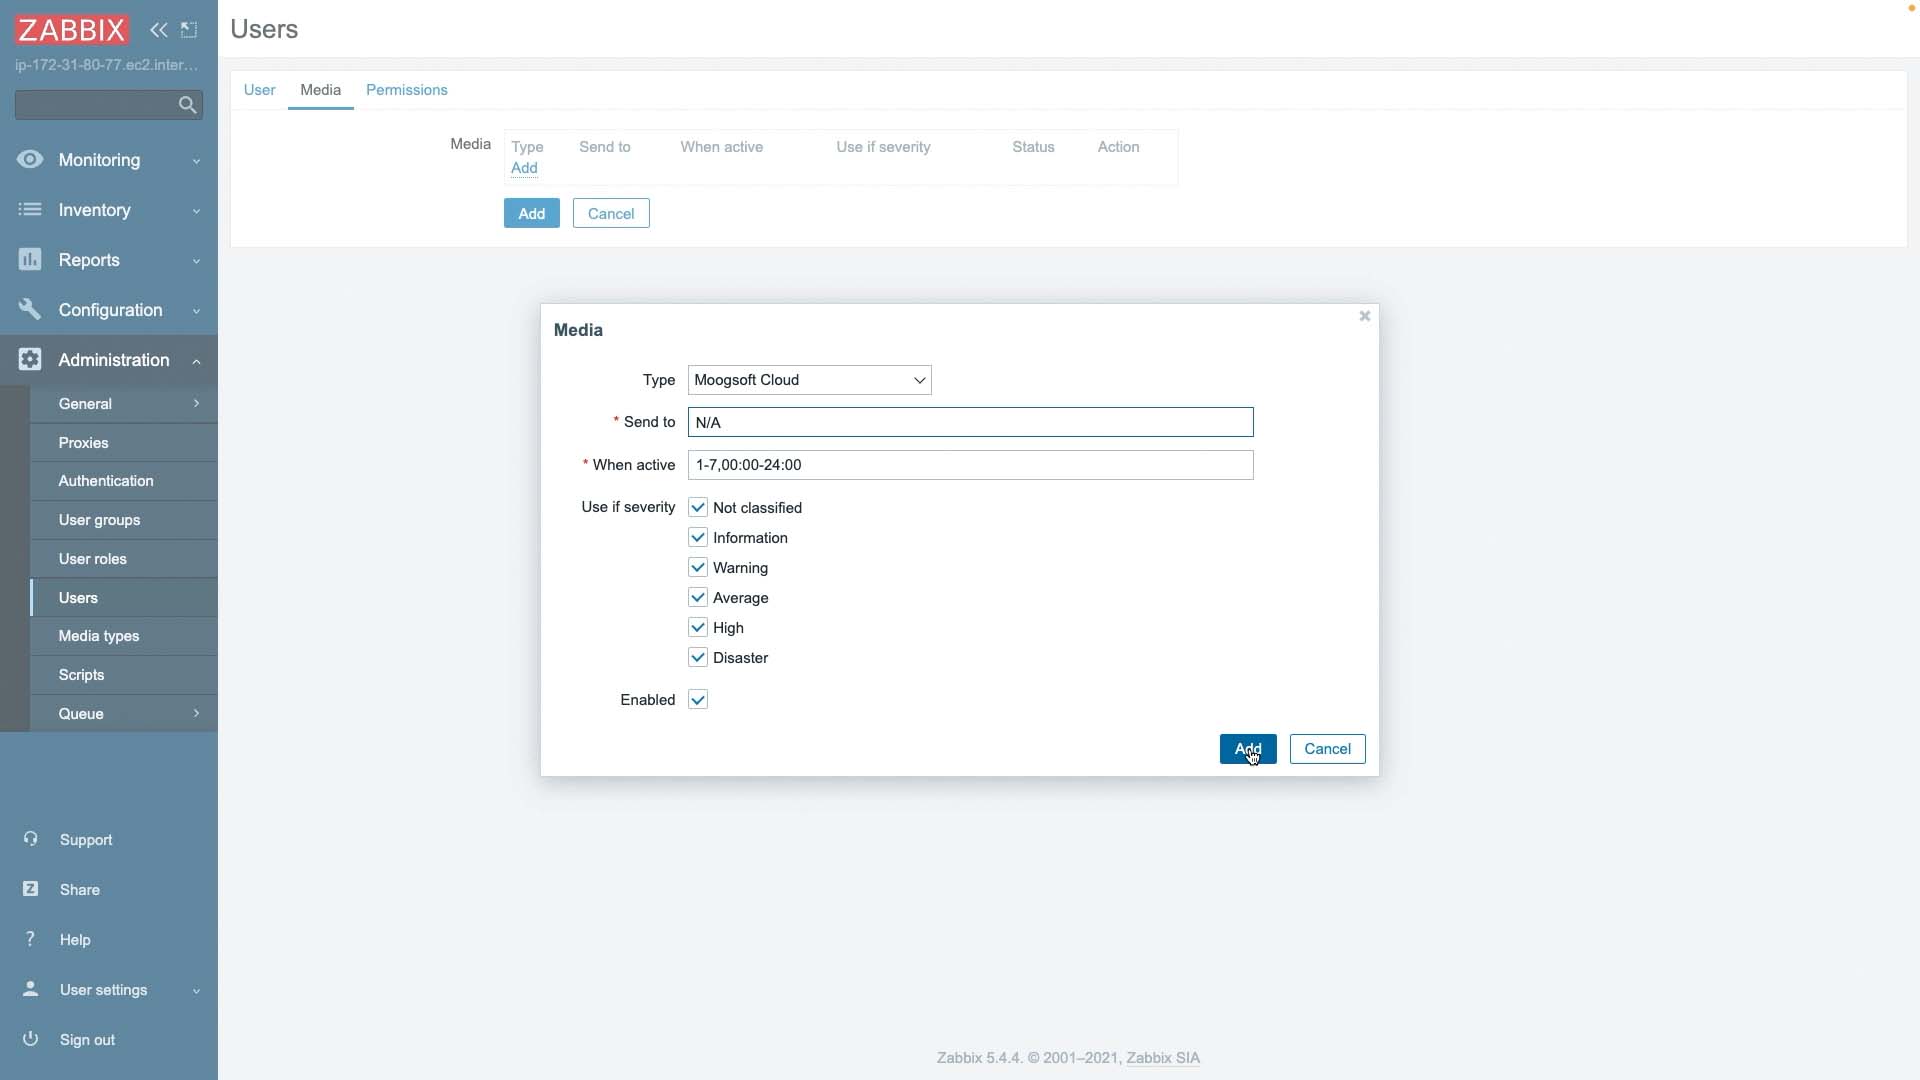
And this user needs a super admin role.
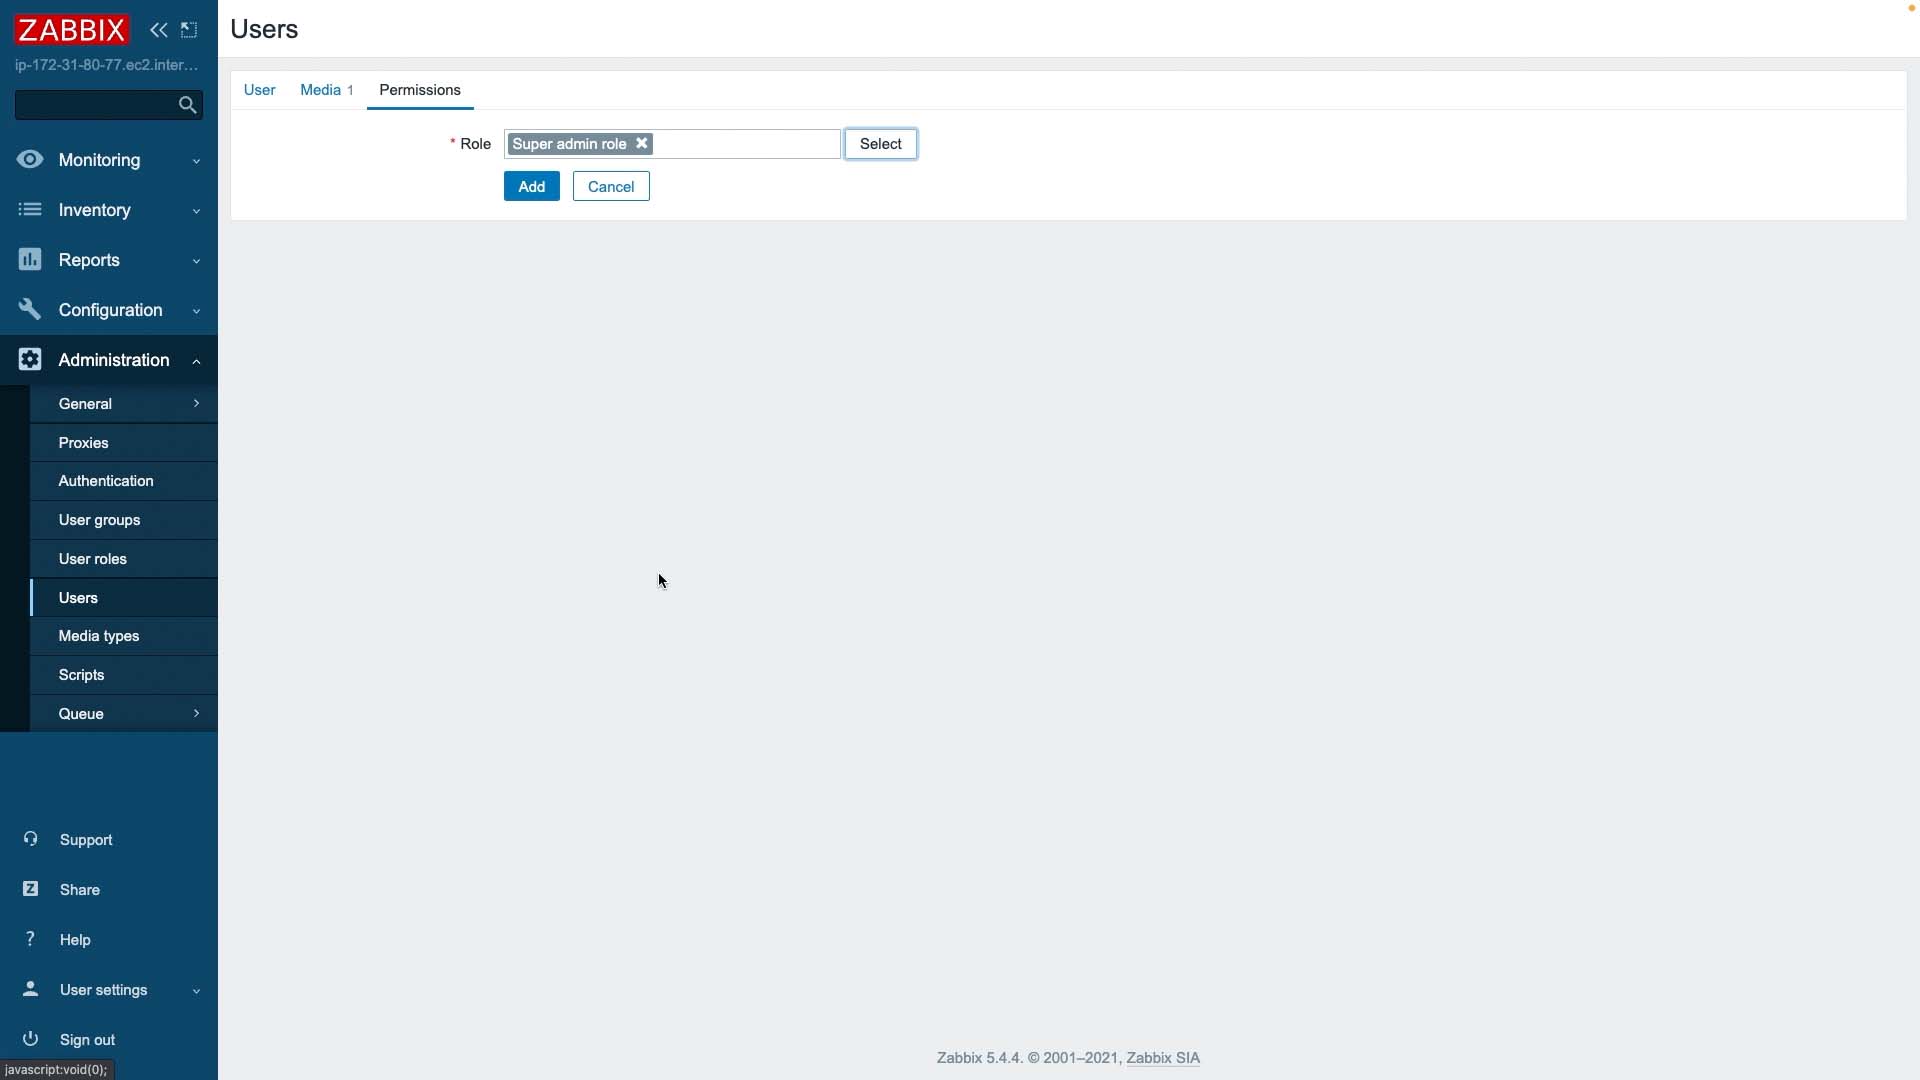
The user definition task is done.Now we have the pathway to Moogsoft Cloud all set up. Next we want to add the trigger logic to use that pathway when events happen. We’ll do that by defining an action. You can update existing actions or define custom actions to trigger on specific problems, but here we’ll simply define an action to send all events to Moogsoft.
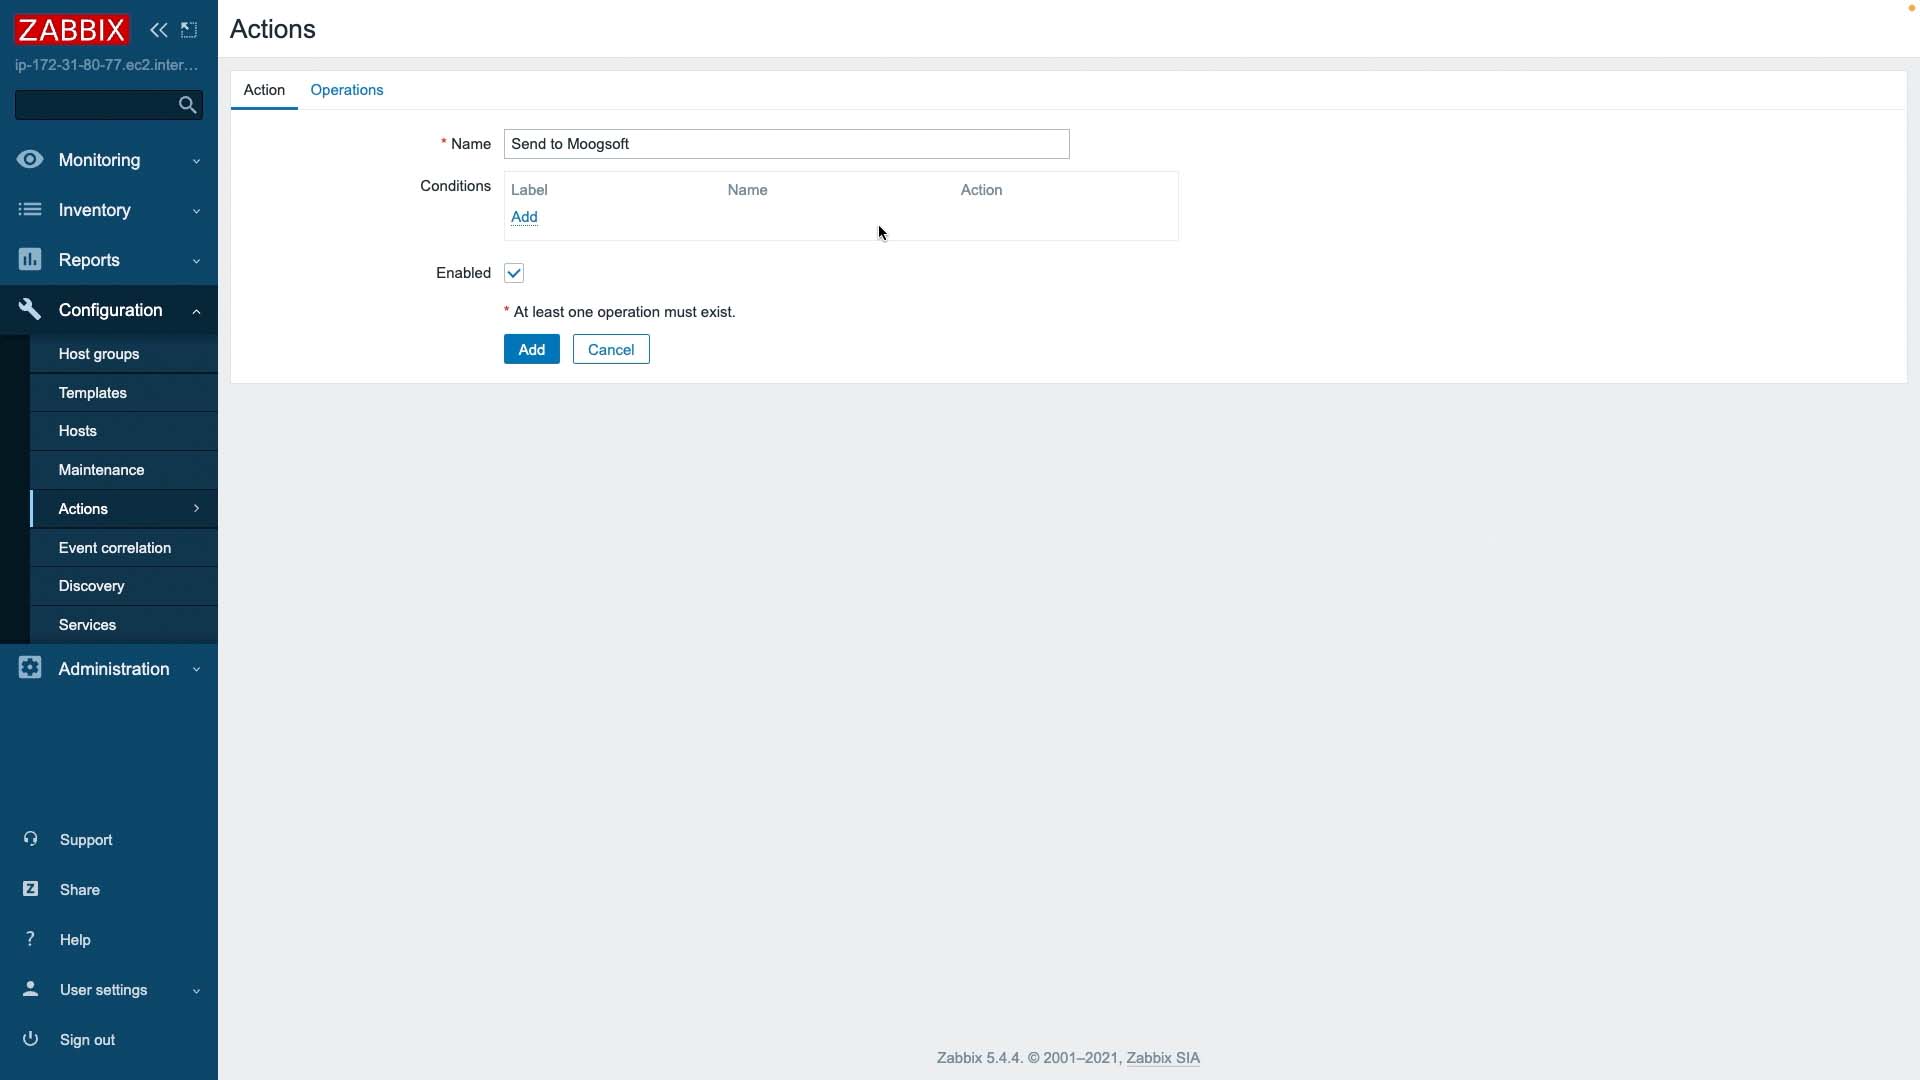
If we wanted to restrict the severity of events or filter them in some other way, we could define a condition here.
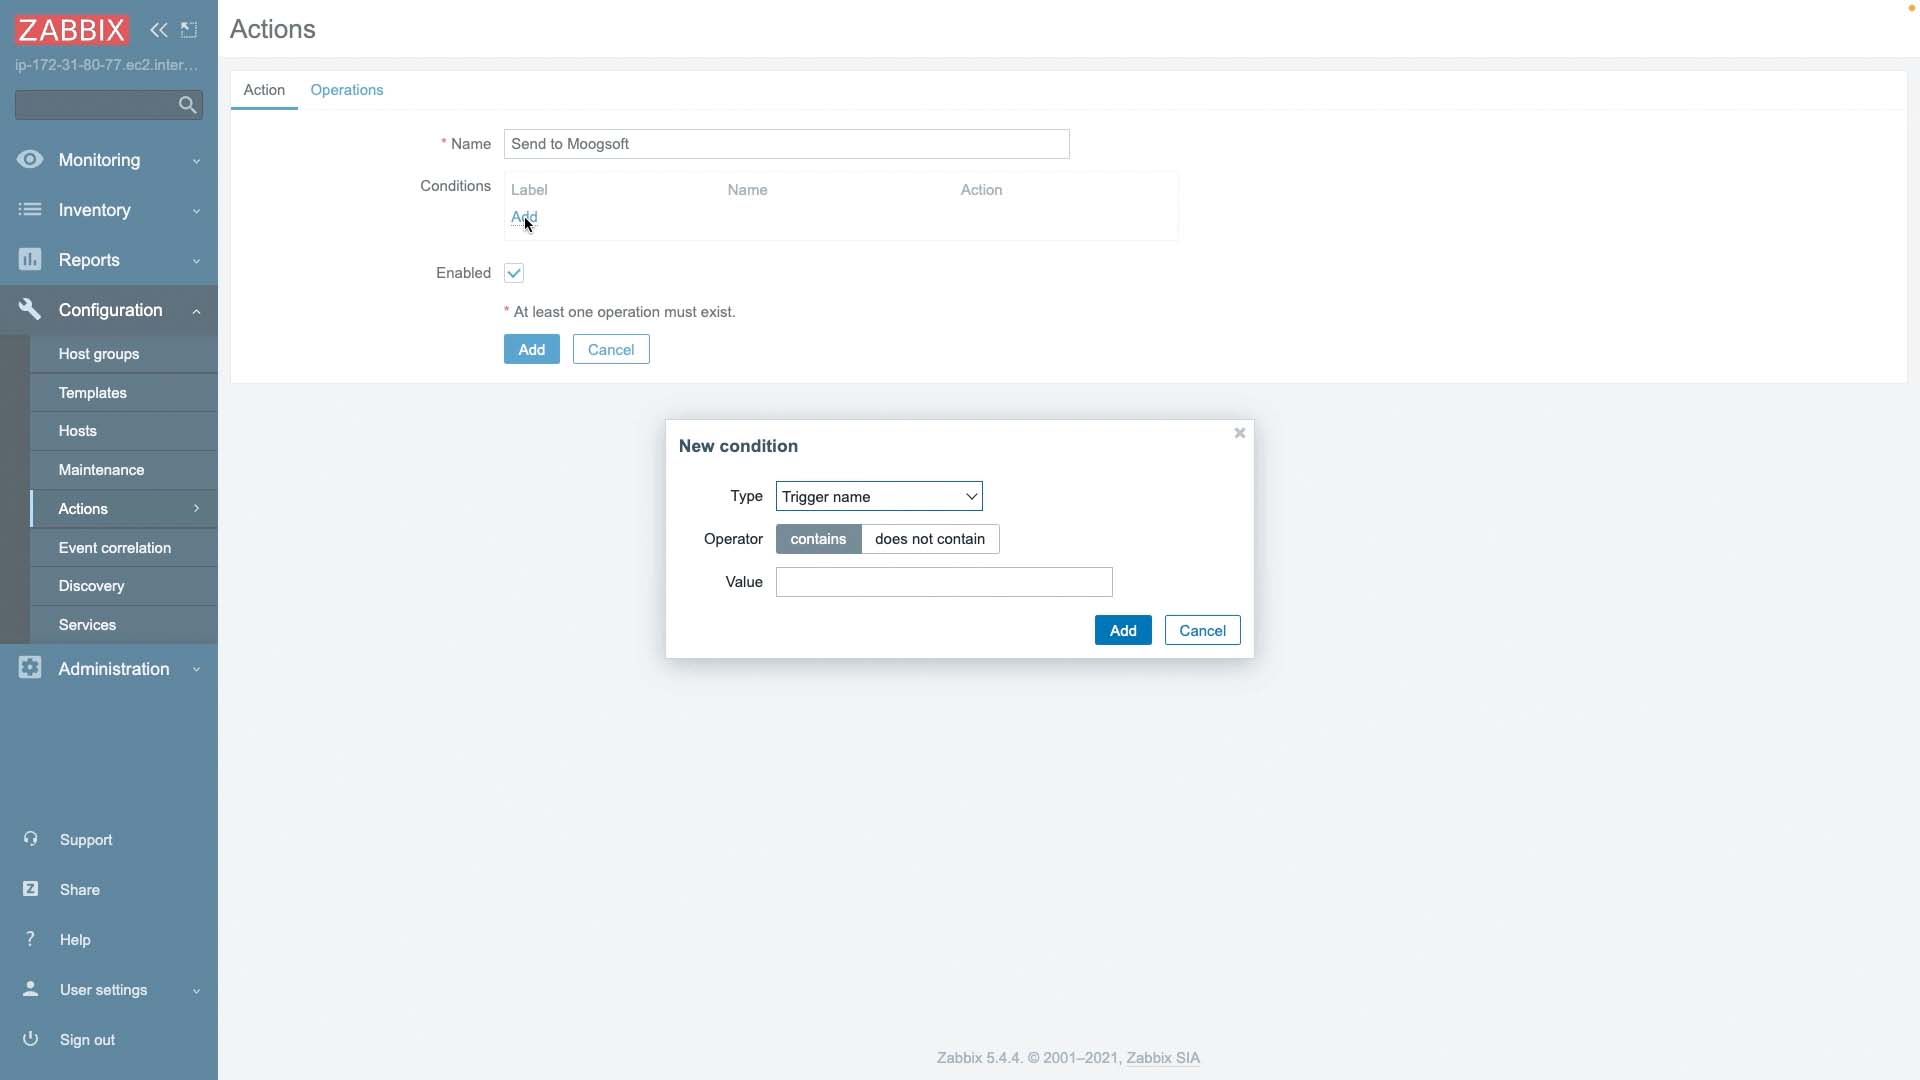
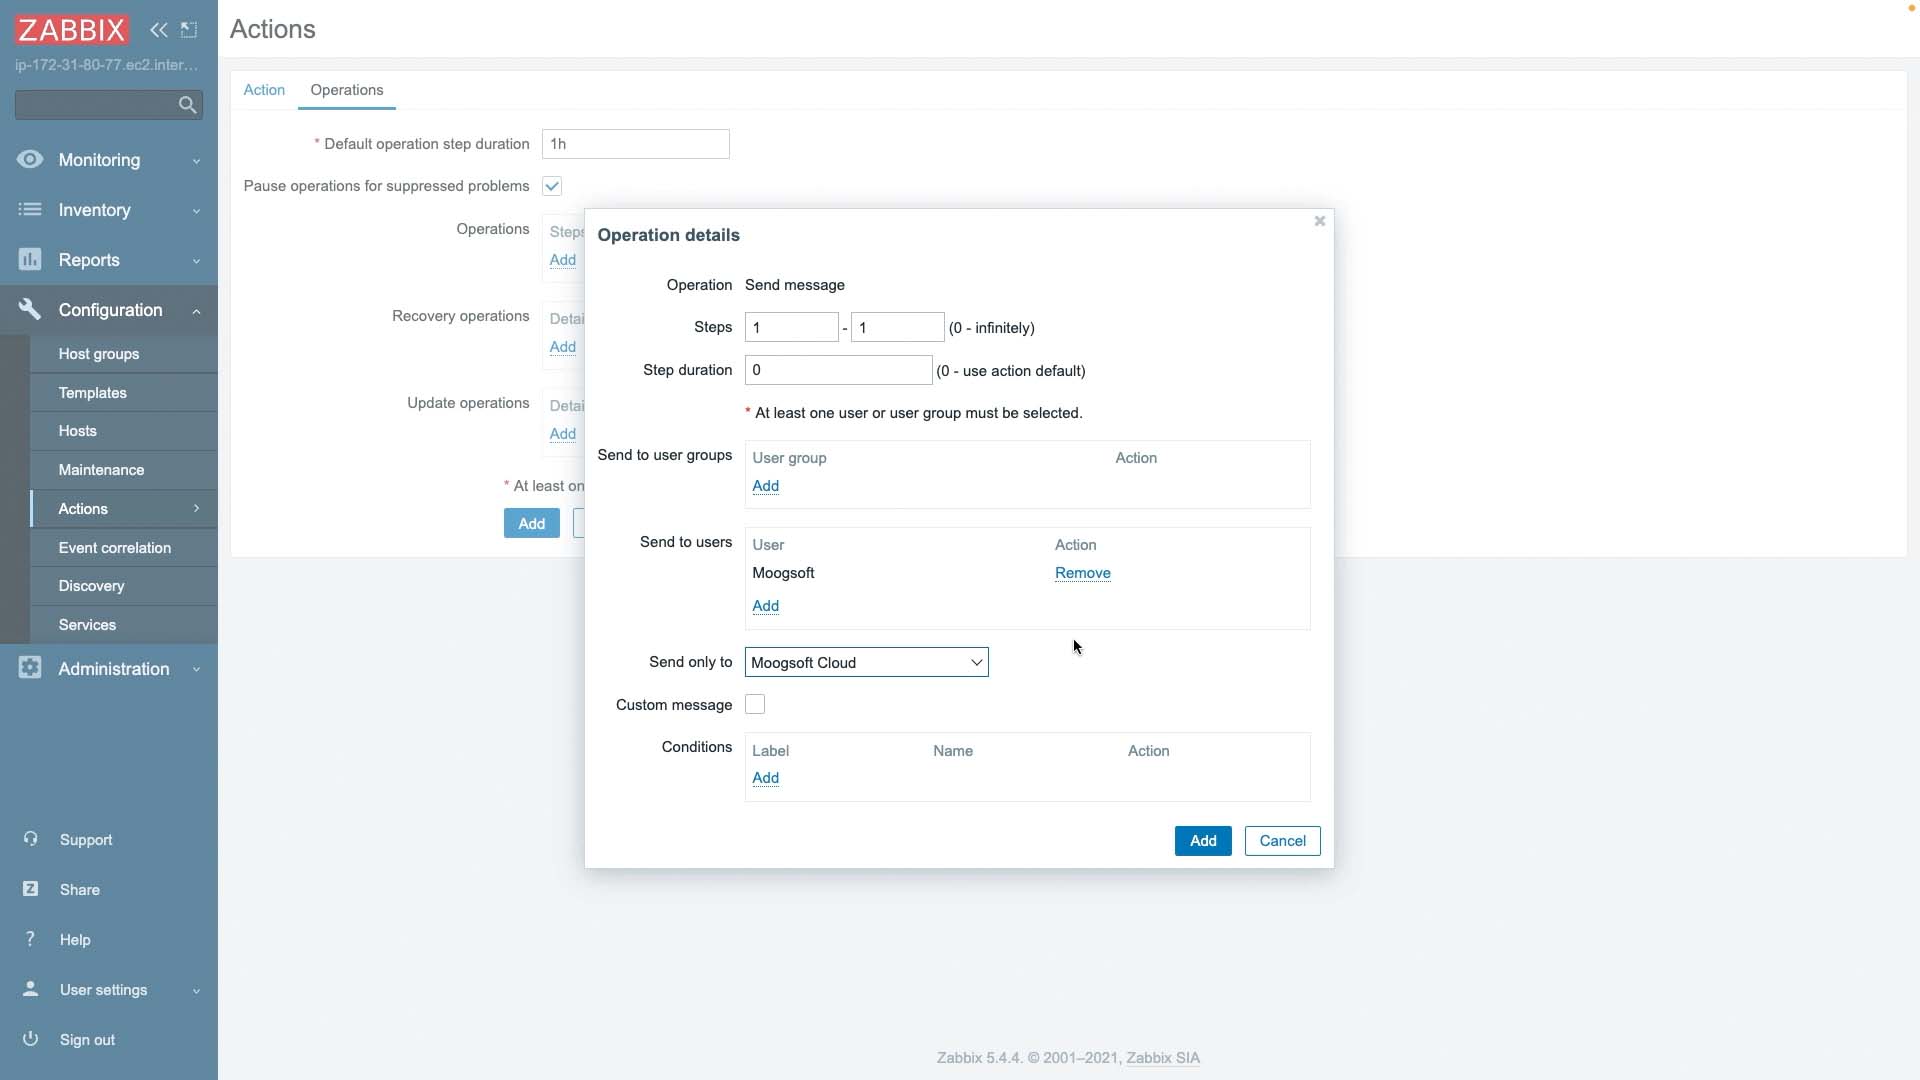
Let’s say we want to send all events, so we won’t add a condition. Under Operations, specify what happens when an event, recovery, or update occurs.
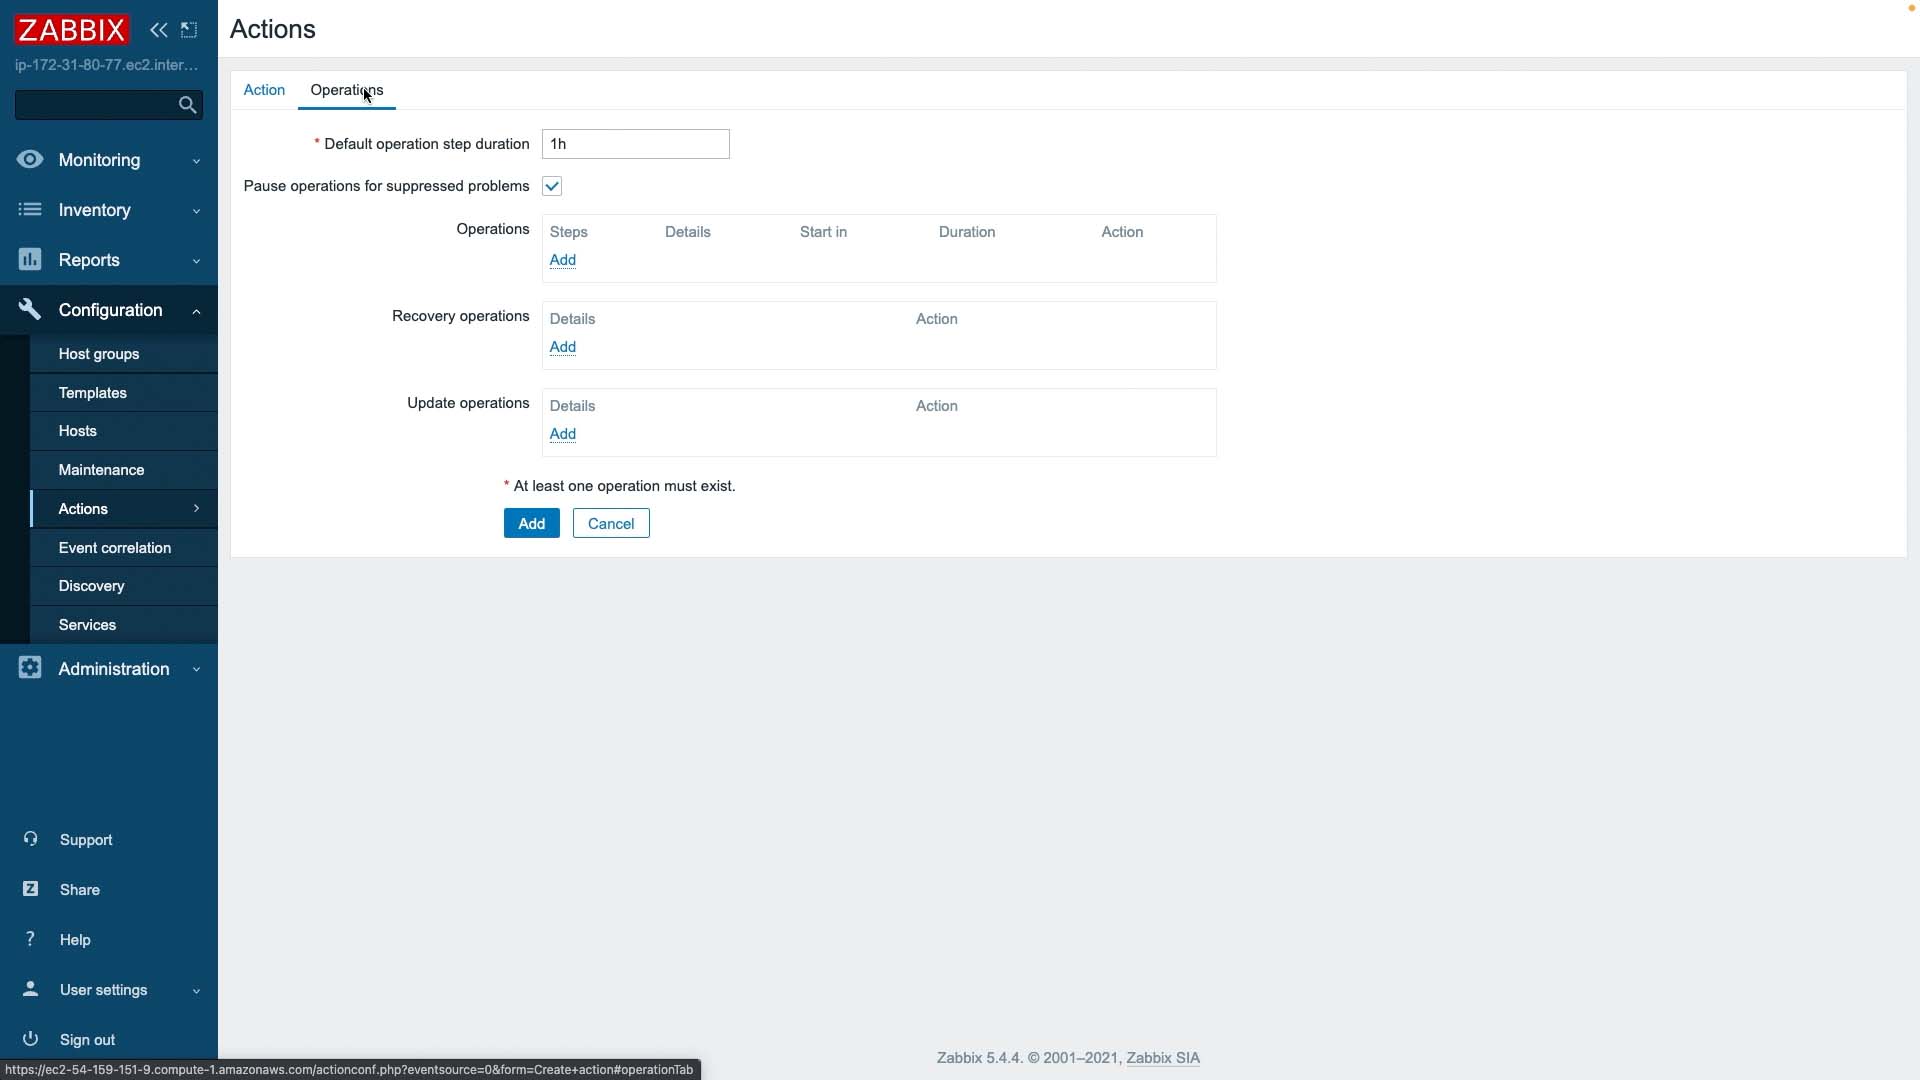
We will send a message to the Moogsoft user using the media type Moogsoft Cloud.
We’ll repeat these settings for recovery and update events and add the action.
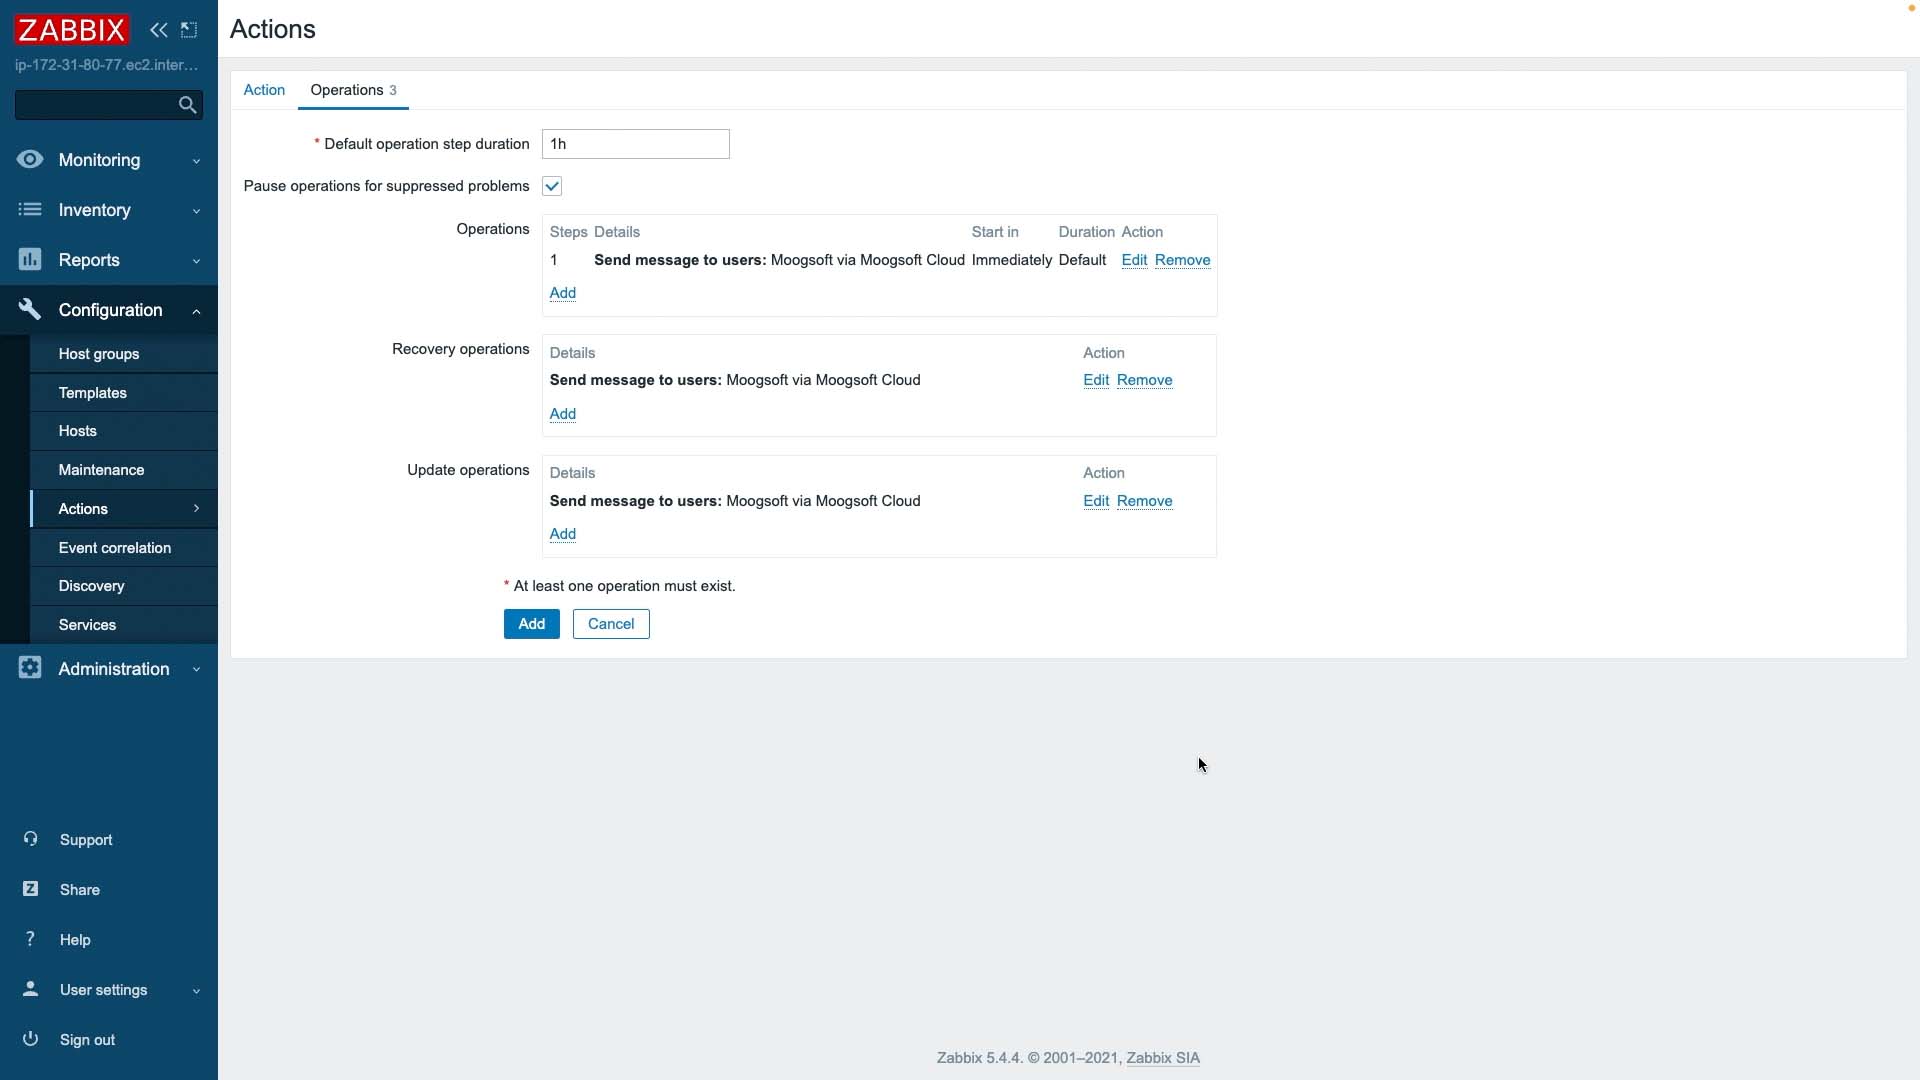
All set. The action definition task is done. Now we can see our Zabbix event data in Moogsoft Cloud. Thanks for watching!
