Demo video: Install a Moogsoft Cloud Collector ►
This video explains how to Install a Moogsoft Cloud Collector on an Amazon EC2 instance running Docker.
In this demo, we are going to install the Moogsoft collector to an EC2 instance that's running Docker.
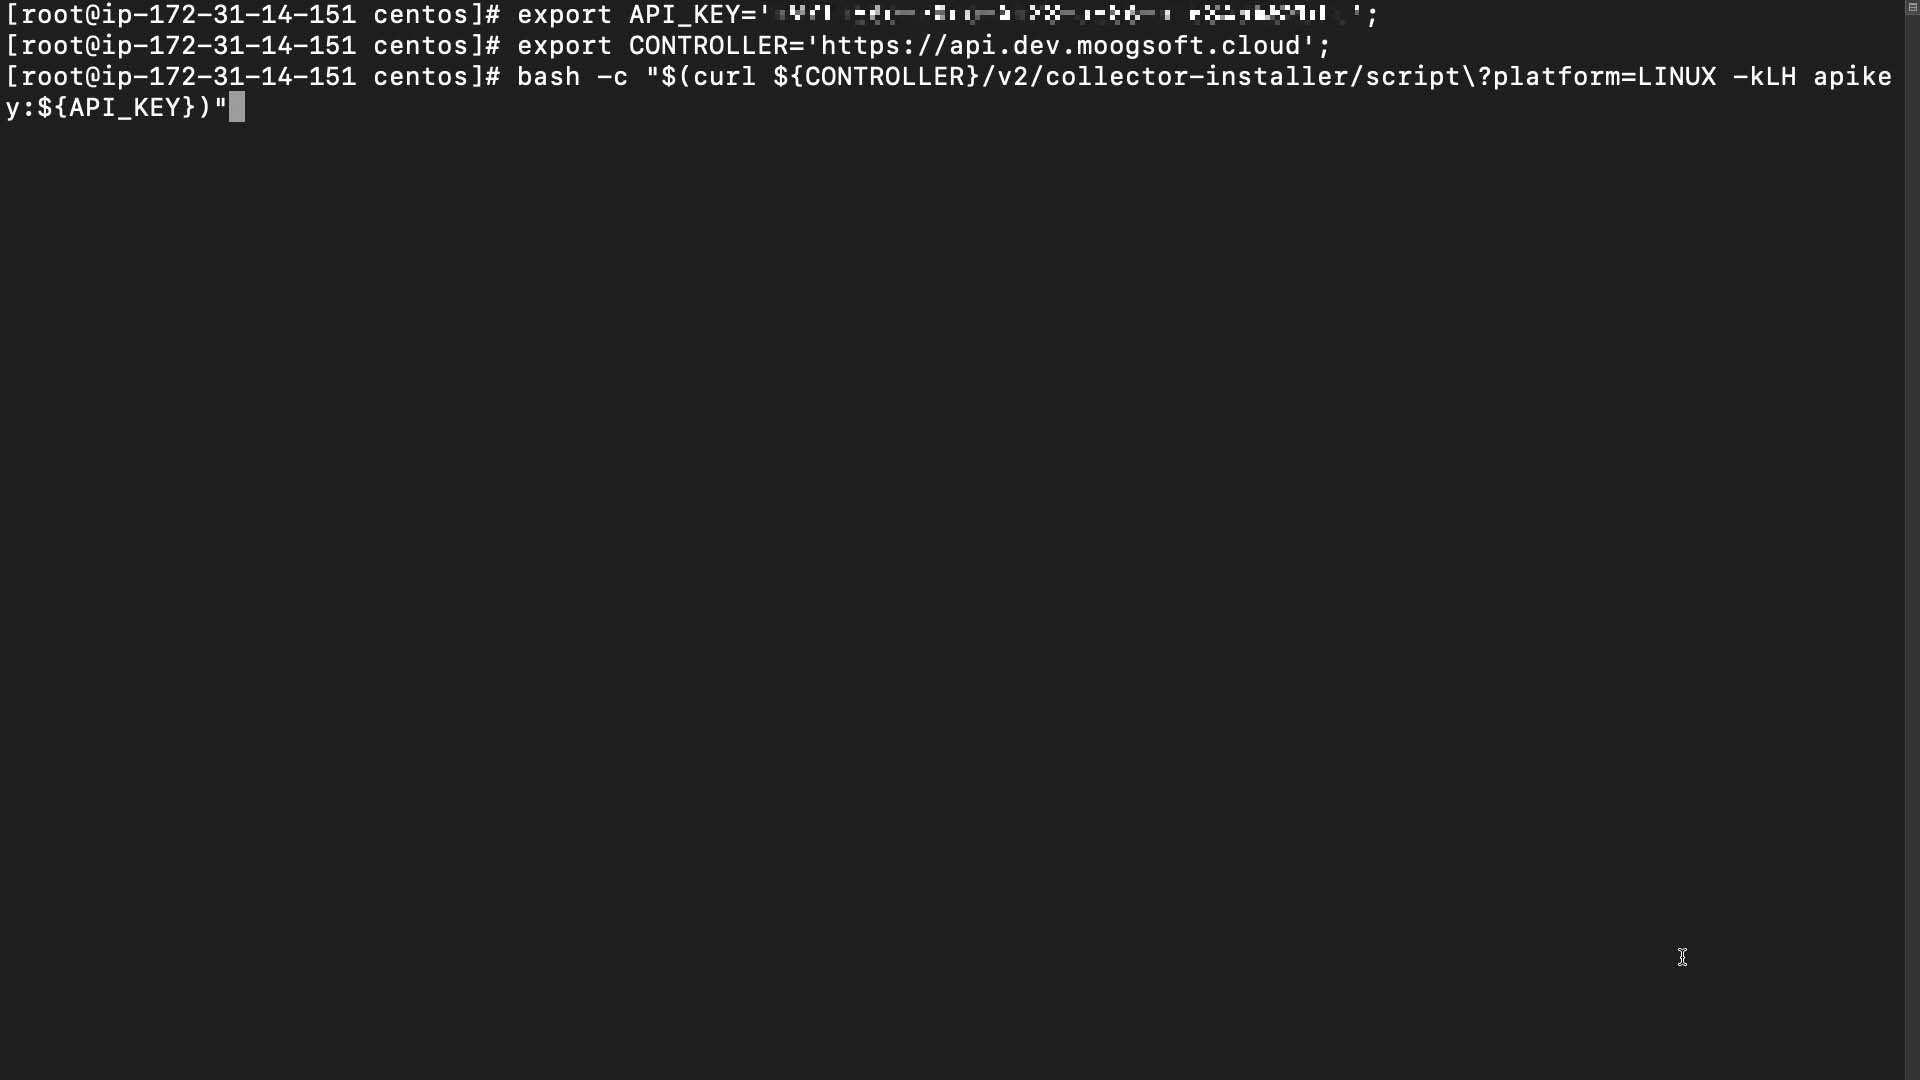
Here's the installation script.
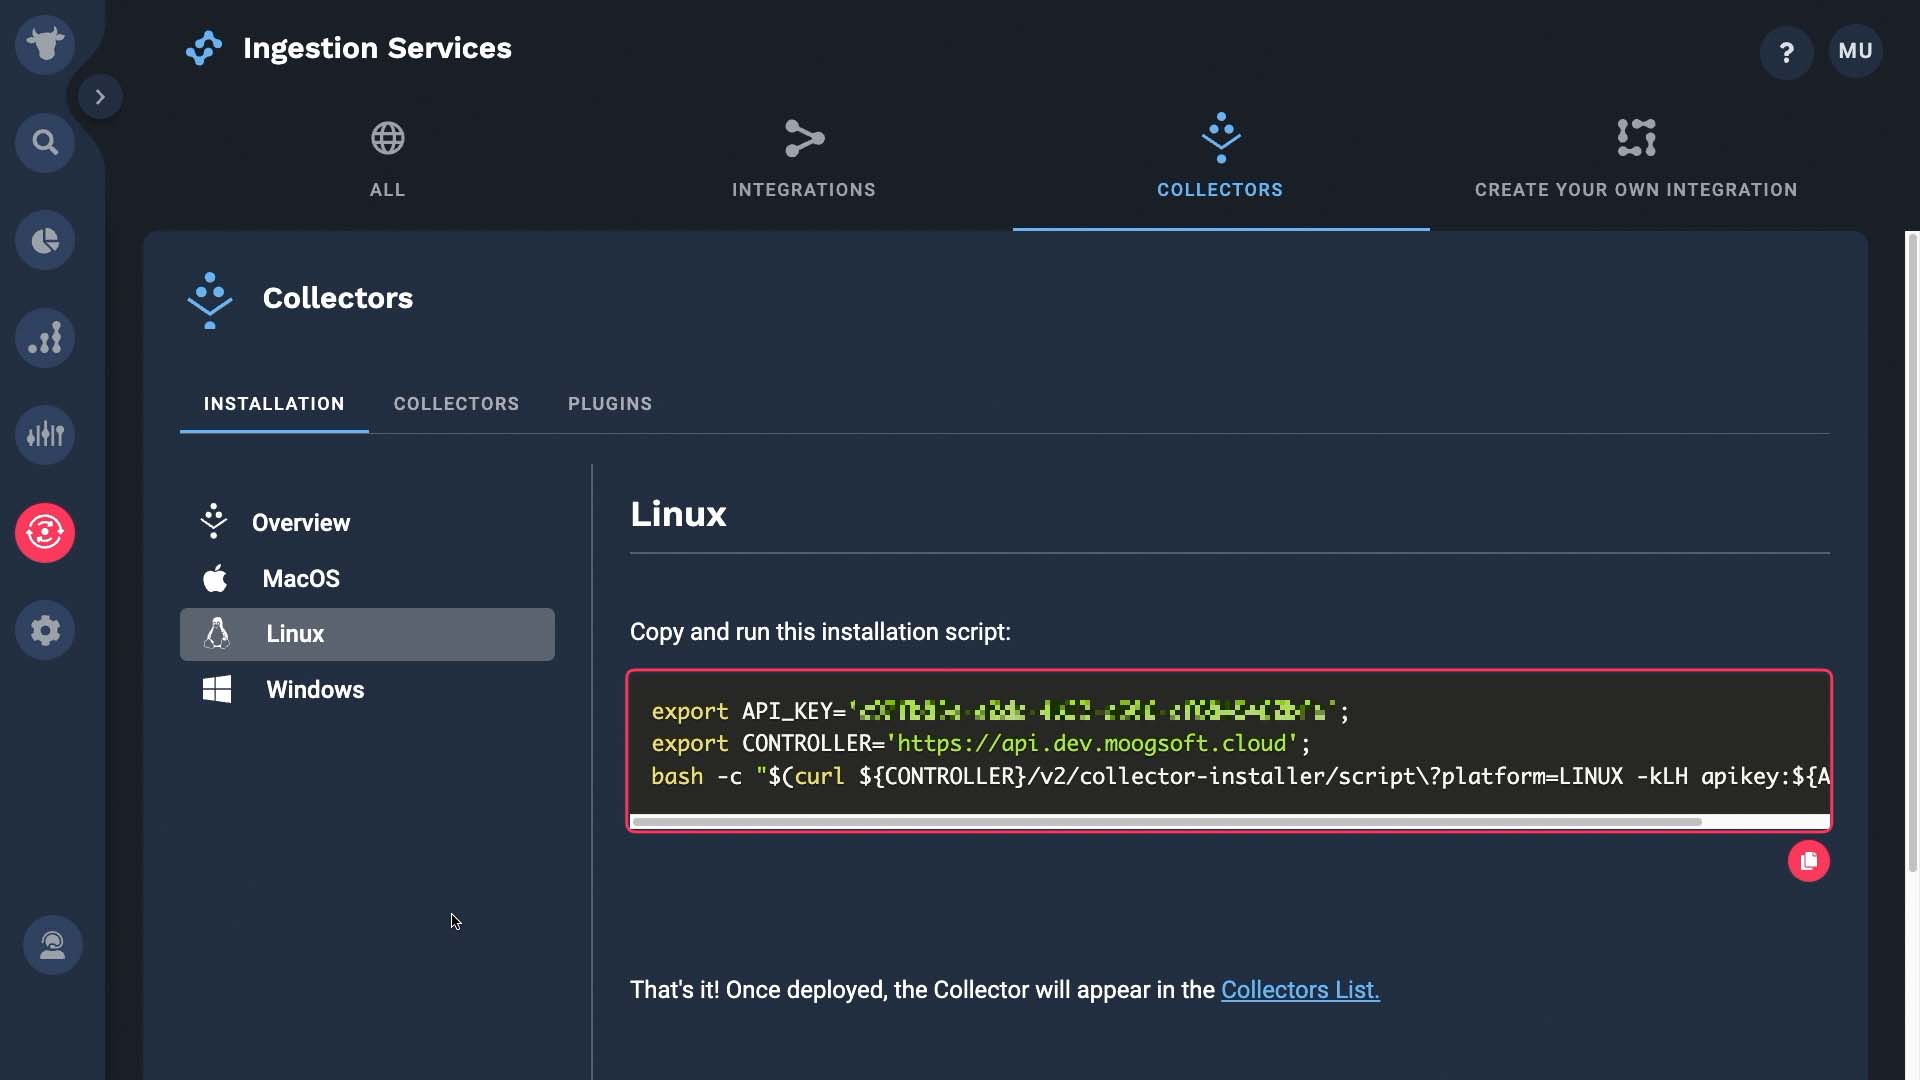
It sets the API key...
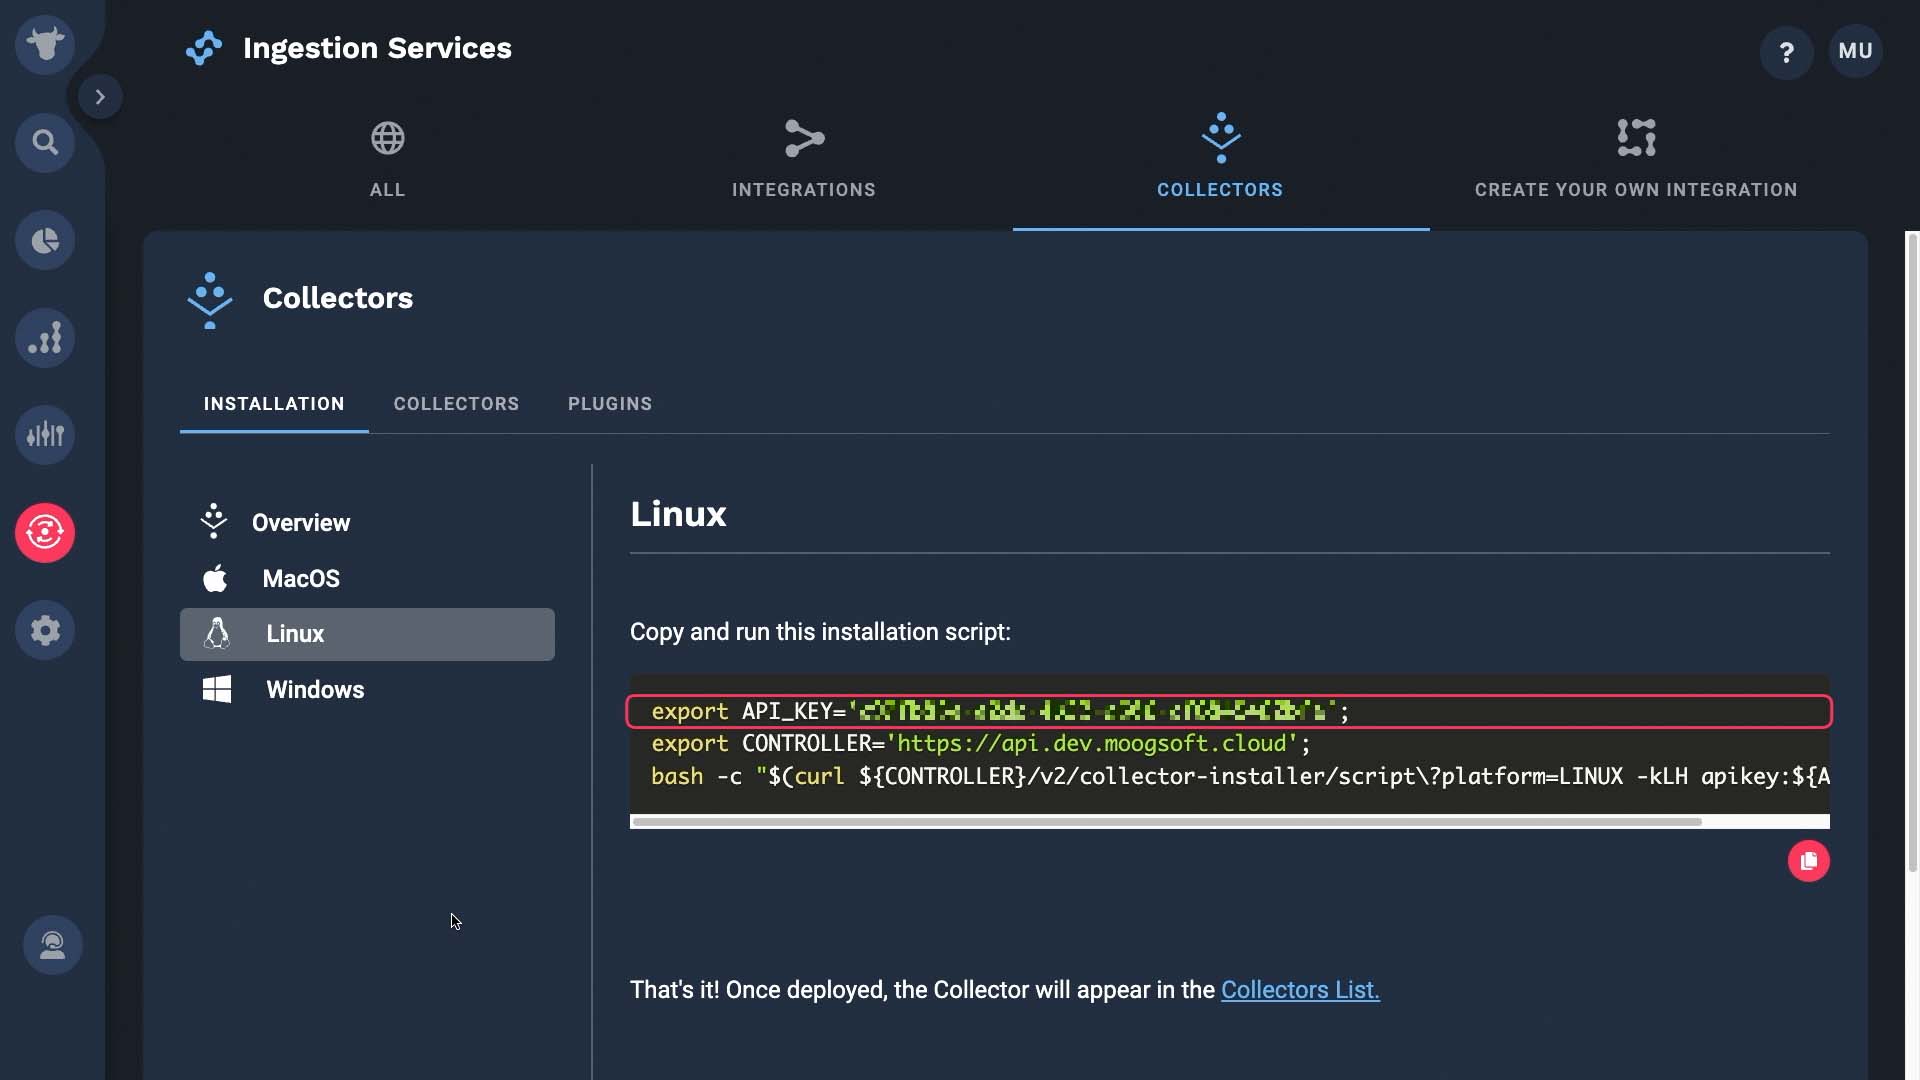
And the controller variable...
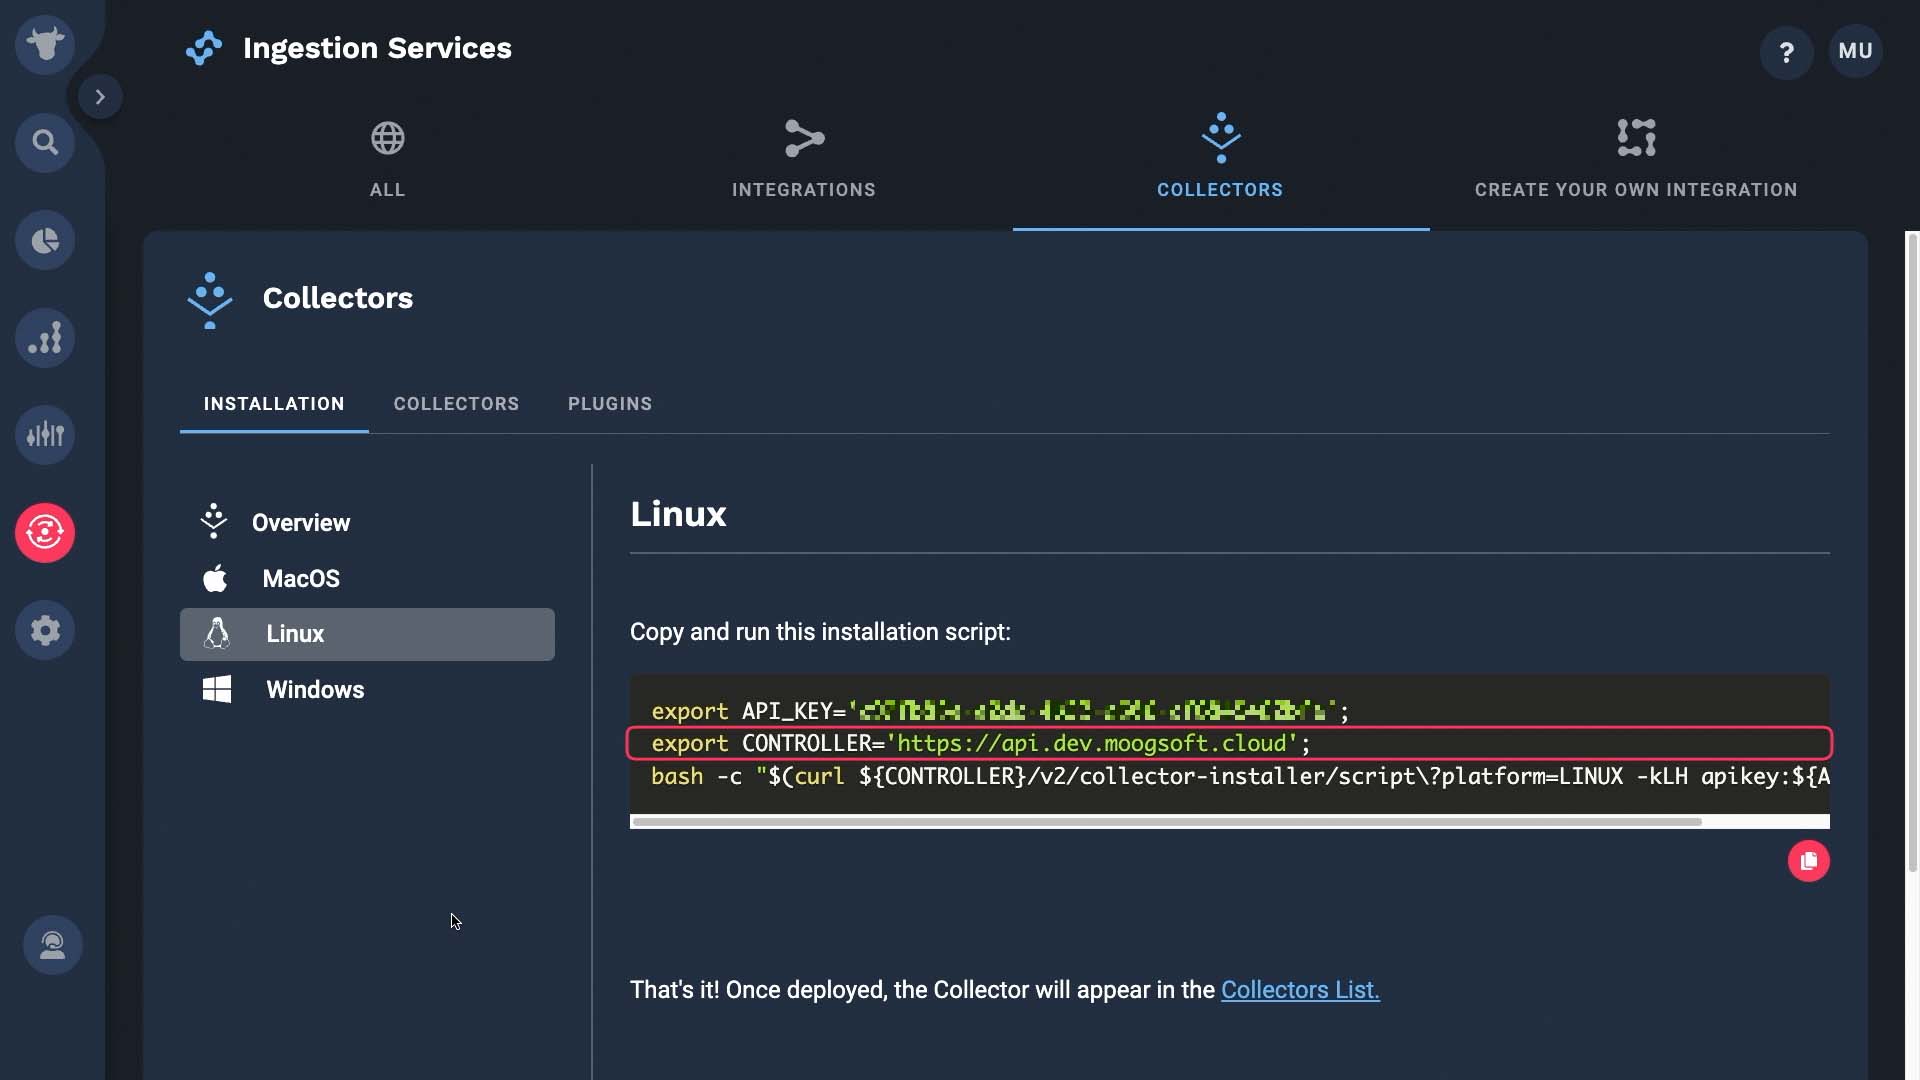
...then downloads the installer script and plugs in those variables.

There's one more variable to be set, but we have to run this script first.
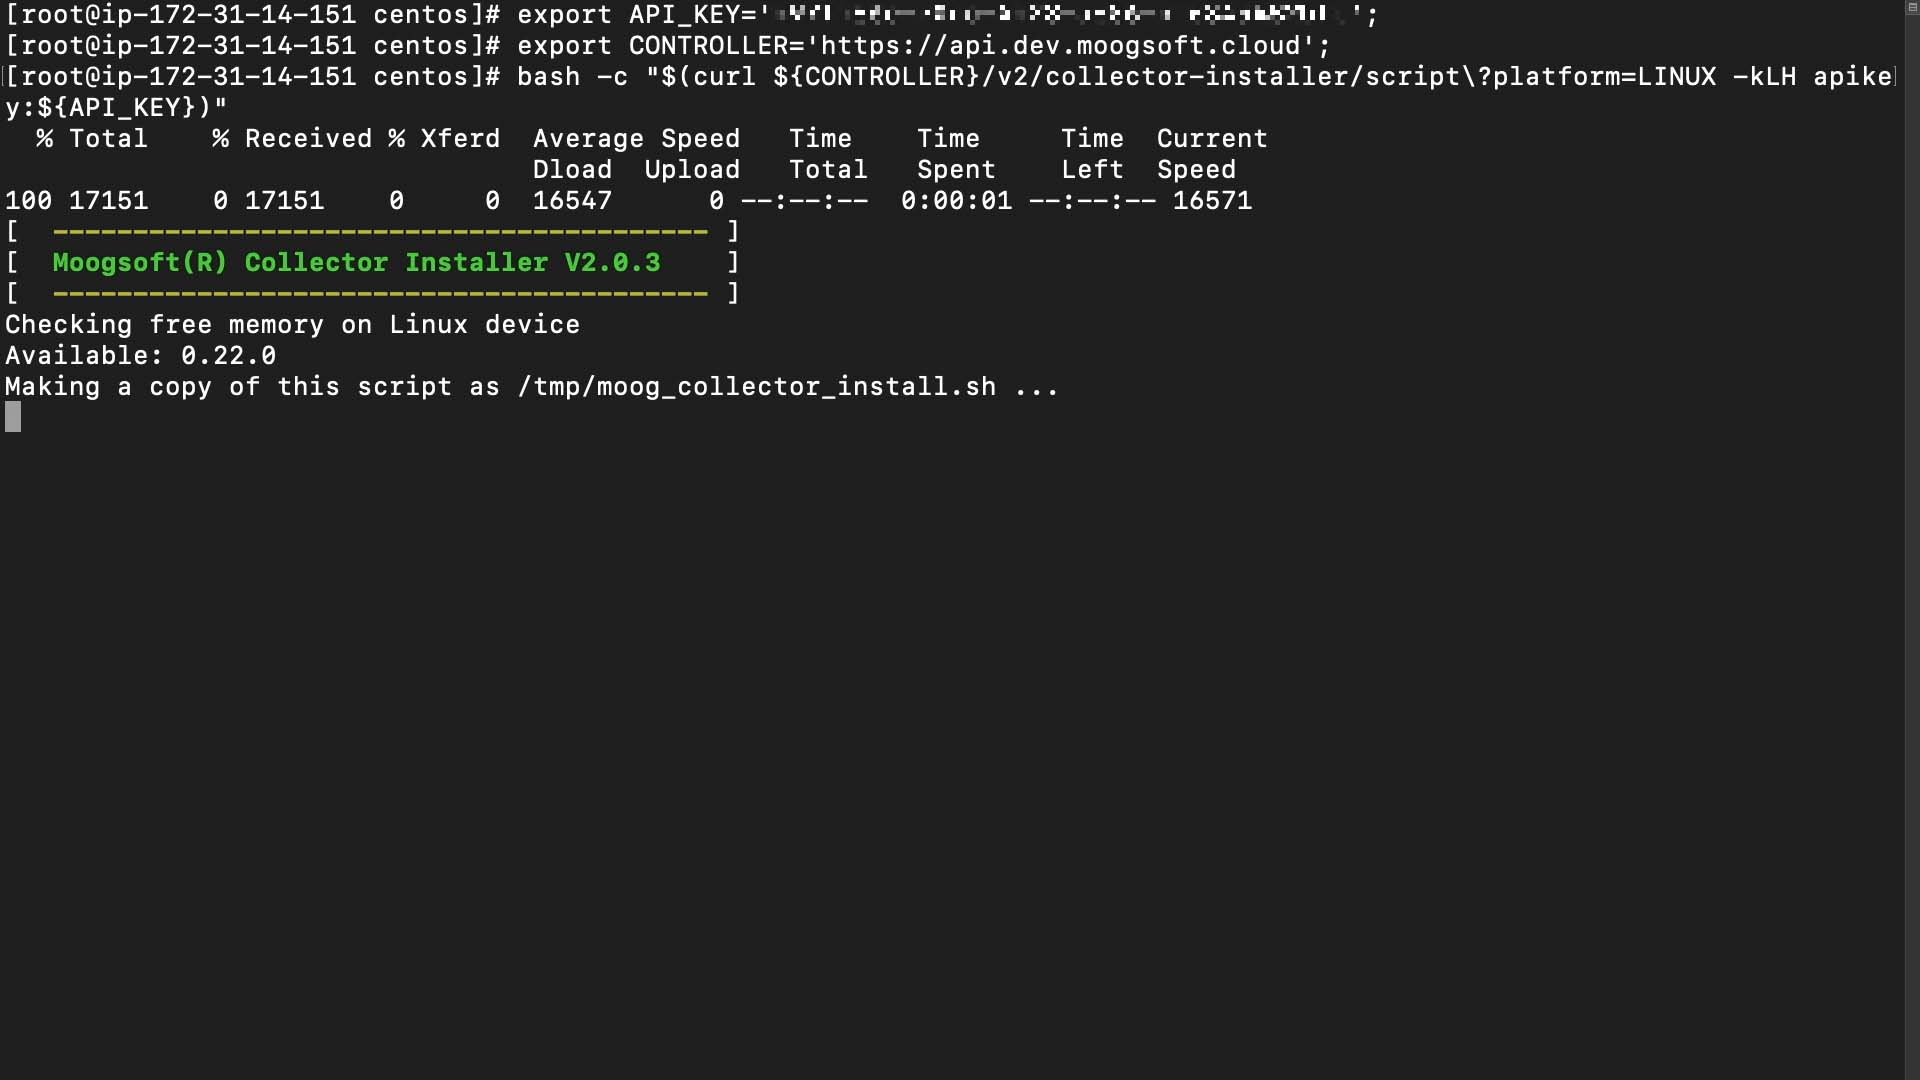
The install script is downloading now.
Here’s a prompt to set the file location variable. Note that the file location will be different based on whether you are installing the collector as a root user or not.
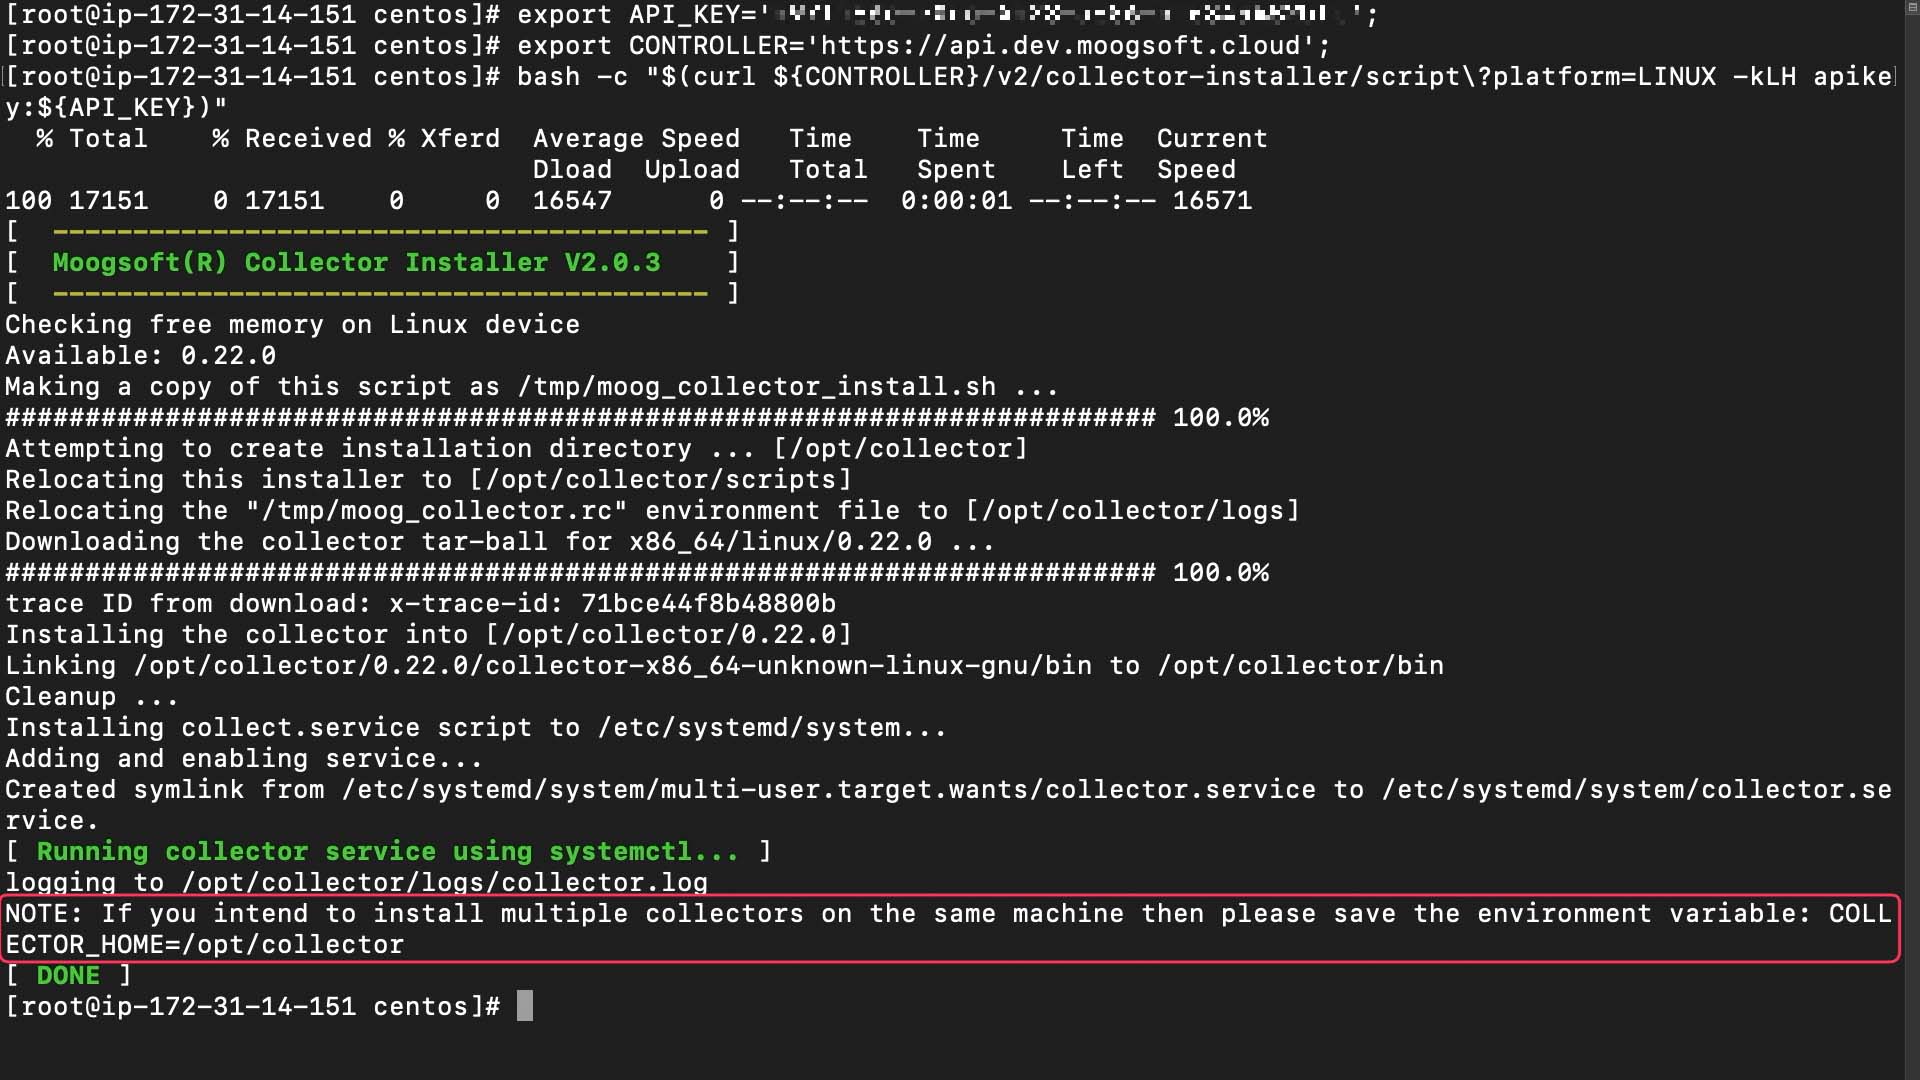
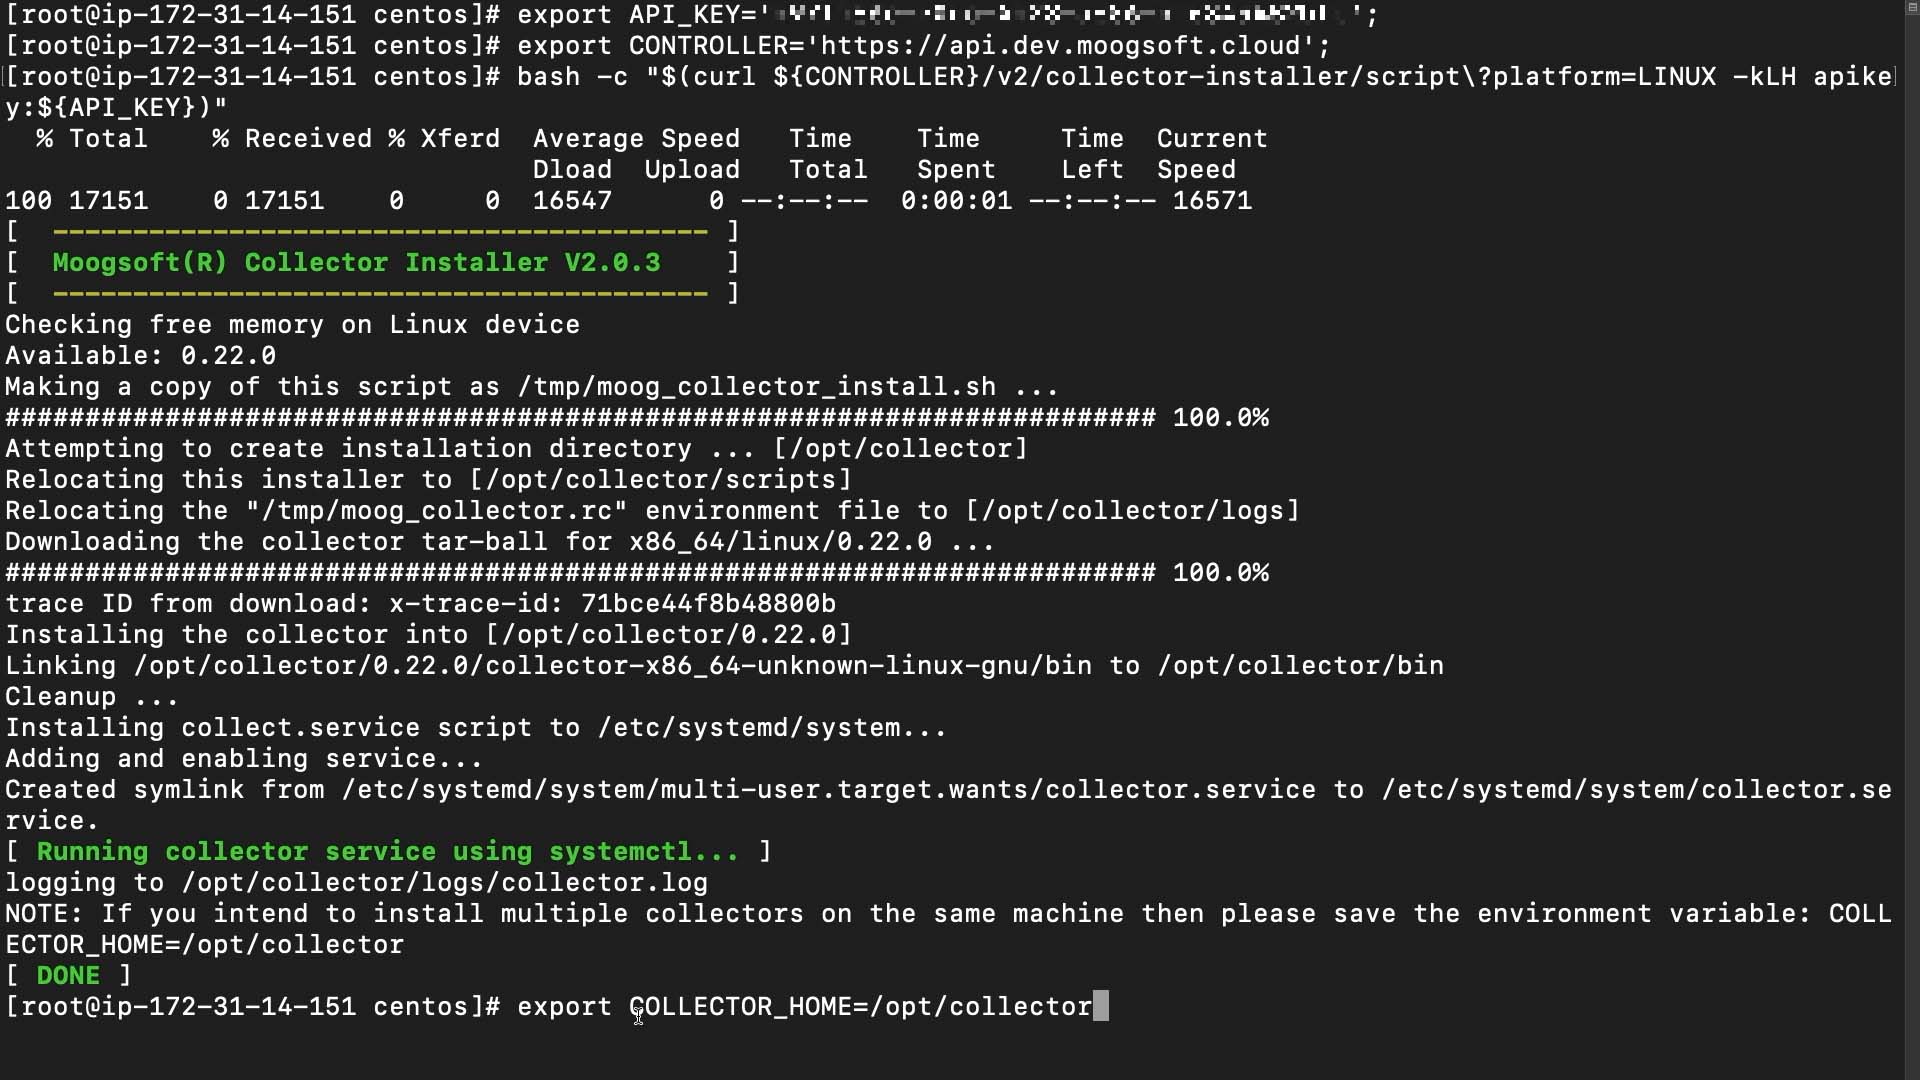
Saving this is not a requirement. But if you want to start, stop, and reload the collector later, either put this variable in one of your Linux startup config files, or export it like this.
Here’s the collector we just installed.
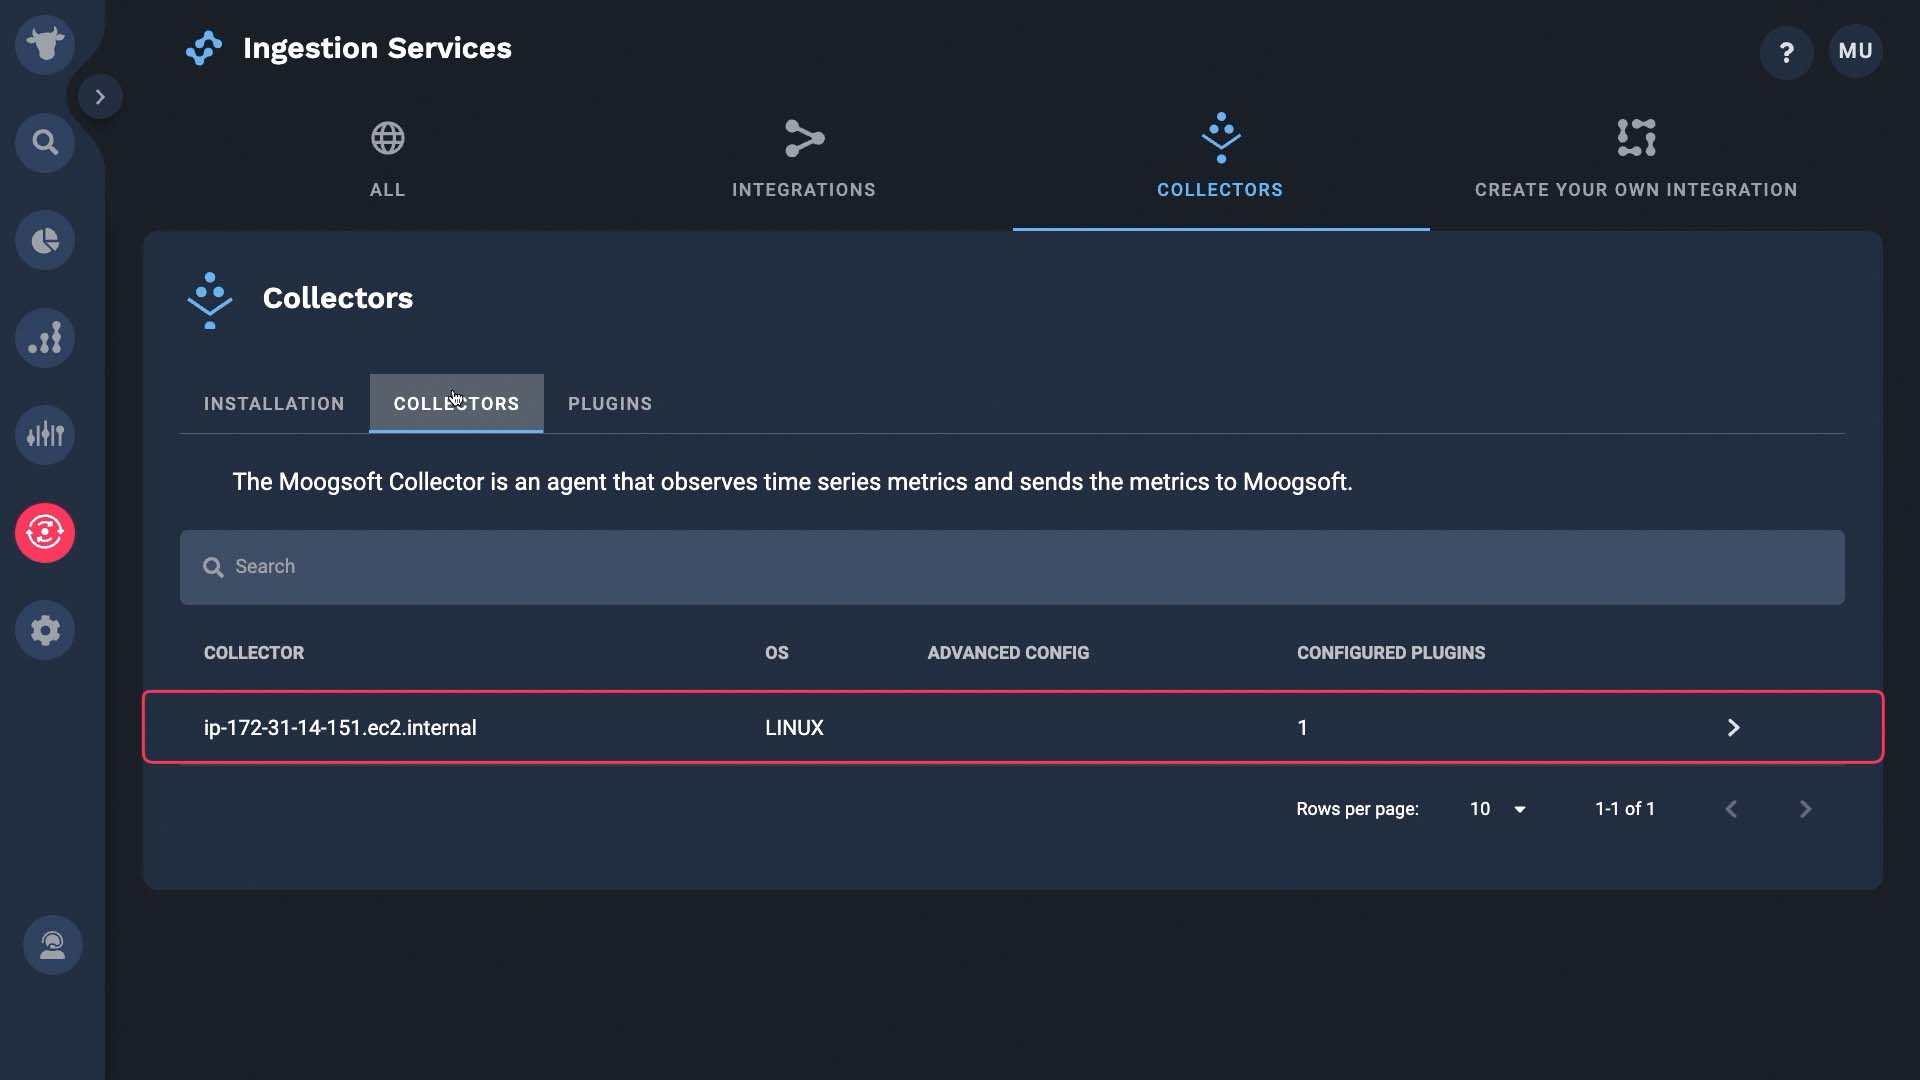
By default only the System plugin is enabled.
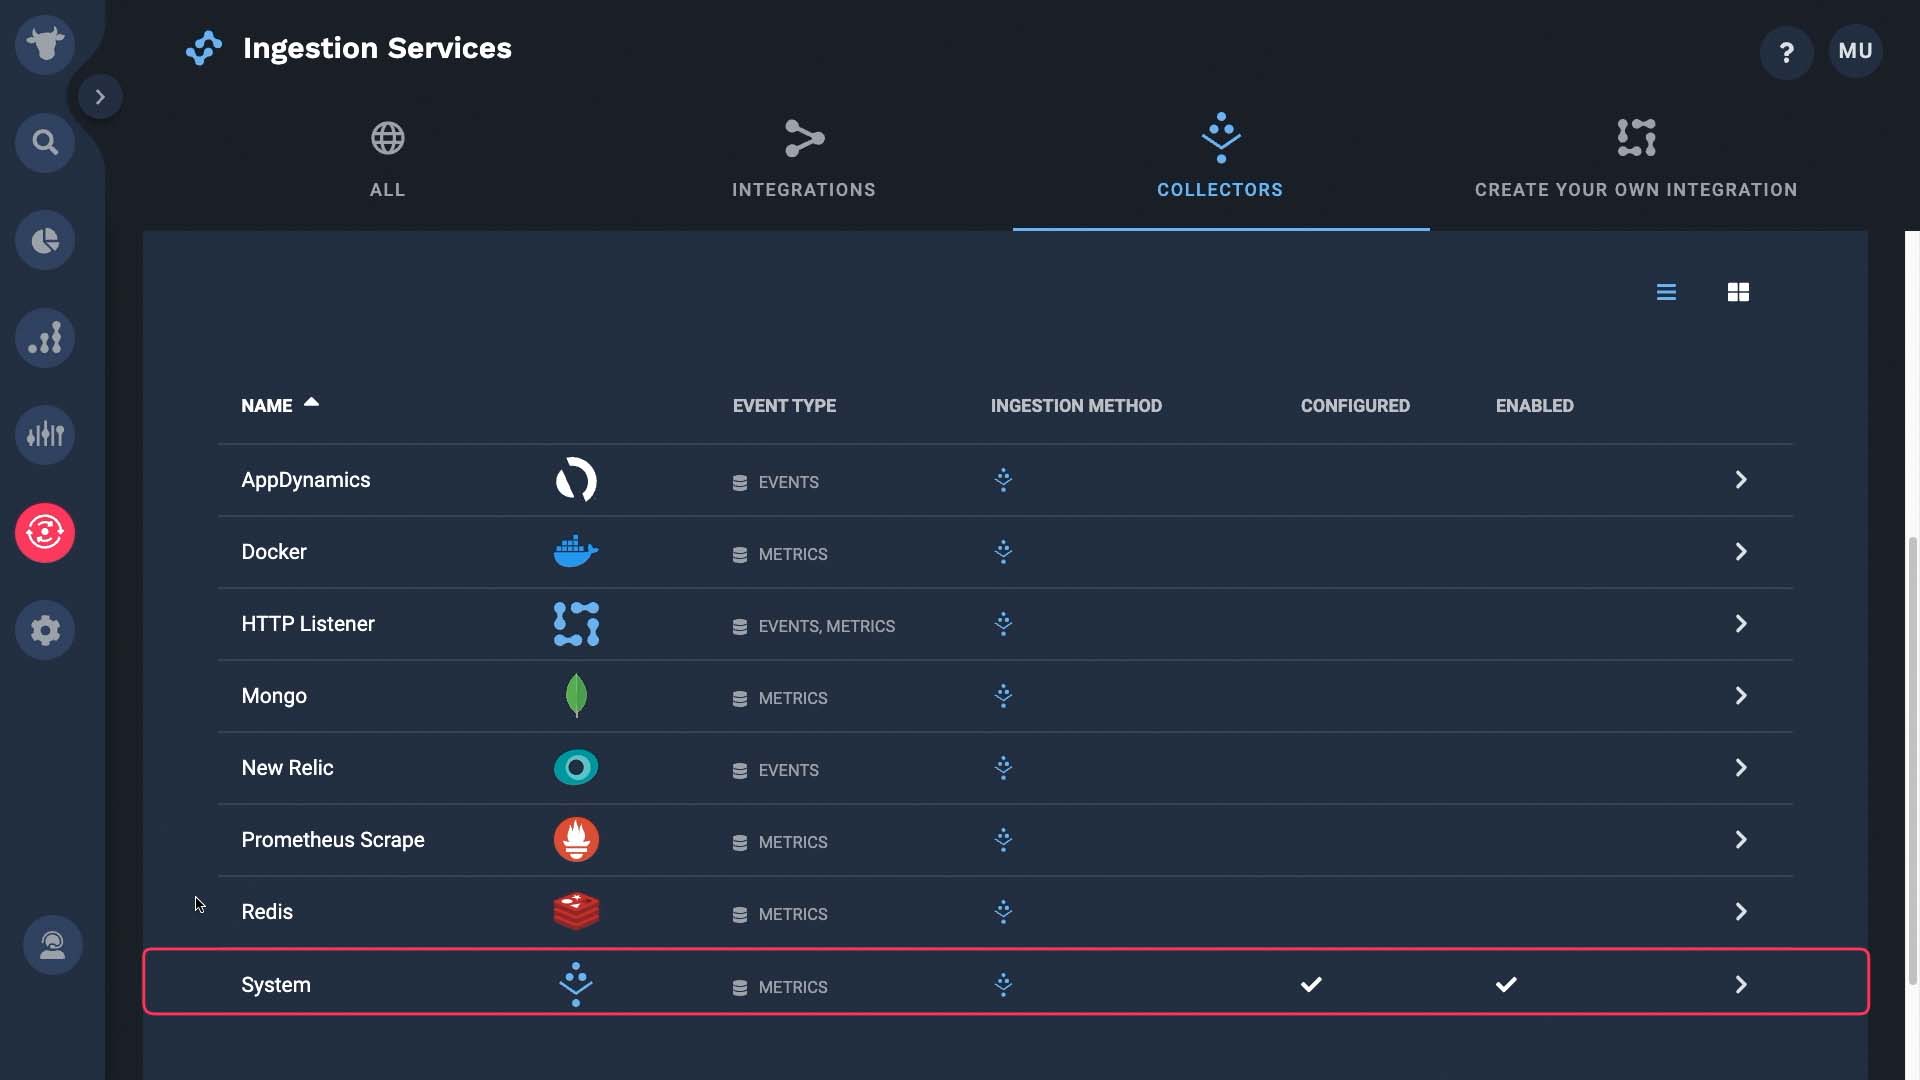
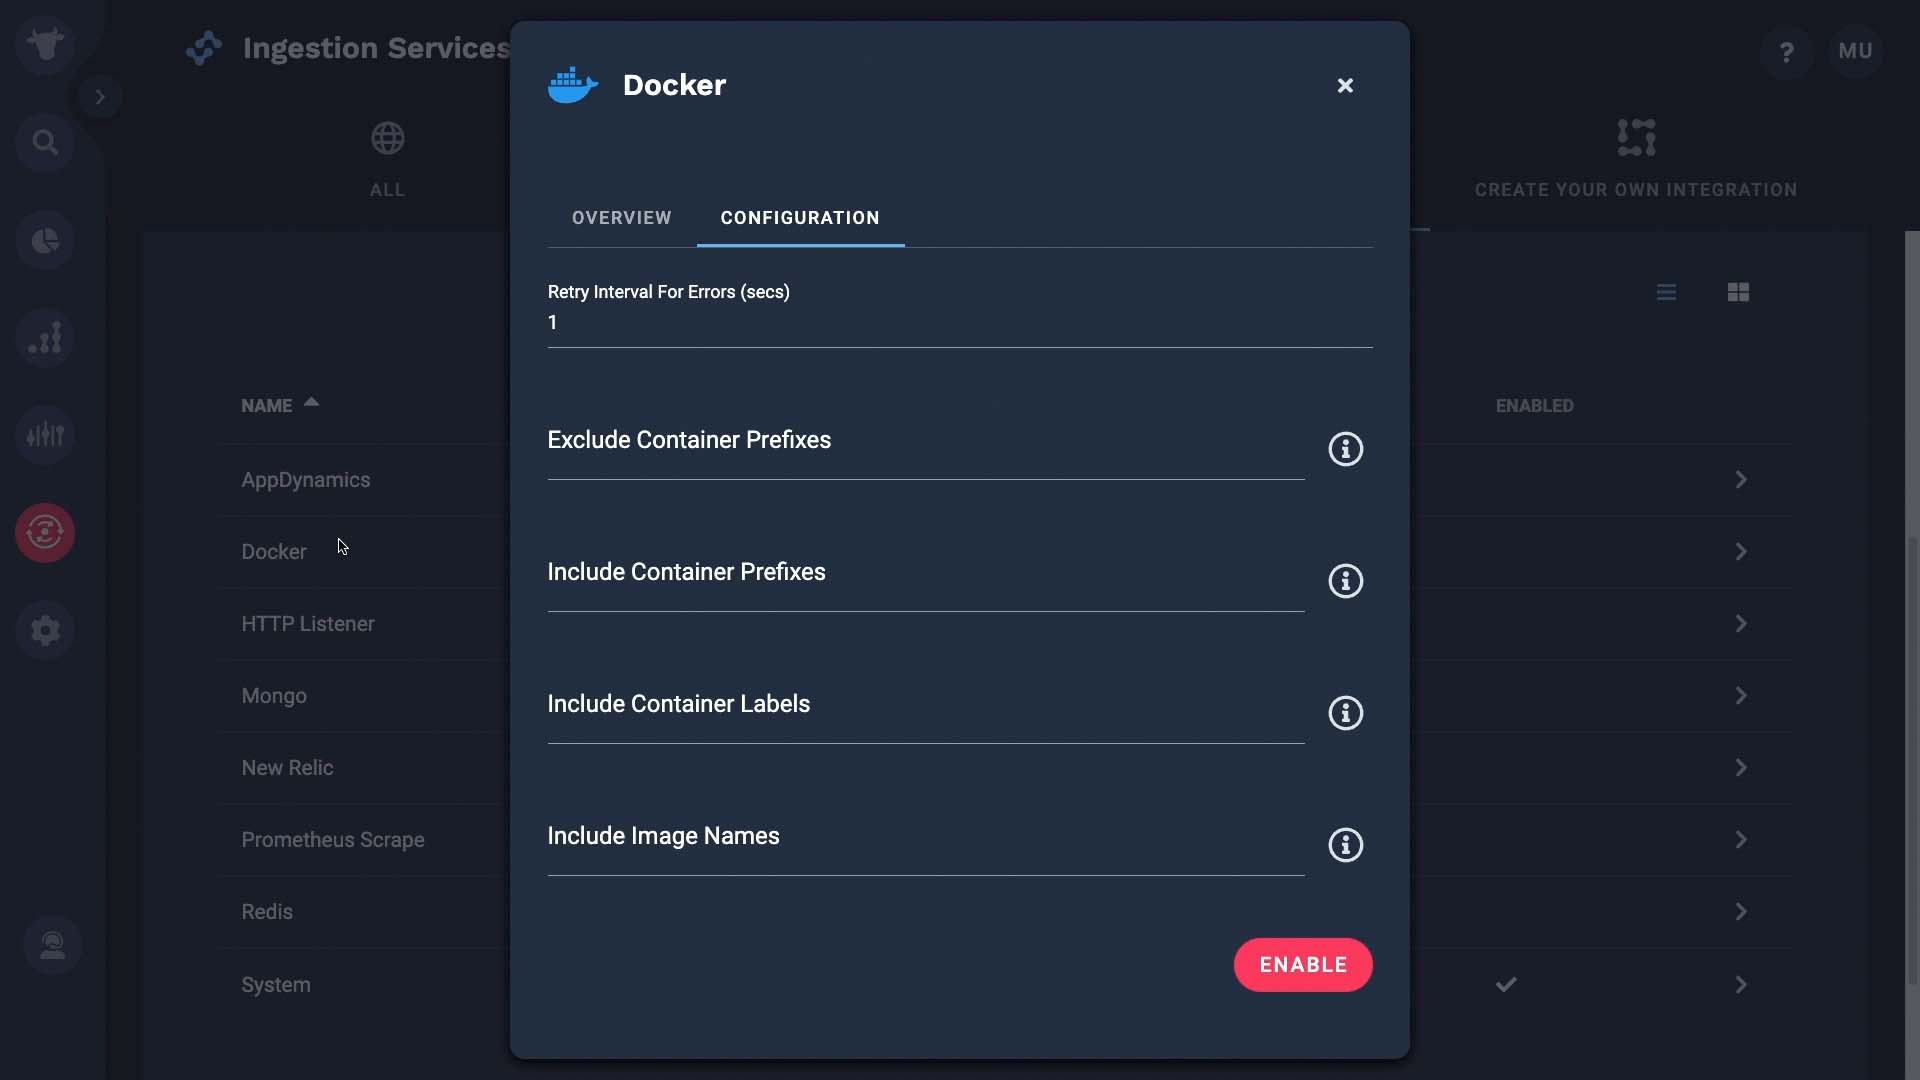
Let’s enable the Docker plugin. You can apply a filter to exclude certain container ID prefixes if you want.
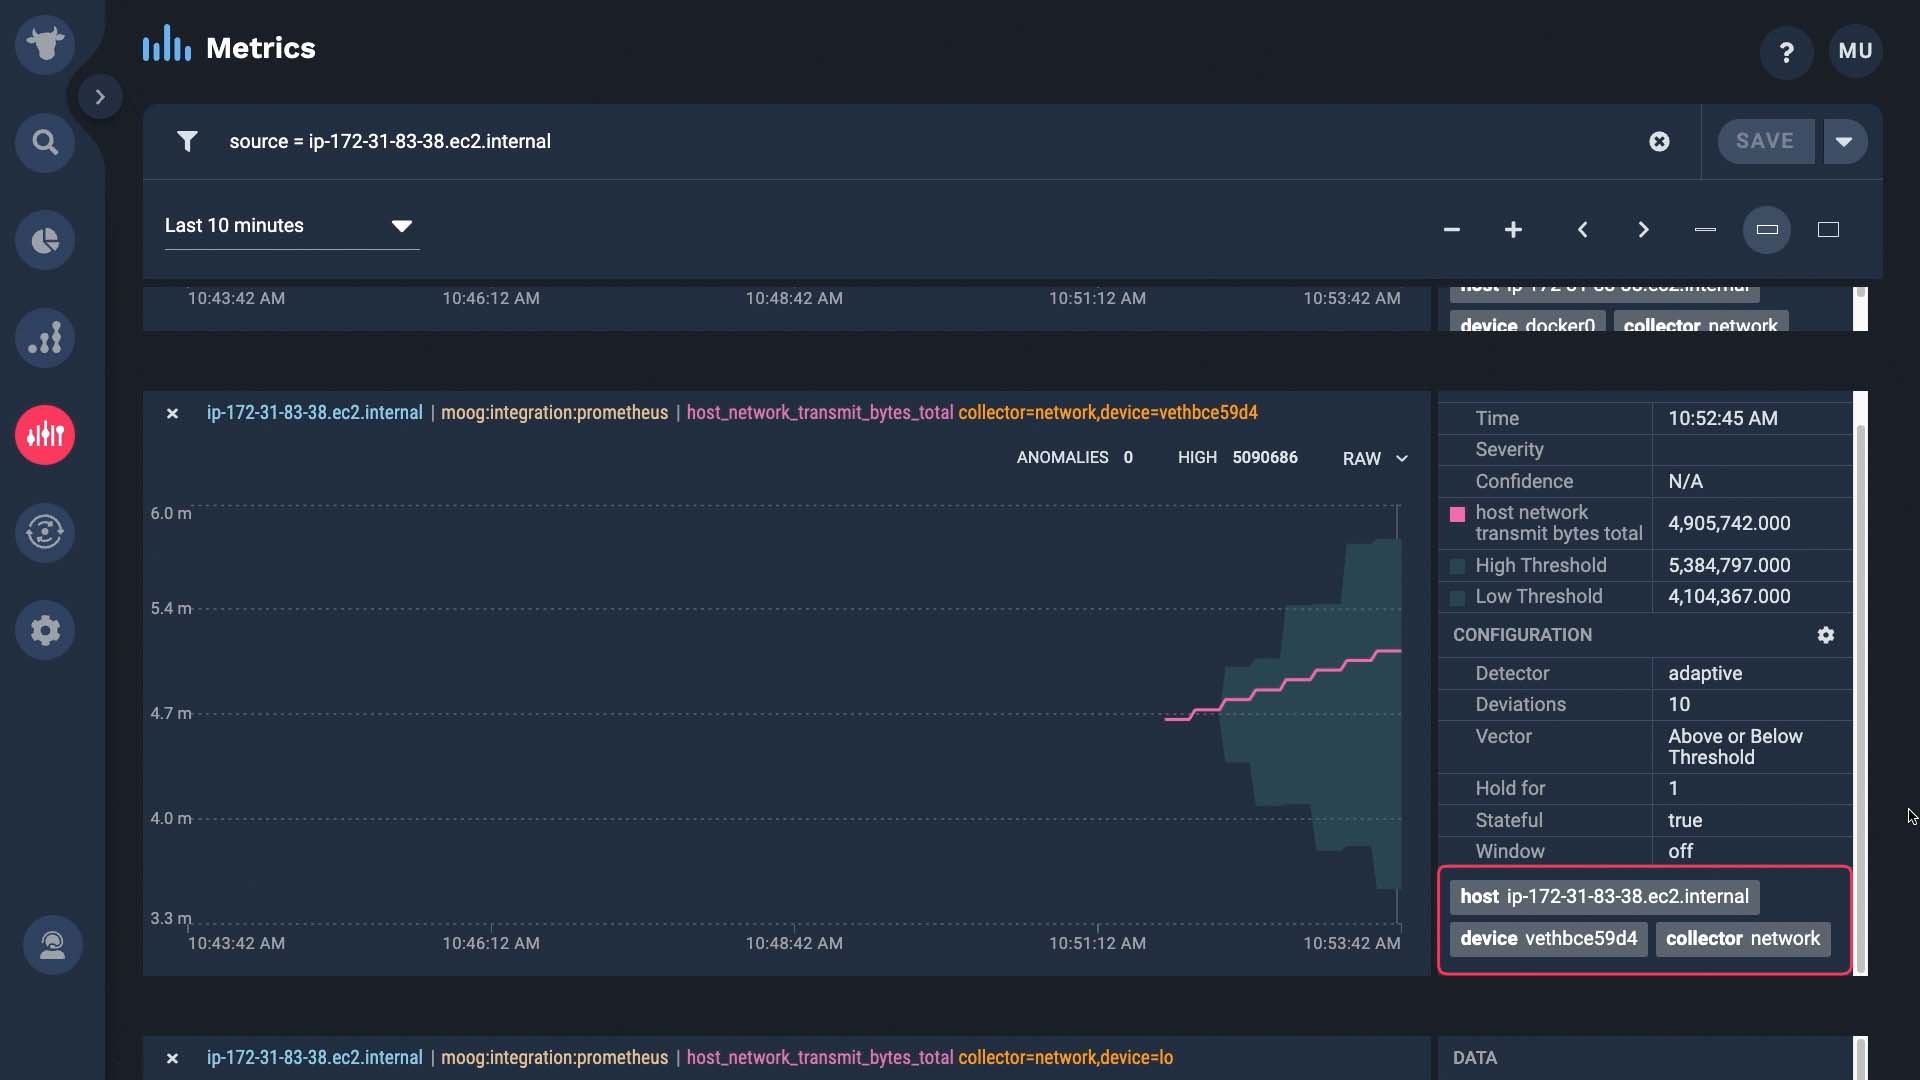
And now we enabled the Docker plugin. Let’s check if the metrics are flowing in. A wide variety of metrics are available. These came from the docker plugin we just enabled,,and they include container, memory cpu, network, and block IO stats.
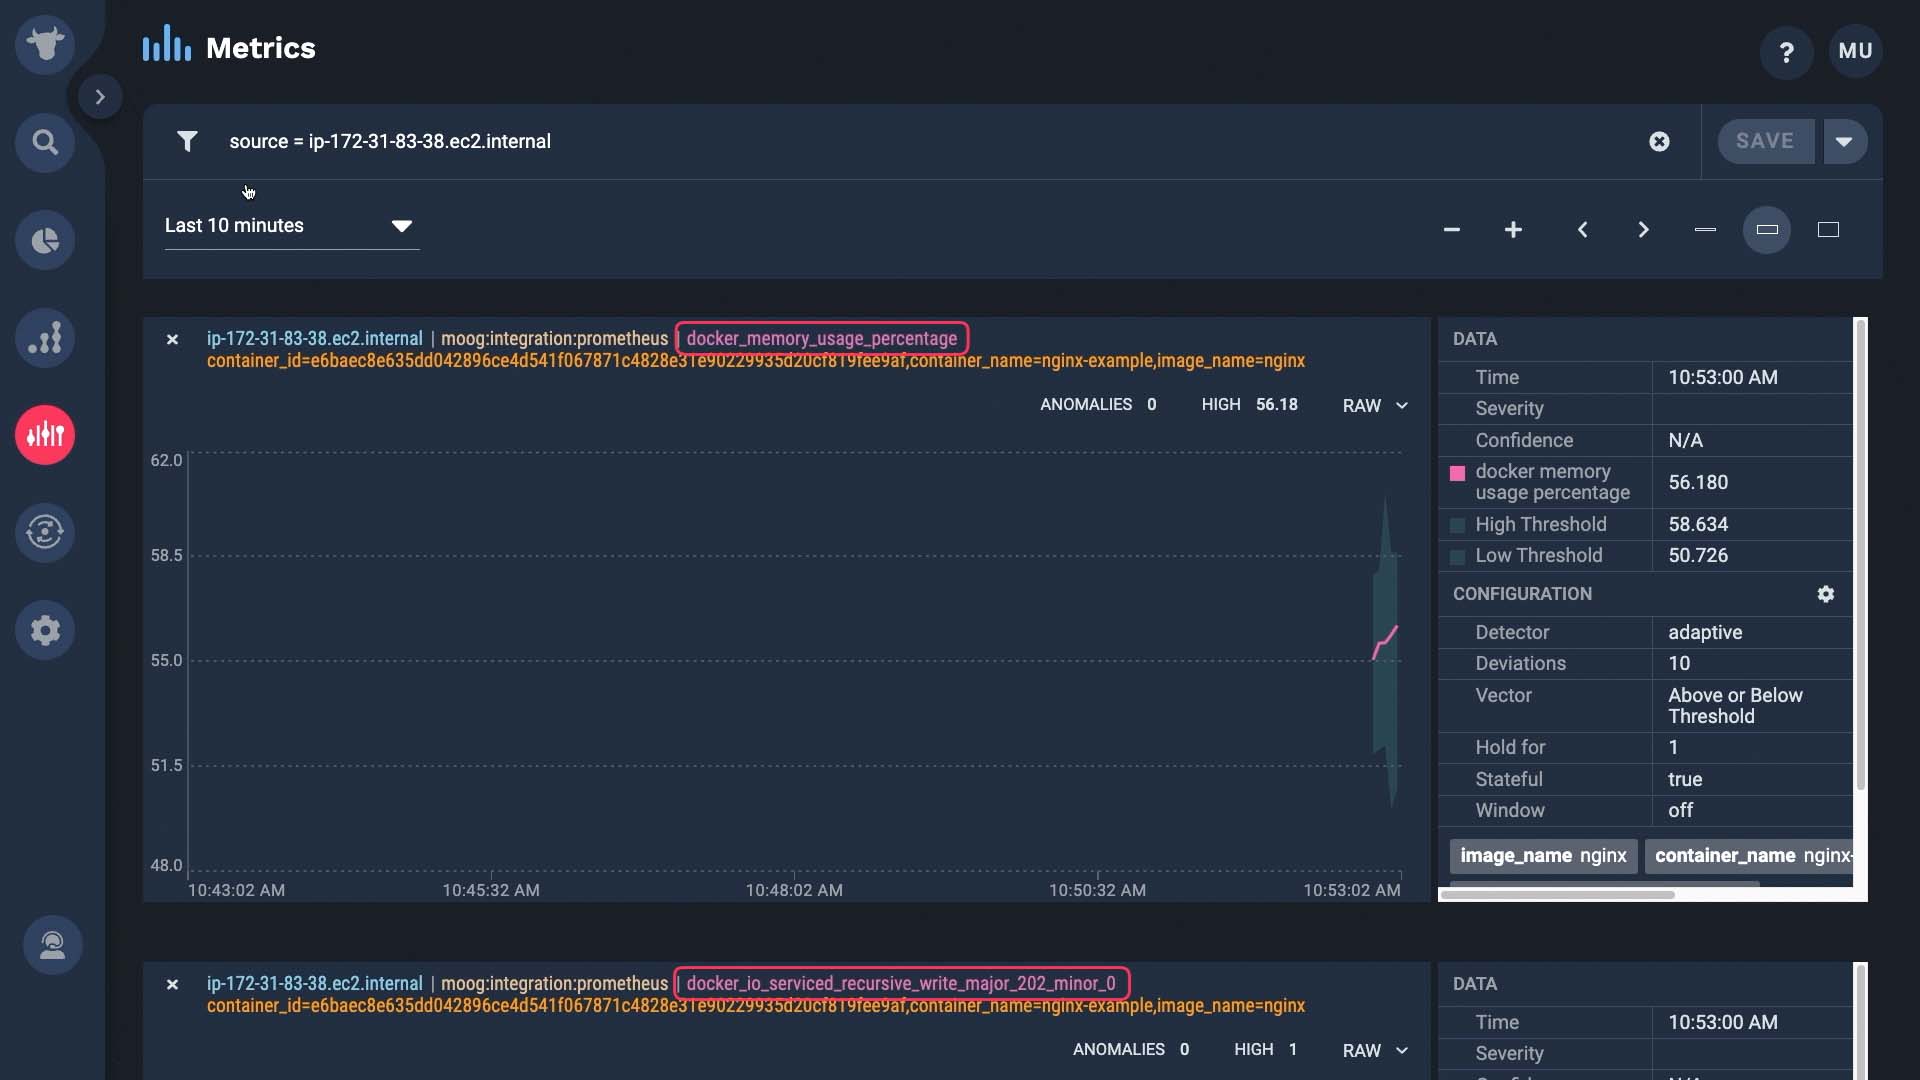
These came from the system plugin that was enabled by default.
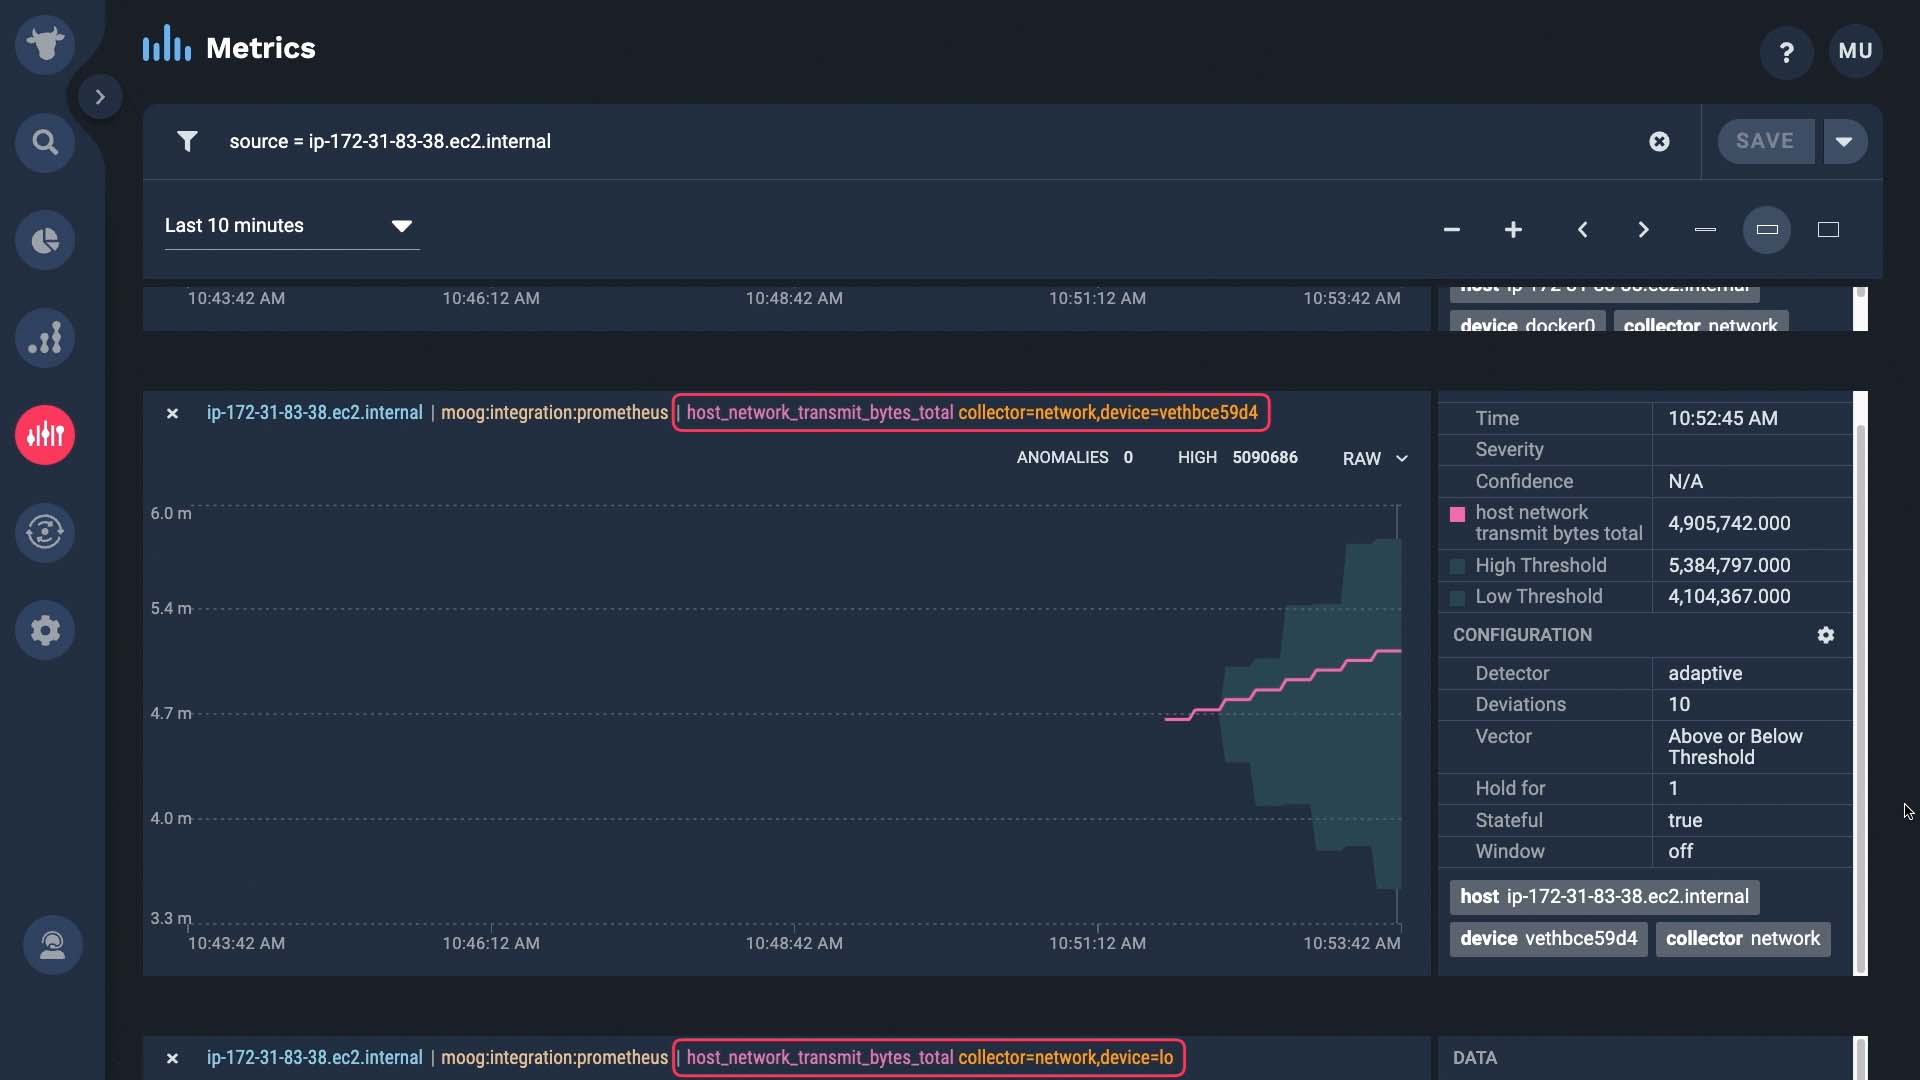
Each of these metrics come with a variety of useful tags that you can use for troubleshooting or correlating alerts when something happens.
Now you know how to install a collector. Thanks for watching!