Configure ActiveMQ
ActiveMQ Configuration
Apache ActiveMQ is an open source message broker written in Java together with a full Java Message Service (JMS) client.
Configuring ActiveMQ to function with JMS LAM has following three steps:
-
Creating a JMS Queue.
-
Creating a JMS Topic.
-
SSL configuration for ActiveMQ.
Creating a JMS Queue for ActiveMQ
-
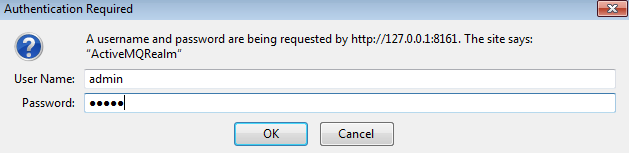
Enter the URL
http://127.0.0.1:8161/admin/in a browser. The browser prompts for login. -
Enter the following details and click OK:
-
User: admin
-
Password: admin
-
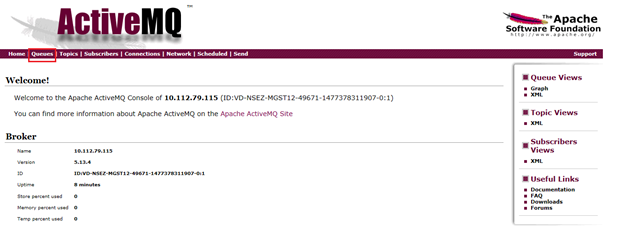
-
Select Queues from the menu bar of the ActiveMQ admin console.
-
Enter a queue name in the field Queue Name E.g. Test_queue and click on Create. The queue is created and displayed in the Queues section.
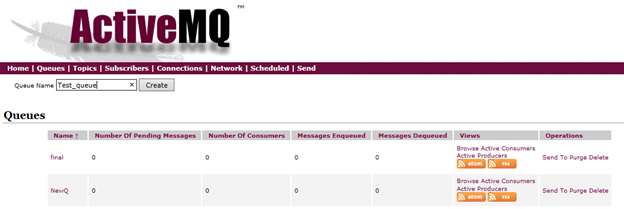
The JMS Queue is created.
Creating a JMS Topic for ActiveMQ
-
Enter the URL
http://127.0.0.1:8161/admin/in a browser. The browser prompts for login. -
Enter the following details and click OK:
-
User: admin
-
Password: admin

-
-
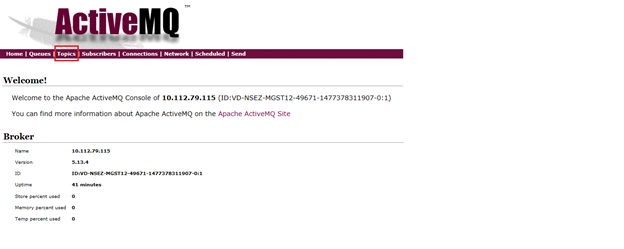
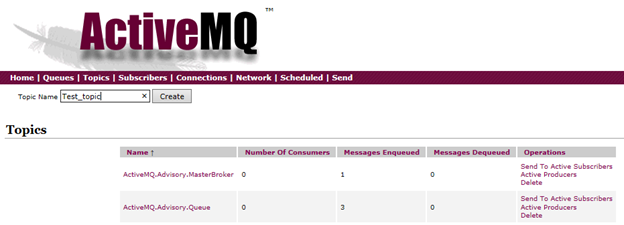
Select Topics from the menu bar of ActiveMQ admin console.
-
Enter a topic name in the field Topic Name, for example, Test_topic, and click on Create. The topic is created and displayed in the Topics section.
SSL Configuration for ActiveMQ(Optional)
To configure SSL in ActiveMQ, proceed as follows:
Note
The following procedure is same for both Windows and Linux.
Note
If the SSL configuration is already implemented for ActiveMQ, then this configuration can be skipped.
-
Open a CLI and create a folder using the command
mkdir SSL. -
Navigate to SSL directory using the command
cd SSL. -
Execute the following commands one by one.
$ keytool -genkey -alias localhost -keyalg RSA -keysize 2048 -validity 90 -keystore amq-server.ks
$ keytool -export -alias localhost -keystore amq-server.ks -file amq-server_cert
$ keytool -genkey -alias localhost -keyalg RSA -keysize 2048 -validity 90 -keystore amq-client.ks
$ keytool -import -alias localhost -keystore amq-client.ts -file amq-server_cert
$ keytool -export -alias localhost -keystore amq-client.ks -file amq-client_cert
$ keytool -import -alias localhost -keystore amq-server.ts -file amq-client_cert
The following files are generated in the SSL directory.
-
amq-clients.ks
-
amq-client.ts
-
amq-client_cert
-
amq-server.ks
-
amq-server.ts
-
amq-server_cert
-
-
Copy the
amq-server.ksand amq-server.ts files from theSSLfolder to the.conffolder of the unzipped downloaded ActiveMQ setup. -
Change the
transportConnectorselement for "ssl" in the.activemq.xmlfile in the.conffolder, setneedClientAuth=truein the element. If the transport connector for SSL is not present then add it in the <transport connectors> section and delete all the other transport connectors. -
Enter the
<sslcontext>section in theactivemq.xmlfile in the.conffolder. Add the ssl context as follows:<transportConnectors> <transportConnector name="ssl" uri="ssl://0.0.0.0:61617?trace=true&needClientAuth=true"/> </transportConnectors> <sslContext> <sslContext keyStore="file:${activemq.base}/conf/amq-server.ks" keyStorePassword="PASSWORD" trustStore="file:${activemq.base}/conf/amq-server.ts" trustStorePassword="PASSWORD" /> </sslContext>Note
The password mentioned in the above section should be the same password that you have given while creating the certificates
-
Start the ActiveMQ service by executing the command
activemq start.